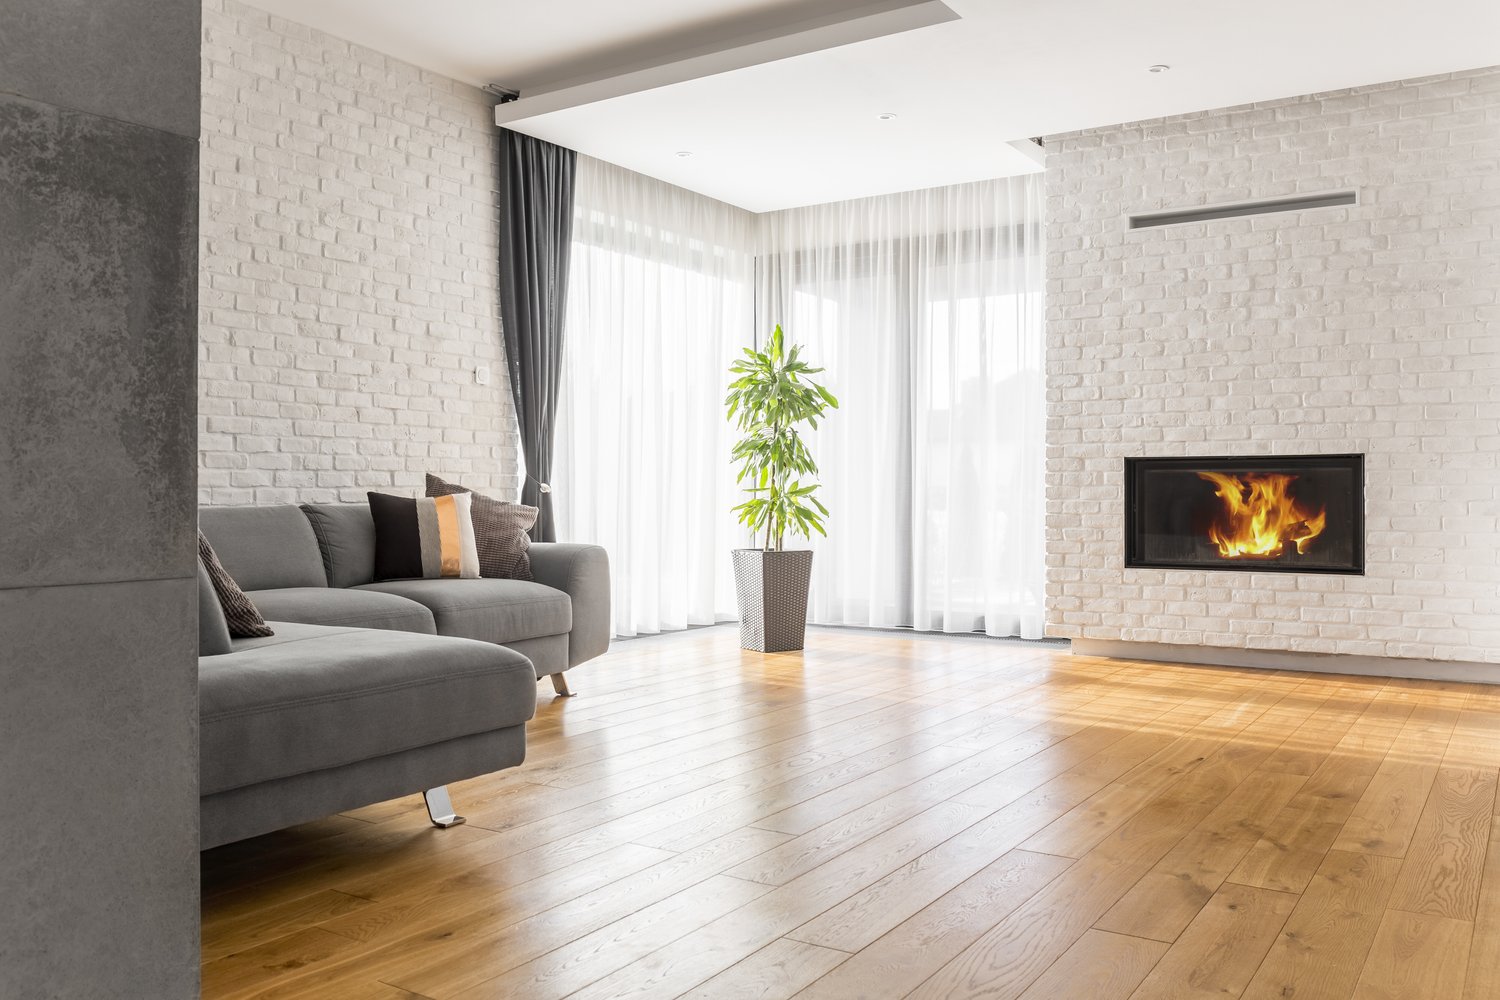
Hardwood floors add warmth and elegance to any home, but daily wear and tear inevitably leads to scratches and scuffs that diminish their beauty. Whether you’re dealing with minor surface scratches or deeper gouges, there are several DIY approaches to restore your flooring’s appearance. This guide will walk you through effective methods to repair scratched hardwood floors, from simple touch-up solutions to more involved techniques for addressing deeper damage. With the right tools and a bit of patience, you can rejuvenate your wood floors without the expense of professional refinishing.
Understanding Different Types of Scratches
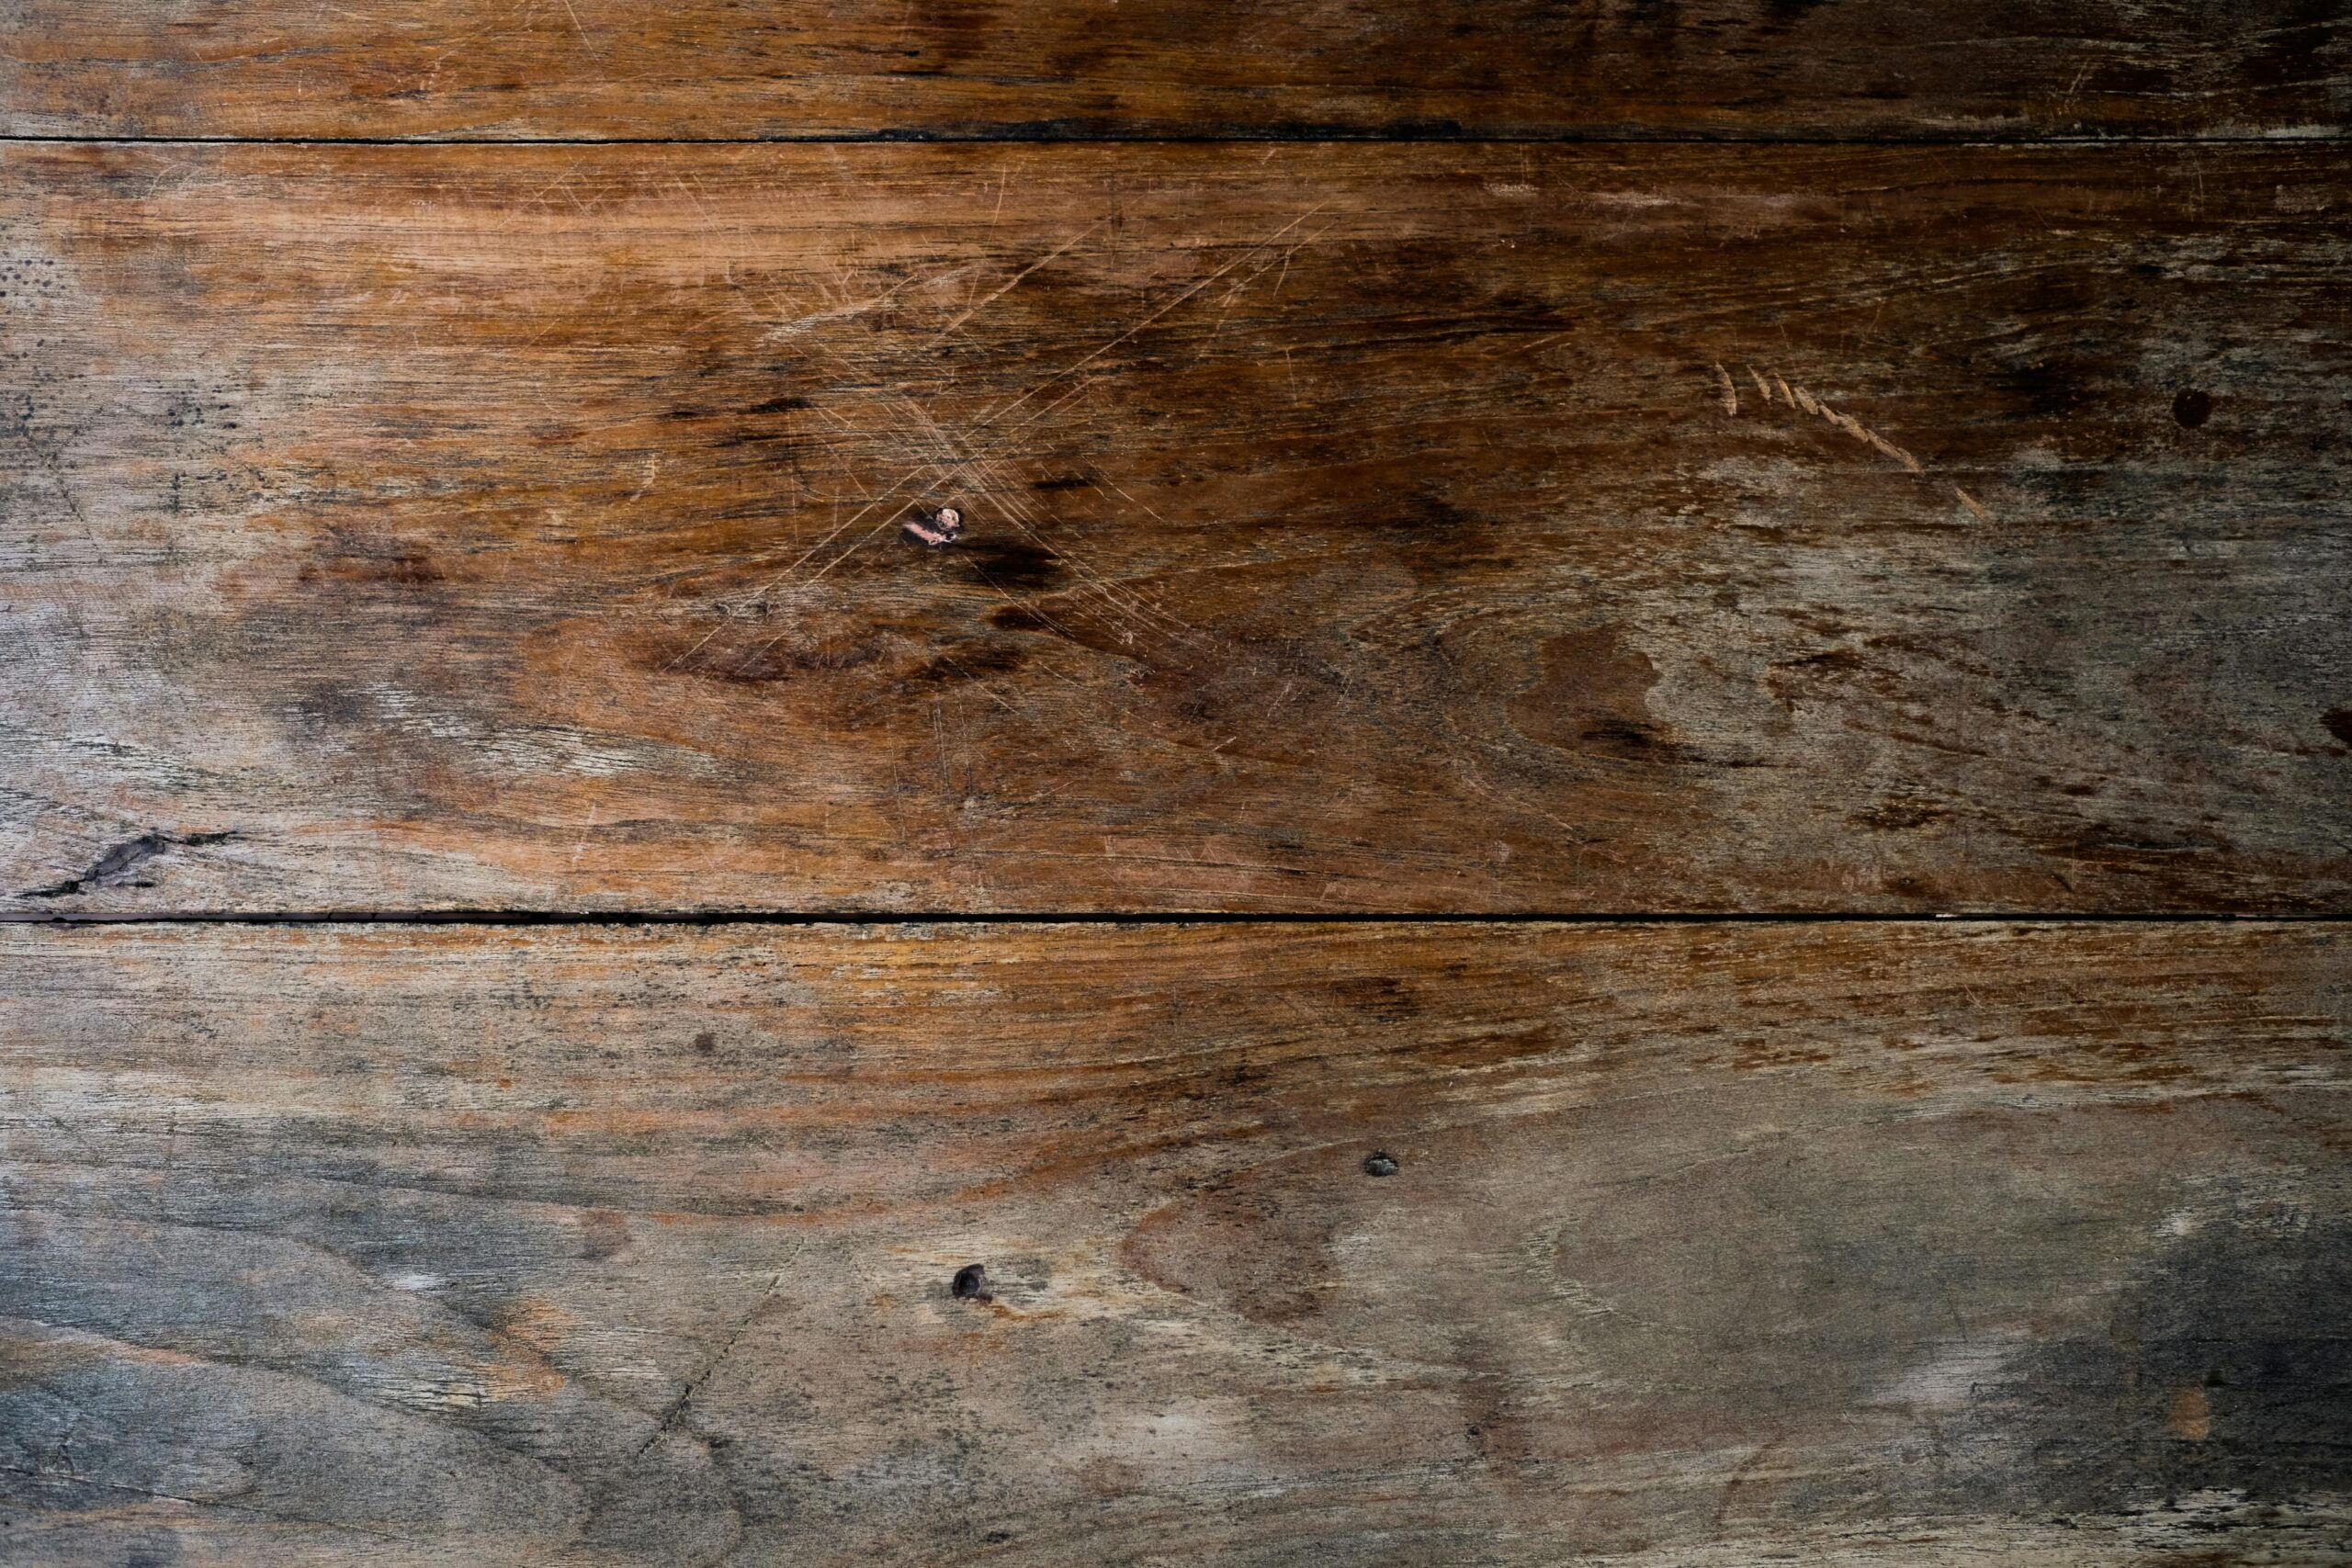
Before attempting to repair scratched hardwood floors, it’s important to assess the severity of the damage. Surface scratches typically affect only the finish layer and appear as light marks that catch the light at certain angles. These minor imperfections can often be addressed with simple touch-up techniques. Deeper scratches penetrate through the finish into the wood itself, creating more noticeable grooves or gouges. The most severe damage may require wood filler or even board replacement. Examining your floor carefully will help determine which repair method is most appropriate for your situation.
Quick Fixes for Minor Scratches
For light surface scratches, several easy DIY solutions can minimize their appearance. Rubbing a walnut, pecan, or similar oil-rich nut along the scratch often works wonders as the natural oils help to darken and blend the mark with surrounding wood. Commercial touch-up markers specifically designed to match common wood tones are another excellent option to fix light scratches. These markers work by depositing stain into the scratch, helping it blend with the surrounding floor color. For an even simpler approach, a mixture of olive oil and vinegar applied with a soft cloth can temporarily disguise minor scratches by conditioning the wood and reducing the contrast of the mark against the undamaged floor.
Using Repair Kits to Touch Up Wood Floor Scratches
When dealing with slightly more noticeable damage, hardwood floor repair kits offer a comprehensive solution. These kits typically include fill sticks, touch-up markers, and sometimes even a finish restorer. To use these effectively, first clean the scratched area thoroughly to remove any dirt or debris. Apply the color-matched fill stick to deeper scratches, working it into the groove and wiping away excess. Follow with the matching touch-up marker to blend the repair with the surrounding wood. Some kits include a finish pen that adds a protective layer mimicking your floor’s original finish. According to experts at AskHomey, these kits work best when the colors are precisely matched to your flooring, so take a clear photo of your floor to the hardware store when selecting your kit.
Addressing Deep Scratches with Wood Filler
For deeper gouges that penetrate the wood itself, wood filler provides an effective solution to repair scratched hardwood floors. Begin by thoroughly cleaning the damaged area and lightly sanding it to create a smooth surface for the filler to adhere to. Select a wood filler that matches your floor color or one that can be stained to match. Apply the filler with a plastic putty knife, pressing firmly to ensure it completely fills the gouge. Slightly overfill the scratch as the material may shrink as it dries. Once completely dry (following package instructions for drying time), sand the area until it’s level with the surrounding floor using fine-grit sandpaper. You can then apply a matching stain if needed, followed by a coat of finish to protect the repair and help it blend with the rest of the floor.
Board Replacement for Severe Damage
In cases of extreme damage, replacing the affected board may be the most practical solution. This more advanced DIY fix requires careful attention but can completely eliminate unsightly damage. Start by identifying the damaged board and measuring it precisely. Using a circular saw set to the exact depth of the board, make cuts along the length of the damaged piece, staying about an inch from the edges to avoid damaging adjacent boards. After making several parallel cuts, use a chisel to carefully remove the center sections, then work toward the edges. Clean the exposed area thoroughly and measure a replacement board cut to the exact dimensions. Apply wood glue to the replacement board edges and carefully position it in the opening. Secure with finishing nails, fill the nail holes with wood putty, then sand, stain, and finish to match the surrounding floor.
Preventative Maintenance
Once you’ve successfully repaired your scratched hardwood floors, implementing preventative measures will help maintain their renewed appearance. Place felt pads under furniture legs to prevent scratches when pieces are moved. Use area rugs in high-traffic zones and entryways to reduce wear. Establish a “no shoes” policy, particularly for high heels which can cause significant damage. Regular cleaning with appropriate hardwood floor cleaners removes grit and debris that can scratch surfaces when walked upon. Applying a new coat of finish every few years provides an additional protective layer that will help your floors resist future damage.
For more tips and to connect with reliable home service professionals, follow AskHomey on Facebook and Instagram.