Creating a gallery wall in your home is a powerful way to showcase your personality and aesthetic preferences through art. More than just decorating a blank wall, it’s an opportunity to tell a visual story that resonates with you and captivates your guests. This article will guide you through the process of curating artwork based on cohesive themes or color palettes, selecting complementary frames that enhance your pieces, planning effective layouts, and arranging your collection for maximum visual impact. With thoughtful consideration of these elements, you’ll transform an ordinary wall into a stunning focal point that elevates your entire interior design.
Defining Your Gallery Wall Vision
Before purchasing frames or hammering any nails, take time to clarify your vision for your home art gallery wall. Consider what story you want to tell or what feeling you want to evoke when you and others view the display. Perhaps you’re drawn to a collection of family photographs that chronicle special moments, or maybe you prefer abstract pieces that convey a particular mood. Some homeowners choose to showcase travel memories, while others prefer botanical prints or vintage illustrations. Whatever direction you choose, having a clear vision will guide your curation process and help you create a cohesive display that feels intentional rather than haphazard.
Curating Gallery Wall Themes and Color Cohesion
When curating gallery wall themes, focus on creating visual connections between your pieces. These connections might be thematic—such as nature, architecture, or portraiture—or they might be stylistic, such as black and white photography or impressionist paintings. Color cohesion is another powerful way to unify diverse pieces. Consider selecting artwork that shares a limited color palette, or choose pieces with one consistent accent color that appears throughout the collection. If your existing art doesn’t naturally coordinate, you might introduce unity through mat boards or frame colors instead. Remember that contrast can be as effective as similarity; a predominantly monochromatic collection might come alive with one strategic pop of color that draws the eye and creates visual interest.
Selecting and Choosing Frames for Your Gallery Wall
Choosing frames for your gallery wall is as important as selecting the artwork itself. Frames serve both functional and aesthetic purposes—they protect your pieces while also enhancing their visual impact. When selecting frames, consider whether uniformity or variety better serves your vision. Identical frames create a clean, cohesive look that lets the artwork take center stage, while a mix of frame styles can add character and dimension to your display. If you opt for variety, maintain some element of consistency, such as color family or material, to prevent the arrangement from feeling chaotic. Scale is another important consideration—substantial frames give presence to smaller pieces, while delicate frames can keep larger artwork from overwhelming the space. Don’t be afraid to experiment with frame widths, textures, and finishes to find the perfect complement for each piece in your collection.
Planning Your Gallery Wall Layout
Planning your gallery wall layout before hanging anything is crucial for achieving a balanced, professional-looking arrangement. Start by measuring your wall space and creating boundaries for your display. Consider focal points, furniture placement, and natural sight lines when determining the overall shape and size of your arrangement. Traditional gallery walls often follow a grid pattern or center around one prominent piece, while more eclectic displays might grow organically from a central point. Before committing to a layout, try visualizing your arrangement using digital tools. AskHomey offers visualization features that can help you experiment with different arrangements without making multiple holes in your walls. Alternatively, trace your frames onto kraft paper, cut out the shapes, and tape them to the wall to preview your layout in the actual space.
Techniques for Arranging Pictures on Wall
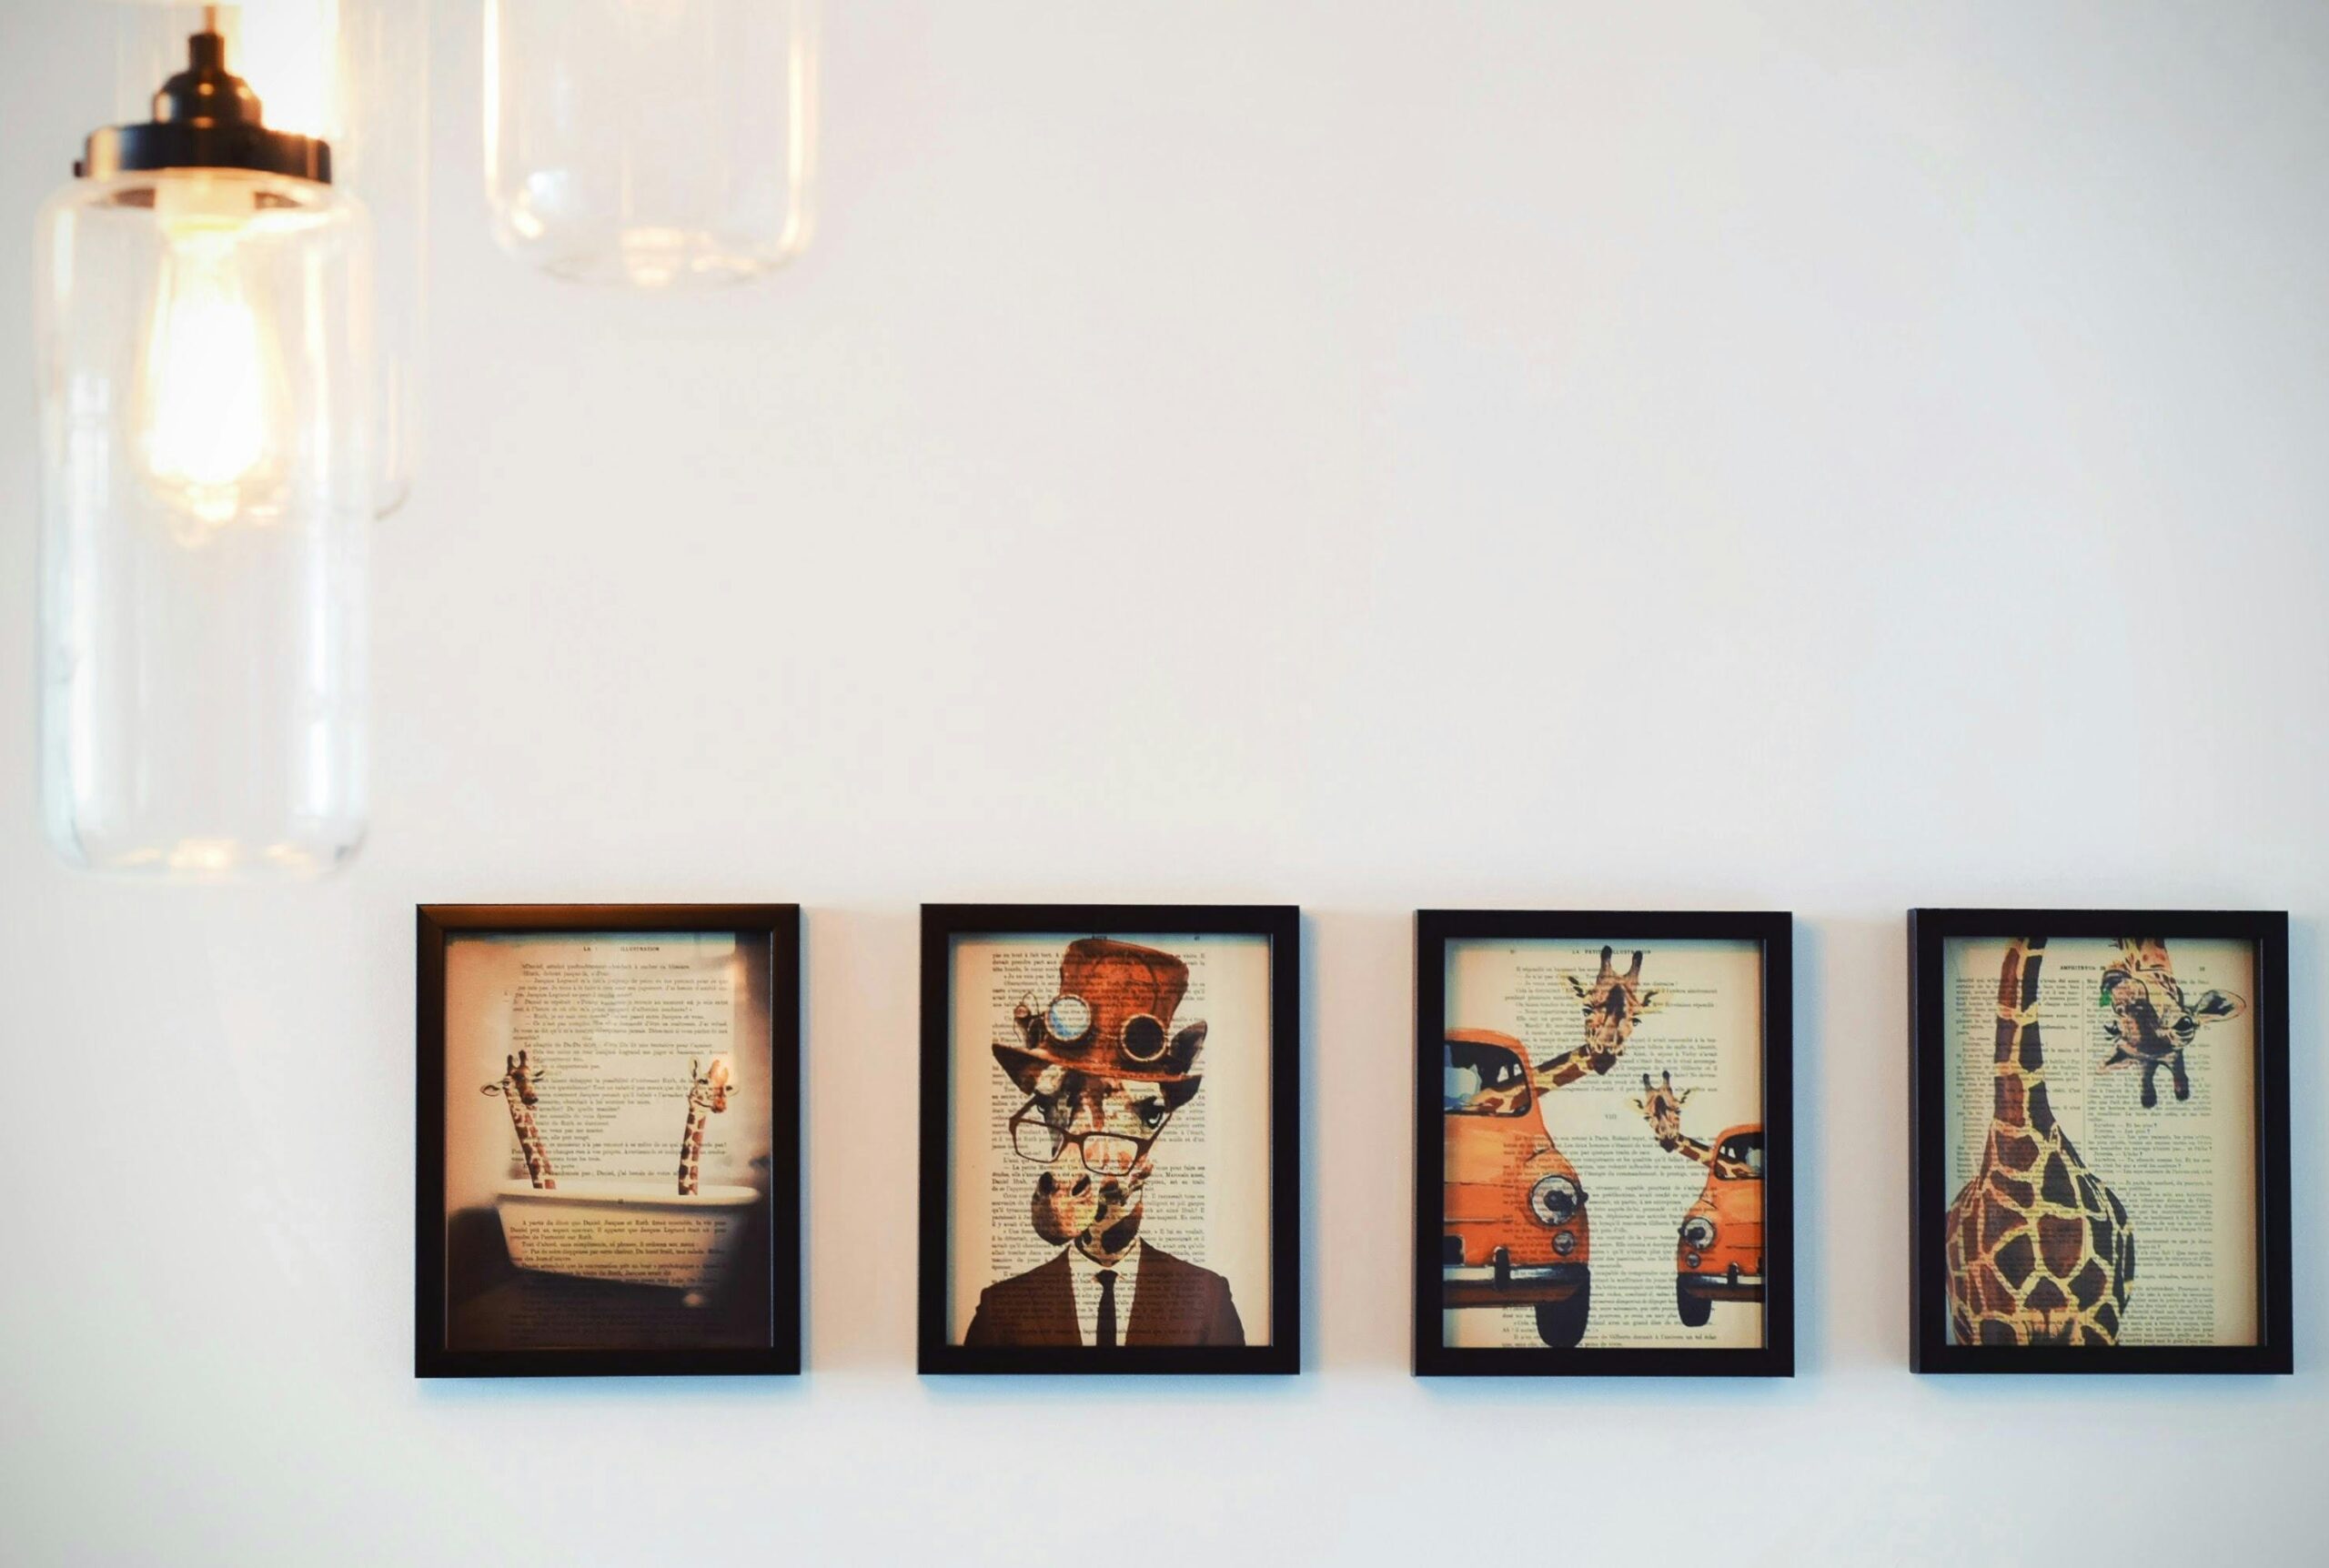
When arranging pictures on wall surfaces, professional designers often employ several key techniques. Begin by positioning your largest or most visually striking piece slightly off-center to create an anchor for your arrangement. Work outward from this focal point, maintaining consistent spacing between frames—typically 2-3 inches for a cohesive look. Consider the visual weight of each piece rather than just its physical dimensions; dark or high-contrast artwork will draw more attention than lighter pieces. For a balanced arrangement, distribute colors, sizes, and subject matter evenly throughout the display. If you’re incorporating three-dimensional objects or irregular frames, position them strategically to create rhythm and prevent visual clustering. Remember that your arrangement doesn’t need to form a perfect rectangle; allowing some pieces to extend beyond an imaginary boundary can create a more dynamic, evolved look that suggests your collection has grown organically over time.
Installation and Final Adjustments
Once you’ve finalized your gallery wall layout tips, prepare for installation day by gathering all necessary tools: a level, tape measure, pencil, hammer, picture hanging hooks, and a helper if possible. Begin hanging from your central anchor piece and work outward, checking alignment as you go. Step back frequently to assess the overall effect from different angles and distances. Don’t be afraid to make adjustments if certain pieces don’t work as expected—gallery walls often evolve during the installation process. Once all pieces are hung, ensure frames are level and make any necessary small adjustments. Finally, consider lighting—properly illuminated artwork dramatically enhances the impact of your gallery wall. Track lighting, picture lights, or well-placed floor lamps can highlight your collection and create appealing shadows and dimension.
For more tips and to connect with reliable home service professionals, follow AskHomey on Facebook and Instagram.