Winter sowing is a revolutionary method that allows gardeners to start seeds outdoors during the coldest months using simple DIY mini greenhouses made from recycled containers. This technique harnesses natural freeze-thaw cycles to break seed dormancy, resulting in stronger, hardier seedlings than those started indoors. Perfect for native plant propagation and growing perennials from seed, winter sowing requires minimal equipment and provides a higher success rate for many hard-to-germinate species. In this guide, we’ll explore everything you need to know to implement this low-maintenance seed-starting approach in your own garden.
Understanding Winter Sowing
The winter sowing seeds guide begins with understanding the basic principle: many seeds, especially those of hardy perennials and native plants, benefit from a period of cold stratification. In nature, seeds fall to the ground in autumn, lie dormant through winter, and germinate in spring when conditions are right. Winter sowing mimics this natural process using containers as mini-greenhouses. When starting seeds outdoors in cold weather, the seeds experience the necessary cold period while being protected from harsh conditions, excessive moisture, and hungry wildlife. This method works particularly well for native wildflowers, many vegetables, perennial herbs, and hardy annuals that self-seed in your garden.
Materials Needed for DIY Mini Greenhouse Winter Sowing
Creating your winter sowing containers requires minimal materials, most of which can be repurposed from items you already have. Transparent or translucent plastic containers work best—milk jugs, water bottles, takeout containers, or salad containers with clear lids. You’ll also need potting soil, seeds, a permanent marker, duct tape, and a tool for making drainage holes. The transparency of the containers allows sunlight to reach the seeds while creating a protected environment that traps heat during the day and insulates seeds at night. This DIY mini greenhouse winter sowing approach is economical and environmentally friendly, turning potential waste into garden productivity.
Step-by-Step Winter Sowing Process
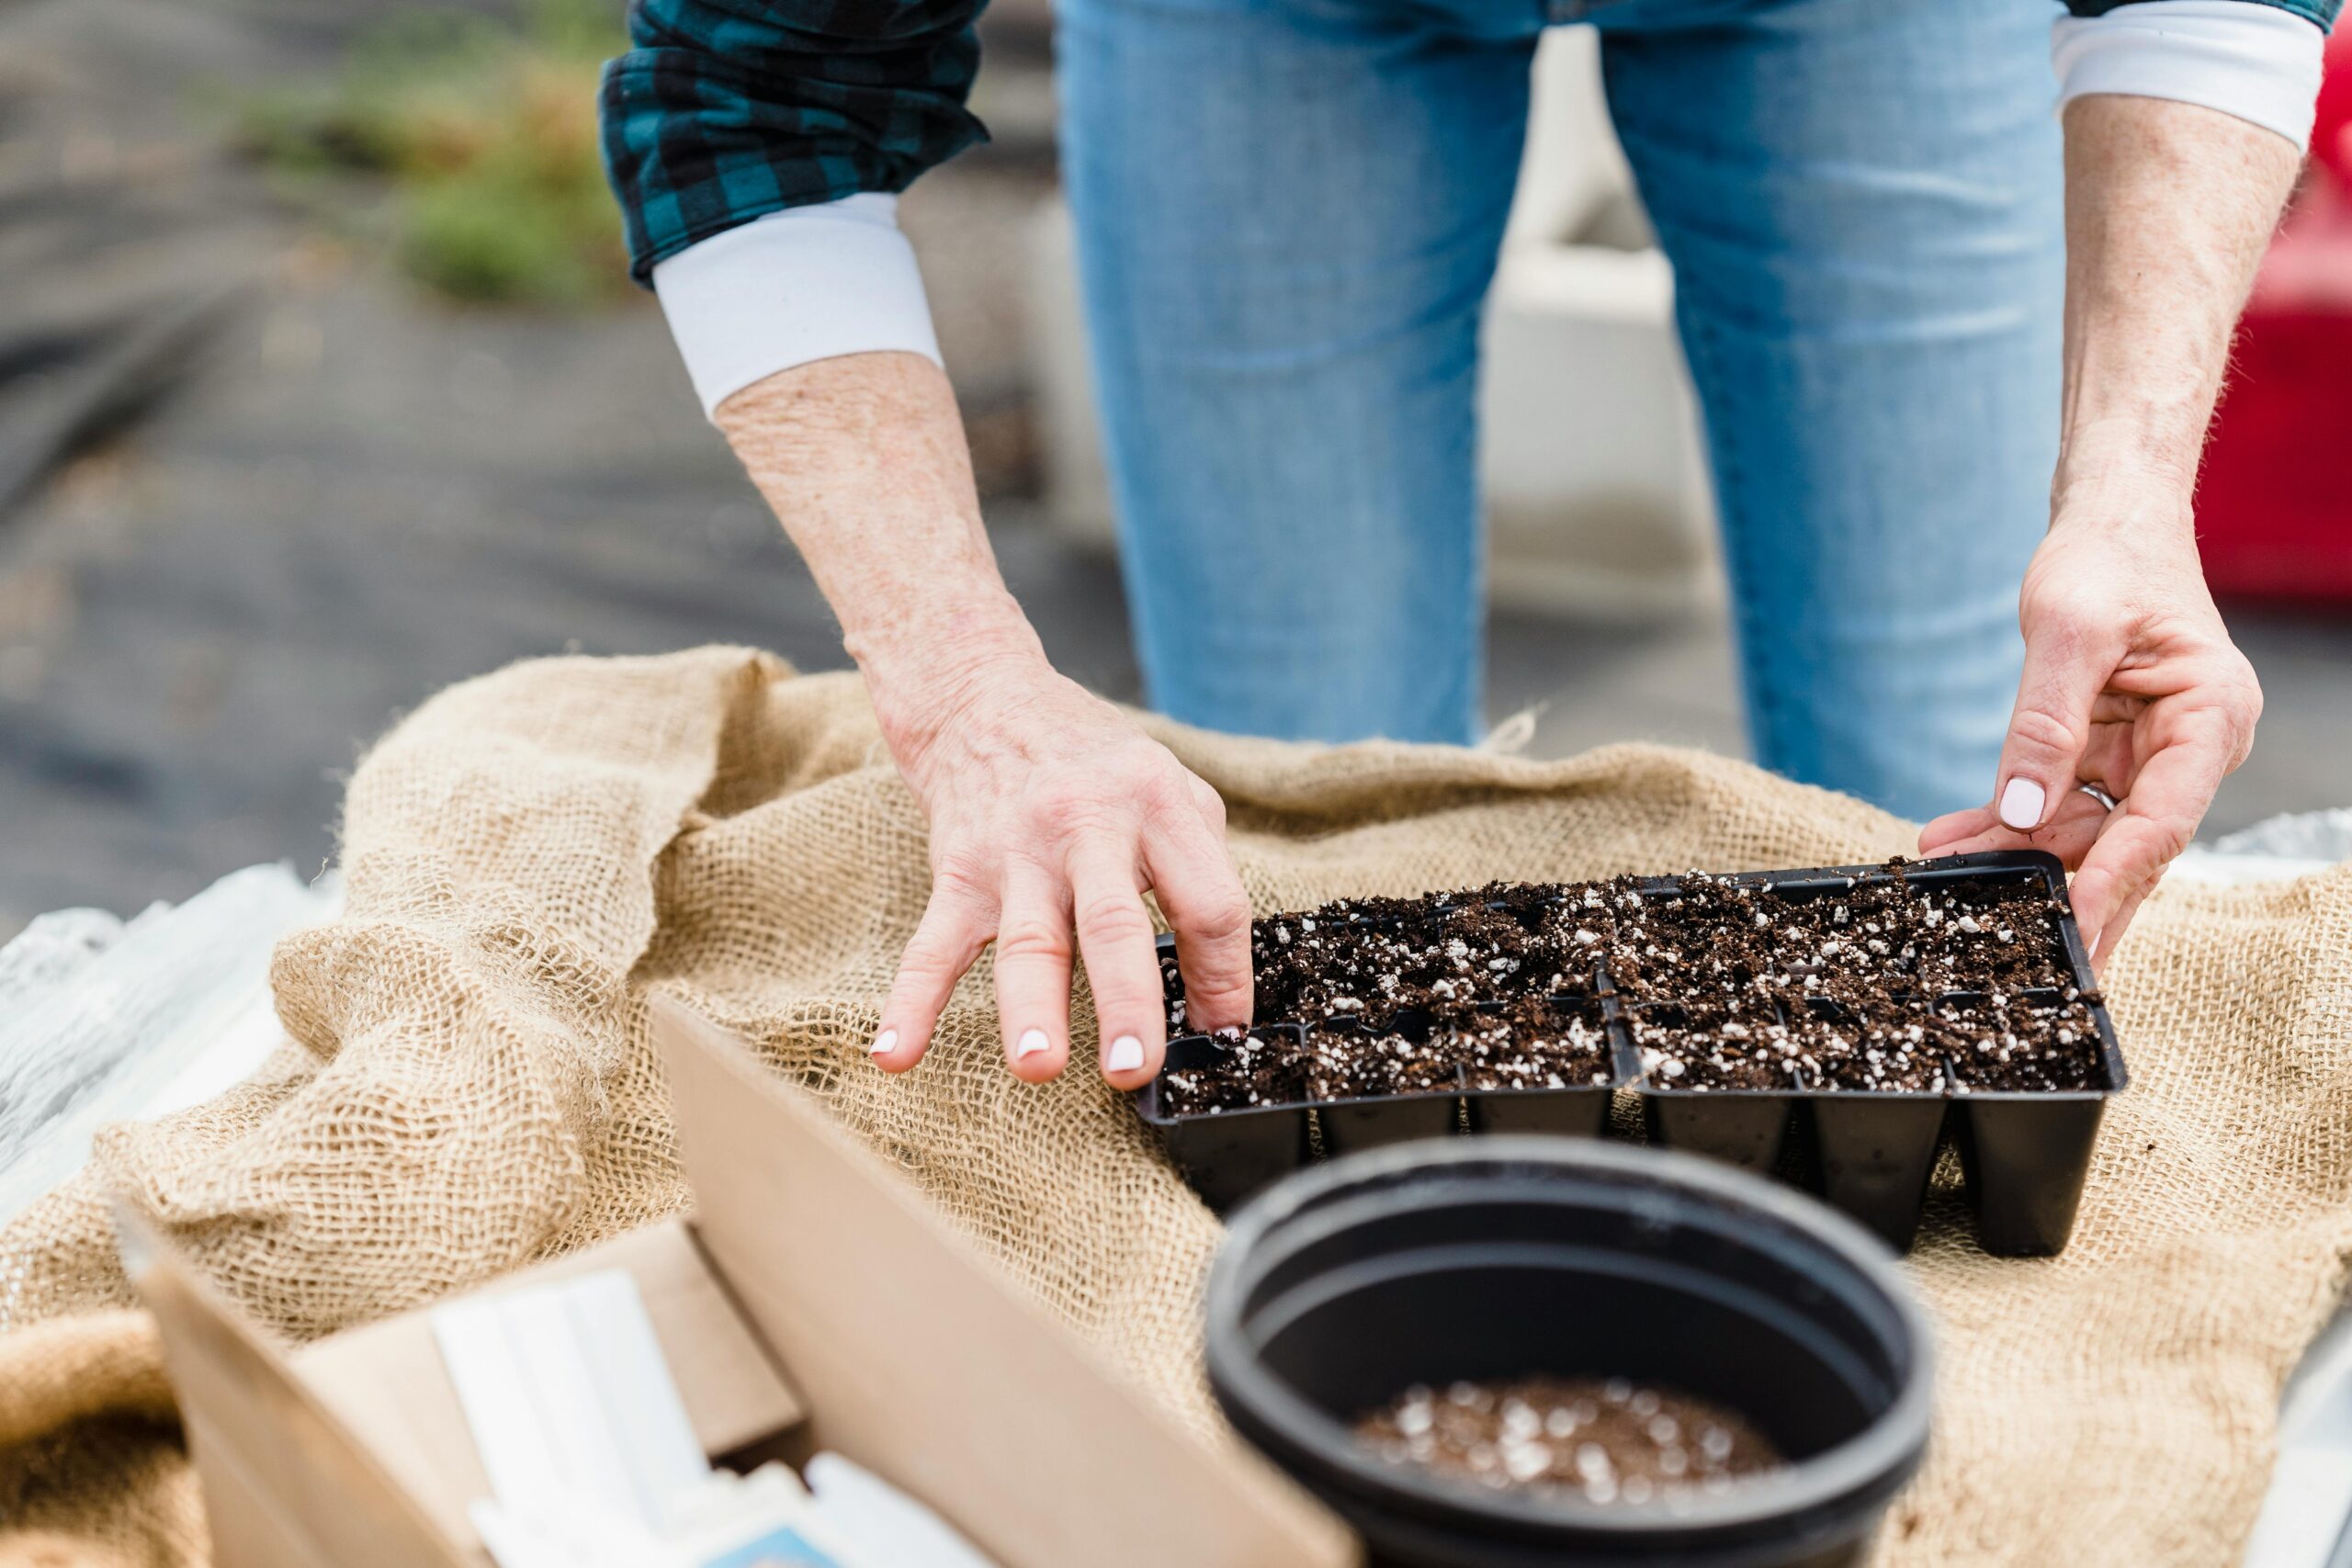
The winter sowing process begins in midwinter, typically January through March, depending on your climate zone. Start by preparing your containers: cut milk jugs or similar containers horizontally around the middle, leaving a small “hinge” intact. Punch drainage holes in the bottom and several small ventilation holes in the top. Fill the bottom portion with 3-4 inches of moistened potting mix. When starting seeds outdoors in cold weather, plant seeds according to package directions, but you can sow them a bit more densely than usual. Label each container with the plant name and date using a permanent marker or weatherproof tag. Finally, close the container and secure it with duct tape, but leave the cap off for ventilation and to allow precipitation to enter.
Placement and Maintenance
After preparing your containers, place them outdoors in a location that receives precipitation and sunlight but is protected from strong winds. A north or east-facing area often works well for winter sowing seeds. Unlike indoor seed starting, winter-sown containers require minimal attention. Check moisture levels occasionally during dry spells—the soil should be damp but not soggy. As temperatures warm in spring, you may need to open containers during unusually warm days to prevent overheating. The most remarkable aspect of this method is its self-regulating nature: seeds germinate when outdoor conditions are right for them, eliminating the need for hardening off seedlings before transplanting. For region-specific advice on timing and suitable plants for winter sowing in your area, you can consult AskHomey for customized gardening guidance.
Best Plants for Winter Sowing
Growing perennials from seed through winter sowing yields excellent results, particularly for species that require cold stratification. Native plant propagation is especially successful using this method. Excellent candidates include echinacea, rudbeckia, milkweed, columbine, and many prairie plants. Beyond natives, try perennial culinary herbs like thyme, sage, and lavender. Cold-hardy vegetables such as kale, spinach, and broccoli also perform well. Many plants that are challenging to start indoors due to specific germination requirements or delicate root systems thrive when winter sown. The natural conditions provided by this method often result in higher germination rates and stronger seedlings than indoor starting would produce.
Transplanting Winter-Sown Seedlings
Once spring arrives and your seeds have germinated and grown into seedlings with several sets of true leaves, they’re ready for transplanting. The beauty of winter sowing is that these seedlings are already acclimated to outdoor conditions, making transplant shock minimal to nonexistent. On a cloudy day or during the evening, gently separate seedlings and transplant them to their permanent garden locations. Water thoroughly after transplanting, and monitor for the first week to ensure they establish well. These naturally hardened seedlings typically establish quickly and often catch up to or surpass the growth of greenhouse-started plants by midsummer.
Advantages of Winter Sowing
The winter sowing method offers numerous advantages over traditional indoor seed starting. It eliminates the need for grow lights, heat mats, and constant monitoring of seedling trays. There’s no risk of damping-off disease, a common problem with indoor seedlings. The process of growing perennials from seed becomes simpler and more cost-effective. Native plant propagation success rates increase dramatically. Winter sowing also takes advantage of garden downtime during winter months, allowing you to get a head start on the growing season while avoiding the typical spring rush of garden preparations. Perhaps most importantly, winter-sown plants develop stronger root systems and greater resilience to weather fluctuations, resulting in hardier, more vigorous plants in your garden.
For more tips and to connect with reliable home service professionals, follow AskHomey on Facebook and Instagram.