When your heating or cooling system suddenly stops working properly, it can quickly become an uncomfortable situation for your household. While some HVAC problems require professional expertise, many common issues have simple solutions you can implement yourself. This article explores basic HVAC troubleshooting steps that might resolve your heating cooling problems without the expense of a service call. By following these practical DIY suggestions, you may be able to get your system back up and running before reaching for the phone.
Check Your Thermostat First
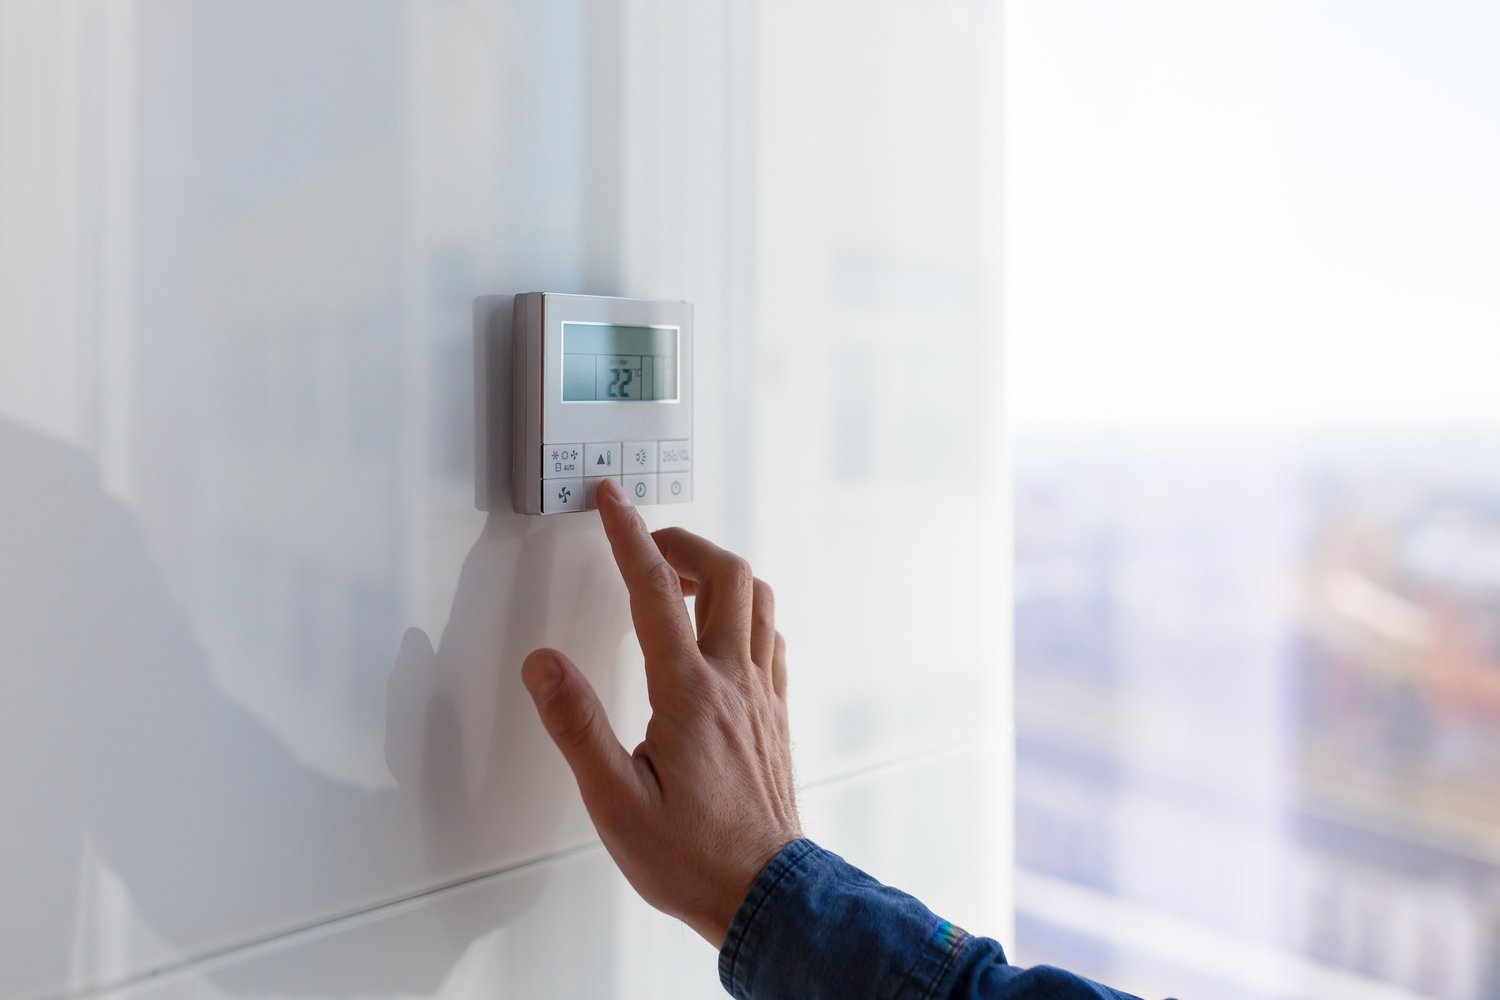
Many homeowners overlook the simplest explanation when facing HVAC issues: the thermostat settings. Before diving into more complex DIY AC repair tactics, verify that your thermostat is set to the correct mode (heating or cooling) and that the temperature setting is appropriate. If you have a programmable thermostat, check that the schedule hasn’t been accidentally modified. Sometimes, the solution is as simple as replacing dead batteries in your thermostat. For digital thermostats, try resetting it by turning off the power for a minute and then restoring it. A misplaced thermostat that’s in direct sunlight or near heat sources can also cause inaccurate temperature readings, making your system perform inconsistently.
Inspect and Replace Air Filters
Dirty air filters are among the most common culprits behind HVAC troubleshooting calls. When filters become clogged with dust and debris, they restrict airflow, forcing your system to work harder while delivering less heating or cooling. This issue can manifest as weak airflow from vents, uneven temperature distribution throughout your home, or even a system that continuously runs without reaching the desired temperature. For most residential systems, experts recommend checking filters monthly and replacing them every 1-3 months depending on factors like pets, allergies, and local air quality. This simple maintenance task costs just a few dollars but can prevent expensive repairs and extend the lifespan of your equipment.
Examine Circuit Breakers and Power Supply
When your furnace isn’t working or your AC won’t turn on, the issue might be electrical rather than mechanical. Locate your home’s electrical panel and check if any breakers associated with your HVAC system have tripped. Sometimes resetting a tripped breaker is all that’s needed to restore operation. For furnaces, verify that the power switch (which often looks like a regular light switch) located on or near the unit hasn’t been accidentally turned off. Similarly, outdoor AC condensers typically have a disconnect box nearby—ensure it’s in the “on” position. If power issues persist, you may want to consult resources like AskHomey for more specific guidance based on your system type before calling a professional.
Clear Blocked Vents and Registers
Proper airflow is crucial for efficient HVAC operation. Take time to inspect all supply and return vents throughout your home, ensuring they’re fully open and unobstructed by furniture, drapes, or other items. Closed or blocked vents can create pressure imbalances that strain your system and lead to heating cooling problems. Additionally, check that register dampers haven’t been accidentally closed. Vacuum any visible dust accumulation from vent covers and consider removing the covers to vacuum deeper if buildup is evident. While examining vents, listen for unusual noises that might indicate loose ductwork or obstructions deeper in the system.
Examine Your Outdoor Condenser Unit
For AC not cooling properly, the outdoor condenser unit deserves attention during your DIY AC repair efforts. Over time, these units can become surrounded by vegetation or collect debris like leaves, grass clippings, and dirt that impede airflow. Turn off power to the unit at the disconnect box, then gently clear away any vegetation within two feet of the unit. Use a garden hose on a gentle setting to wash away dirt from the exterior fins, spraying from the inside out. Be careful not to bend the delicate aluminum fins or use high pressure that could cause damage. Also check for ice formation on refrigerant lines, which indicates potential refrigerant issues that may require professional attention.
Investigate Strange Noises
Unusual sounds from your HVAC system can provide important clues during furnace not working fix attempts. Rattling noises might indicate loose panels that simply need tightening with a screwdriver. Grinding or squealing sounds often point to motor bearing issues or belt problems that might be resolved with lubrication in some older systems. Banging or popping in ductwork during system startup is usually caused by thermal expansion and may be normal, but persistent metallic tapping or rattling could suggest a cracked heat exchanger—a serious safety concern requiring immediate professional assessment.
Know When to Call a Professional
While DIY HVAC troubleshooting can resolve many common issues, certain problems demand professional expertise. If you smell gas near your furnace, leave your home immediately and call your gas company. Similarly, electrical burning odors, consistent tripping of circuit breakers, or any refrigerant leaks require professional intervention. Systems that short-cycle (turn on and off frequently) or make unusual noises that persist after basic troubleshooting also warrant expert attention to prevent more serious damage.
For more tips and to connect with reliable home service professionals, follow AskHomey on Facebook and Instagram.