Installing solar panels on your roof is a significant investment that can reduce your carbon footprint while saving money on electricity bills. However, before you take the plunge, it’s essential to understand how solar panels interact with your roof, what makes a roof suitable for solar installation, and how to properly integrate solar PV systems with your existing roofing structure. This article explores the critical considerations for homeowners contemplating solar energy, from structural requirements to installation best practices.
Assessing Your Roof’s Suitability for Solar
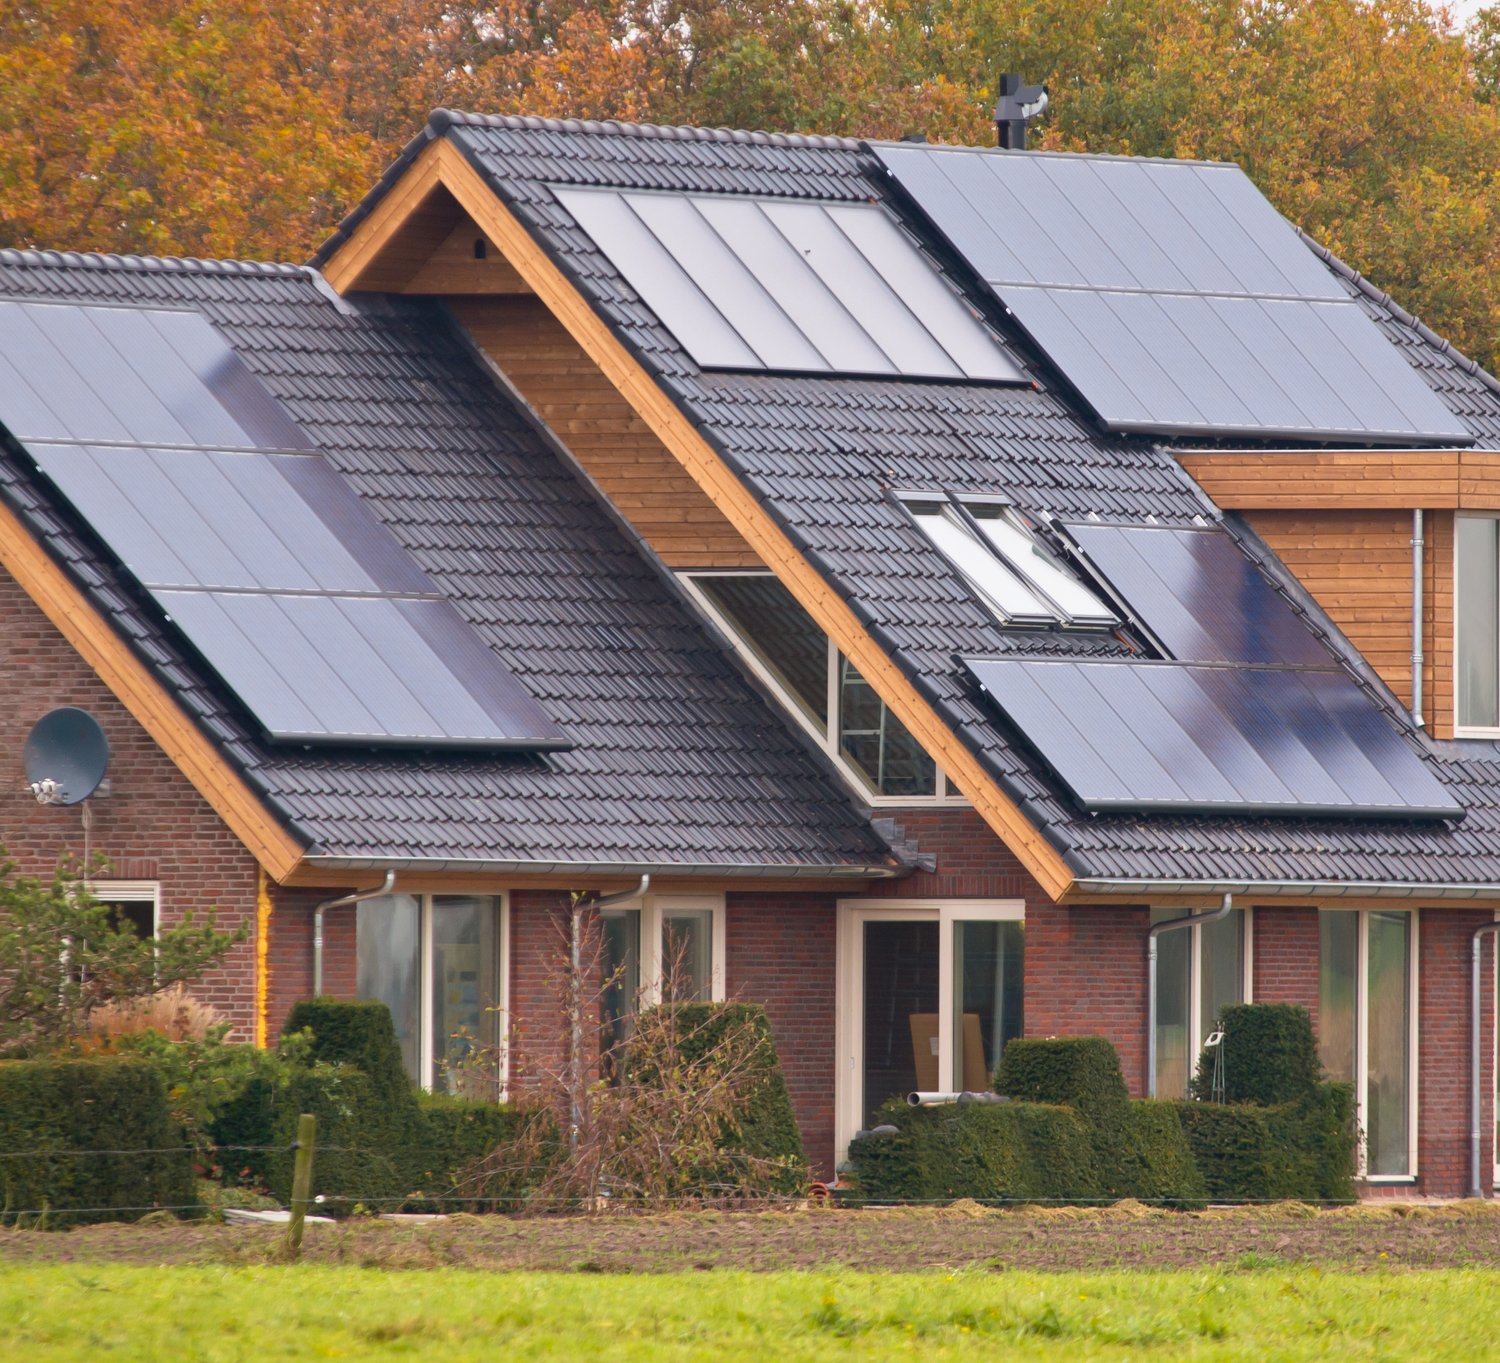
Not every roof is an ideal candidate for solar panels. The orientation of your roof plays a crucial role in determining energy production efficiency. In the Northern Hemisphere, south-facing roofs typically receive the most sunlight throughout the day, making them optimal for solar installation. East and west-facing sections can still be viable but may produce 15-20% less energy than their southern counterparts. Beyond orientation, roof pitch matters significantly. The ideal angle varies by location, but generally, a tilt between 30-45 degrees works well in most regions of the United States.
Shading is another critical factor when evaluating roof suitability for solar. Even partial shade from trees, chimneys, or neighboring buildings can substantially reduce energy output. Professional installers typically conduct a shade analysis using specialized tools to determine potential obstructions throughout different seasons and times of day. Keep in mind that trees grow over time, so what provides minimal shading now could become problematic in the future.
Age and condition of your roofing materials should also be carefully evaluated before integrating solar PV systems. Most solar panels have a lifespan of 25-30 years, so ideally, your roof should have at least that much life remaining. If your roof will need replacement within the next five years, it’s generally more cost-effective to replace it before installing solar panels to avoid the additional expense of removing and reinstalling the entire system later.
Structural Considerations and Weight Factors
A typical residential solar panel system adds approximately 2-4 pounds per square foot to your roof’s load. While most homes are built to handle this additional weight, older homes or those with pre-existing structural issues may require reinforcement. Local building codes typically specify the load-bearing capacity required for roofs, and your solar installer should verify compliance during the site assessment phase.
The roofing material itself significantly impacts installation methods and compatibility. Asphalt shingles, the most common residential roofing material, generally accommodate solar installations without complications. Metal roofs, particularly standing seam varieties, are ideal for solar as they allow for installation without roof penetrations. Clay tiles and slate roofs present more challenges and may require specialized mounting systems or professional consultation from experts at platforms like AskHomey to ensure proper installation without damaging these more delicate materials.
Roof space and configuration also determine how many panels you can install. A general rule of thumb is that each kilowatt of solar power requires about 100 square feet of roof space. A typical residential system ranges from 5-10 kilowatts, necessitating 500-1,000 square feet of usable roof area. Irregular roof shapes, dormers, vents, and skylights can limit available space and complicate panel arrangement.
The Installation Process Explained
A comprehensive solar installation guide would begin with a professional assessment. During this phase, solar contractors evaluate your energy needs, roof characteristics, and structural integrity. They’ll design a system that maximizes energy production while working within your roof’s constraints. Once designs are finalized, permits must be secured before installation can begin, a process that varies by municipality and can take several weeks.
The actual installation typically takes only 1-3 days for most residential systems. Installers first place mounting hardware, which is secured to your roof’s rafters to ensure structural integrity. Special flashing and sealants are used around mounting points to prevent water intrusion. After mounting hardware is secured, the panels are attached, followed by electrical wiring. Finally, inverters are installed to convert the DC electricity produced by panels into AC electricity used by your home.
Long-Term Roof Considerations
Integrating solar PV with your existing roof affects maintenance procedures. While solar panels themselves require minimal maintenance, they can complicate roof repairs when needed. Some installers offer warranties that cover the removal and reinstallation of panels if roof work becomes necessary, which is worth inquiring about before committing to installation.
Contrary to some misconceptions, properly installed solar panels can actually extend roof life by shielding roofing materials from UV exposure, rain, and snow. The area beneath panels typically experiences less weathering than exposed sections. However, ensuring proper installation with adequate airflow between panels and the roof surface is crucial to prevent moisture buildup that could lead to deterioration.
For homeowners with aging roofs, some companies now offer integrated solar roofing products that serve dual purposes as both roofing material and energy generator. These systems can be more aesthetically pleasing and eliminate concerns about installing panels on older roofing materials, though they typically come at a premium price point.
For more tips and to connect with reliable home service professionals, follow AskHomey on Facebook and Instagram.