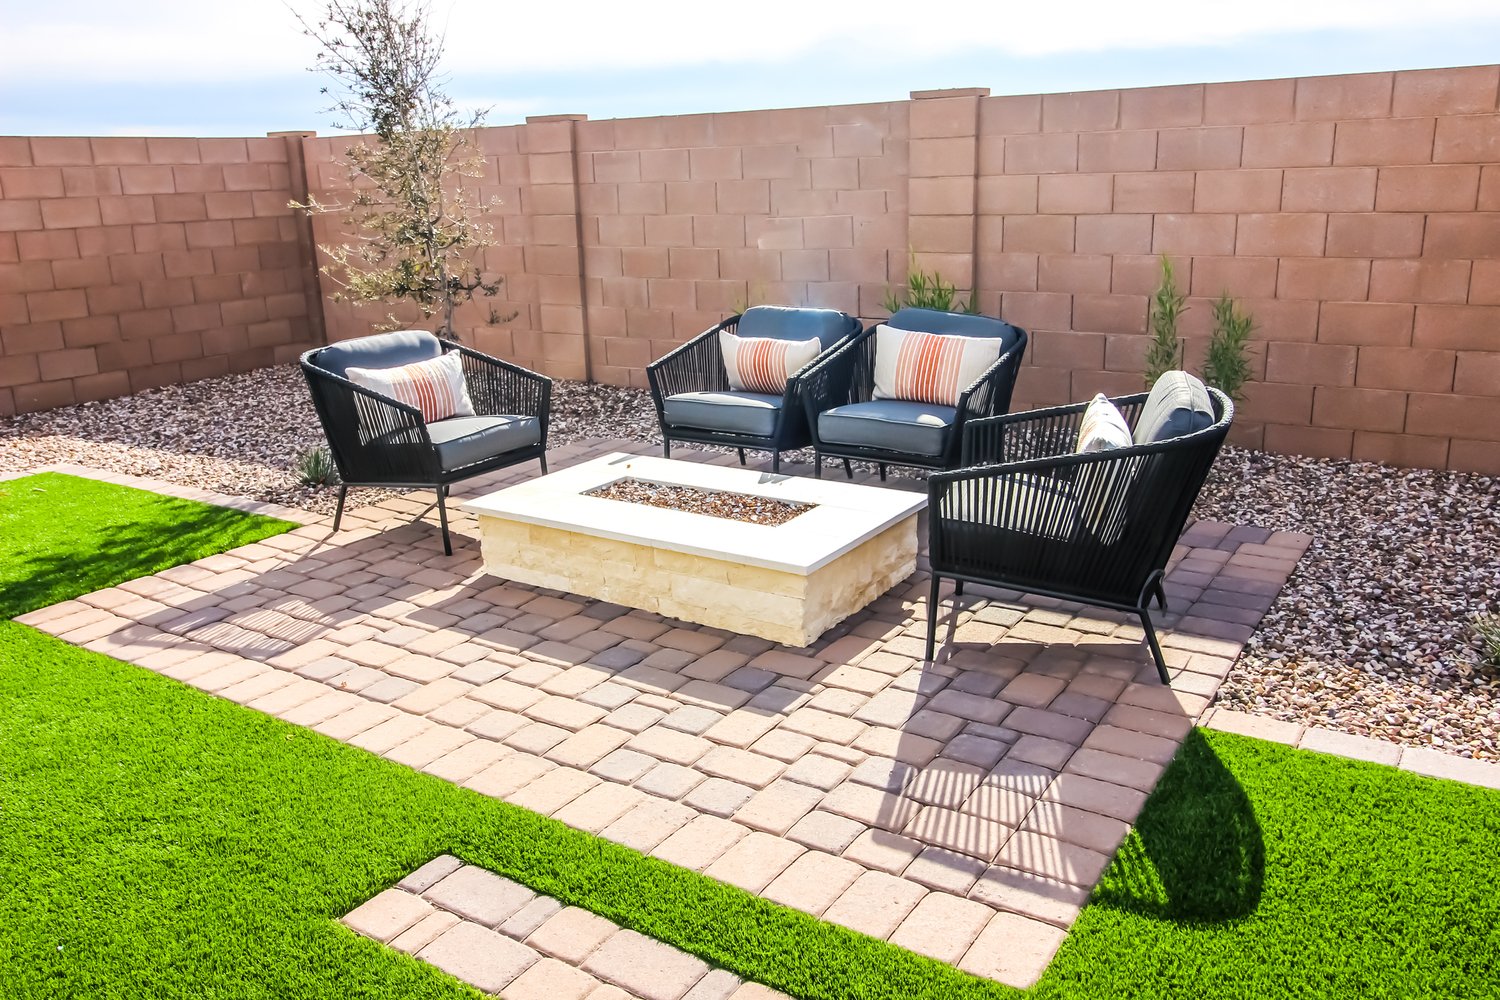
A beautiful paver patio, walkway, or driveway can dramatically enhance your home’s curb appeal and outdoor living space. However, over time, these installations often develop uneven areas where pavers sink, shift, or become displaced. These issues not only look unattractive but can also create tripping hazards and drainage problems. The good news is that you don’t necessarily need to tear out and reinstall your entire paver surface to restore its appearance and functionality. This guide will walk you through the process of identifying issues, gathering necessary tools, and executing proper techniques to repair sunken pavers and fix uneven paving areas.
Understanding Why Pavers Sink and Shift
Before beginning any paver restoration project, it’s important to understand what causes these problems in the first place. Pavers typically sink or become uneven due to several factors. Poor initial installation with inadequate base preparation is a common culprit, as is soil erosion from improper drainage. Freeze-thaw cycles can gradually move pavers out of position, especially in colder climates. Heavy objects like vehicles or outdoor furniture can also cause pavers to sink over time, as can root growth from nearby trees. By identifying the underlying cause, you can address it properly during your repair to prevent future issues.
Tools and Materials You’ll Need
Tackling a project to re-level patio stones requires specific tools and materials to ensure success. You’ll need a pry bar or flat-head screwdriver to carefully lift existing pavers, along with a rubber mallet for tapping them back into place. A level will be essential for ensuring your repaired area is properly aligned. For materials, you’ll need additional paver sand, crushed gravel or stone for base repair, and possibly polymeric sand for refilling joints after repair. A hand tamper or plate compactor will help compact the base material, while a push broom will be needed for sweeping in new joint sand. Safety equipment including gloves and eye protection should not be overlooked. As noted by experts at AskHomey, investing in quality materials for your paver repairs will result in a longer-lasting fix.
Preparing the Area for Repair
Begin your repair by clearing the area around the sunken or uneven pavers. Remove any furniture, plants, or decorations to create a clean workspace. Then carefully inspect the entire paver surface to identify all areas needing attention, marking them if necessary. It’s important to determine how extensive the problem is, as sometimes what appears to be just a few sunken pavers could indicate a larger underlying issue. Take photographs before you begin so you can reference the original pattern when replacing pavers. If the area has existing joint sand or polymeric sand, you may need to carefully clean out these joints around the affected pavers to make removal easier.
Removing and Re-leveling Sunken Pavers
The next step in your paver restoration project is to carefully remove the sunken or uneven pavers. Insert your pry bar or screwdriver at the edge of the affected paver and gently lift it out. Work slowly to avoid damaging the pavers or surrounding stones. Once removed, inspect the base material underneath. In many cases, you’ll find that the sand or crushed stone base has eroded or compacted, creating a depression. Add new base material to bring the area back to the proper height, typically adding about an inch more than needed to allow for compaction. Use your hand tamper or plate compactor to firmly compact this new base material, checking frequently with your level to ensure proper grading. The goal is to create a firm, flat surface that will properly support the pavers and prevent future sinking.
Reinstalling and Securing the Pavers
After preparing a solid, level base, it’s time to reinstall your pavers. Begin by adding a thin layer of paver sand (about 1 inch) on top of your compacted base material. This bedding sand allows for minor adjustments in height and provides a cushion for the pavers. Carefully place each paver back into position, matching the original pattern. Use your rubber mallet to tap each paver firmly into place, checking frequently with your level to ensure they’re even with surrounding pavers. Once all pavers are reinstalled, spread fresh joint sand across the surface and sweep it into the gaps between pavers. This step is crucial to fix uneven paving for the long term, as the joint sand locks pavers in place and prevents shifting. For areas with drainage issues or frequent exposure to water, consider using polymeric sand which hardens when wet and provides even stronger joint stability.
Finishing Touches and Maintenance Tips
After completing your repair and ensuring all pavers are level and secure, give the entire area a thorough cleaning. This not only improves appearance but also helps remove any excess sand. If using polymeric sand, follow the manufacturer’s instructions for proper setting, which typically involves lightly misting the area with water. To maintain your newly repaired paver surface, implement a regular maintenance schedule that includes sweeping, occasional rinsing, and prompt addressing of any weed growth in joints. Apply a quality paver sealer every 2-3 years to protect the surface from staining and to stabilize the joint sand. Regular maintenance will extend the life of your pavers and reduce the likelihood of needing to re-level patio stones in the future.
For more tips and to connect with reliable home service professionals, follow AskHomey on Facebook and Instagram.