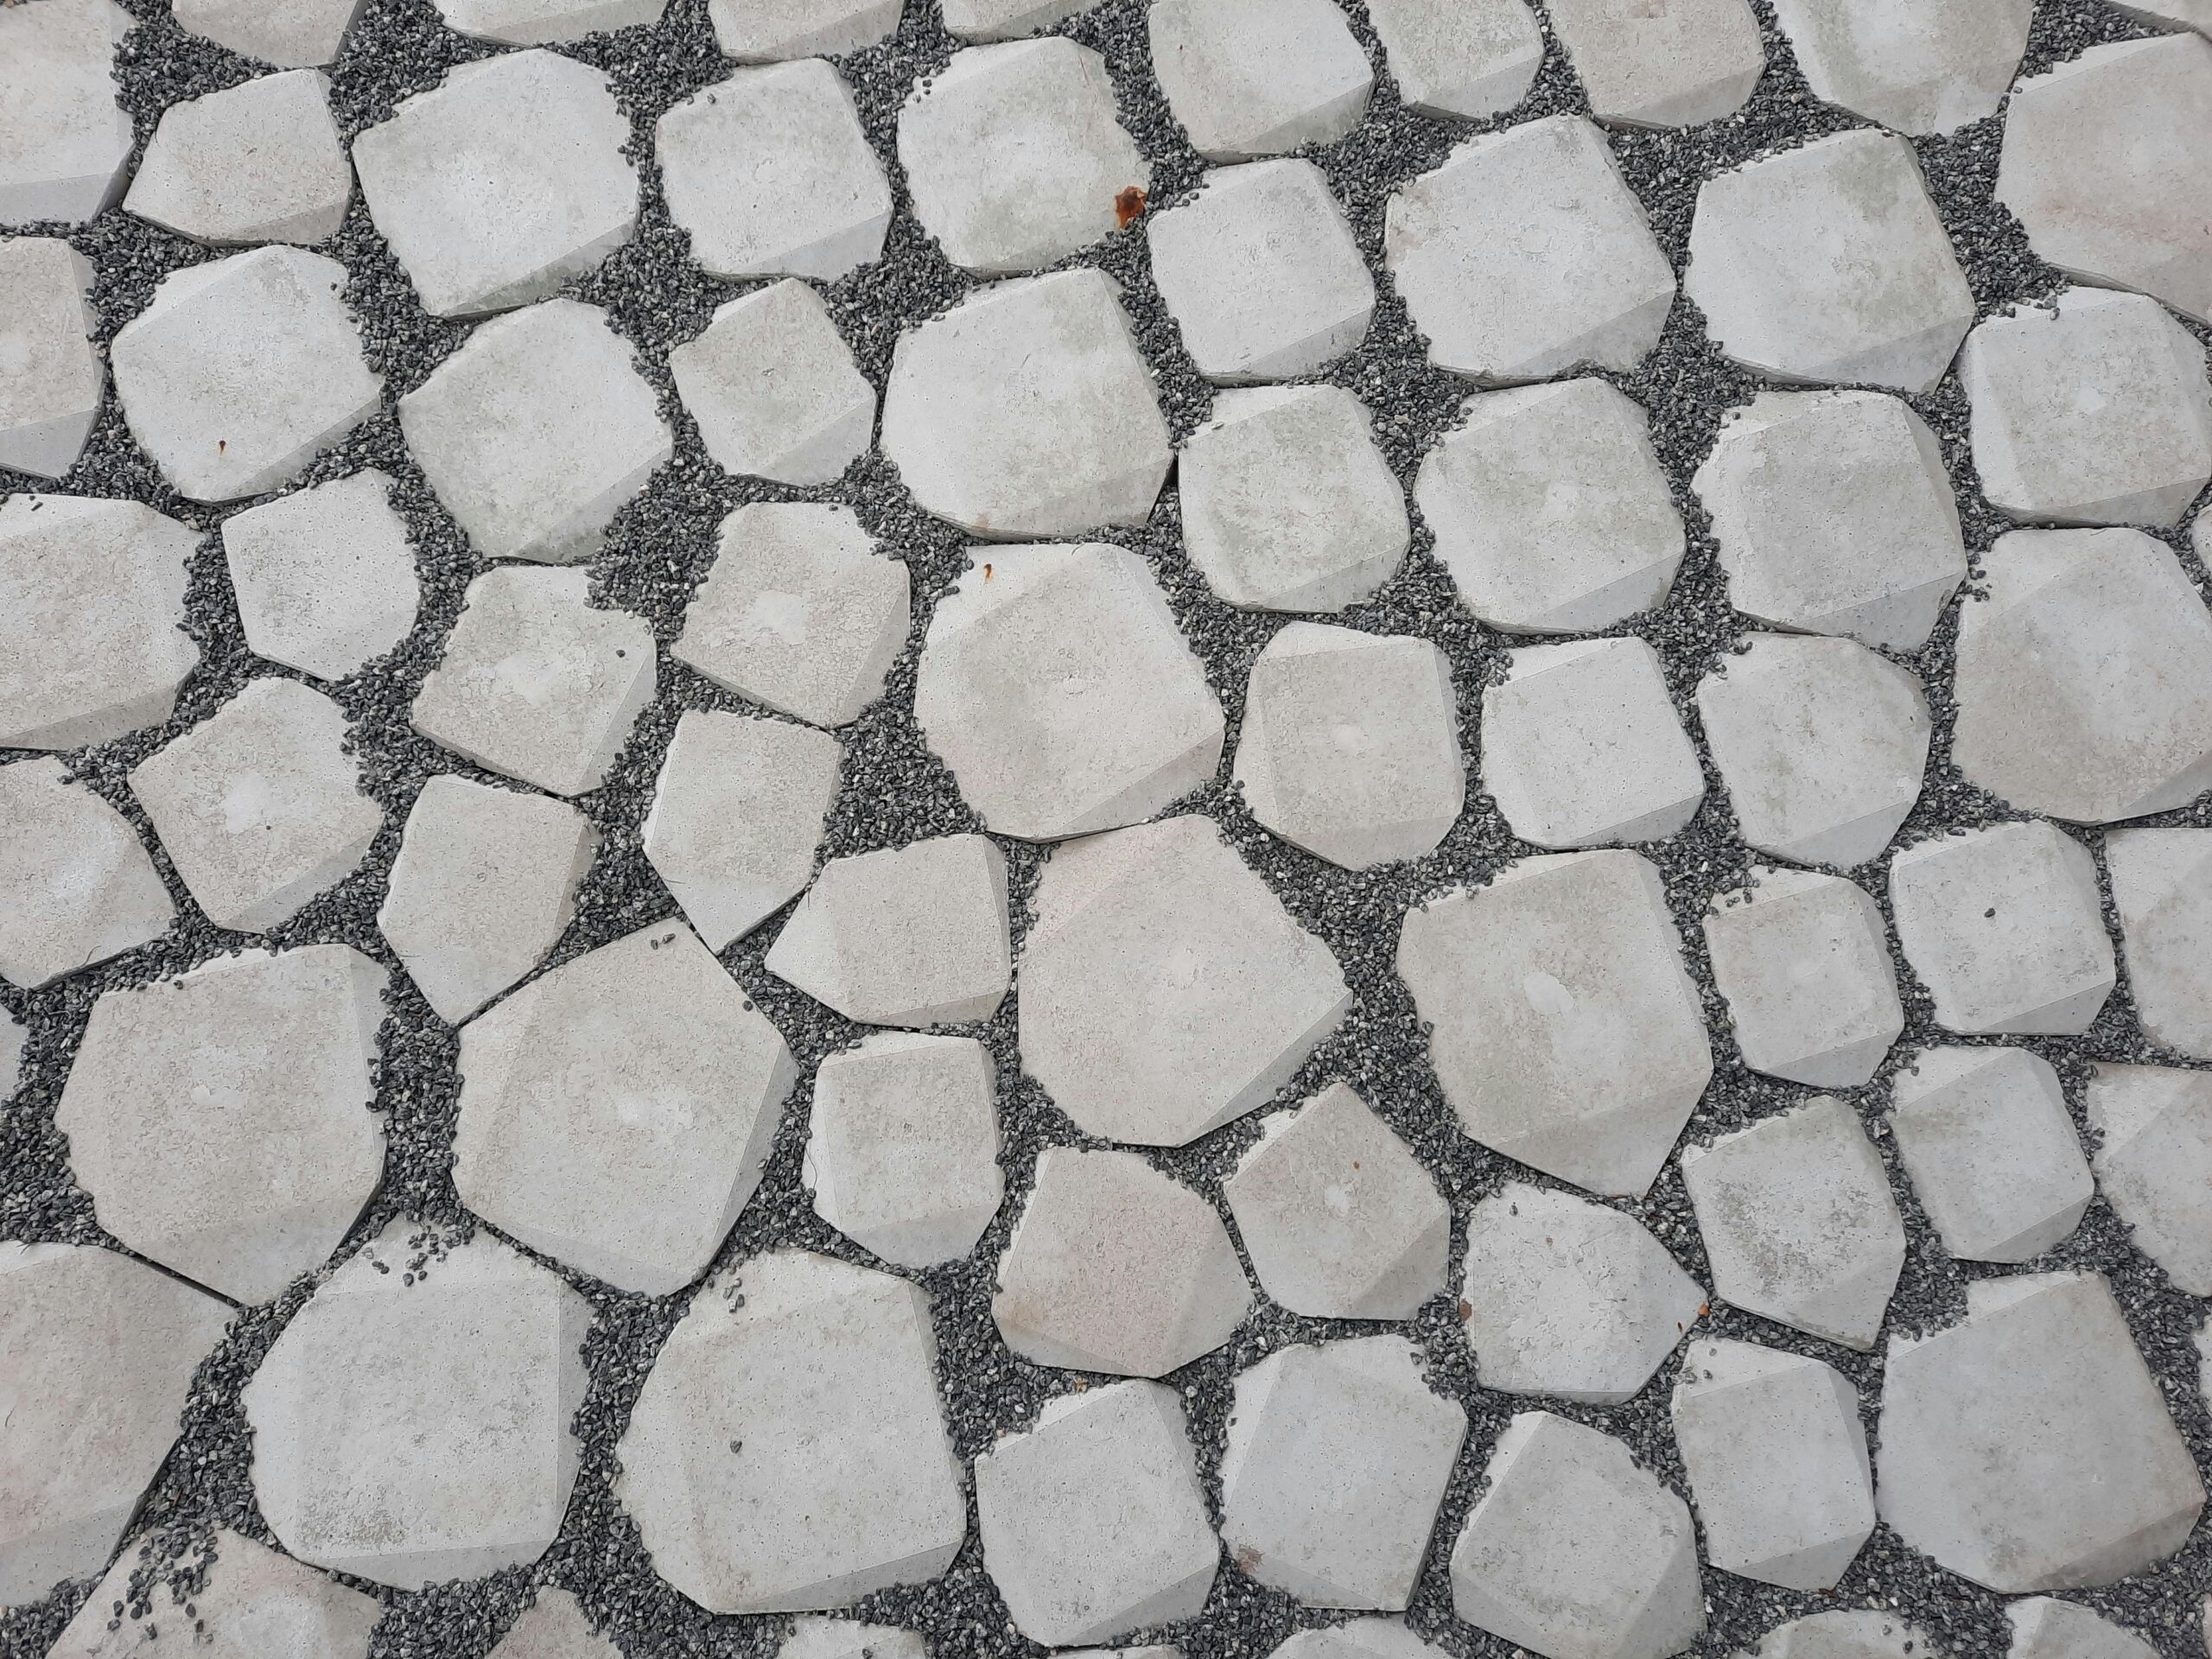
A well-designed paver walkway can transform your outdoor space, creating both functional pathways and visual appeal throughout your landscape. Whether you’re looking to improve your home’s curb appeal with an elegant front walkway or enhance garden accessibility with charming paths, pavers offer versatility and durability that few other materials can match. This comprehensive paver walkway installation guide will walk you through the essential steps of creating beautiful garden path pavers, from initial planning and design through proper base preparation and various paver laying patterns for walkways. We’ll also explore creative walkway edging ideas and discuss the typical cost to install a paver walkway, whether you choose to DIY or hire professionals.
Planning Your Paver Walkway Design
Before purchasing any materials for your DIY garden path pavers, take time to thoroughly plan your walkway. Consider how the path will be used—is it a main entrance to your home requiring a wider design, or a casual garden path where a narrower width will suffice? Map out the route using garden hoses or marking paint to visualize the flow. Pay attention to how the walkway connects different areas of your landscape and creates natural movement through your outdoor space. When selecting paver materials, consider how they complement your home’s architecture and existing landscape elements. Natural stone pavers create a rustic, timeless look, while concrete pavers offer more uniform shapes and colors at a lower cost to install paver walkway projects. Brick pavers provide classic charm that works well with traditional home styles. Your climate should also influence material choice, as freeze-thaw cycles can affect certain paver types.
Base Preparation: The Foundation of Success
The longevity of your paver walkway installation depends heavily on proper base preparation. Begin by excavating the pathway area to a depth of 7-9 inches, allowing space for 4-6 inches of compacted base material, 1 inch of sand, and the thickness of your pavers. Ensure the excavated area extends 6 inches beyond your planned walkway edges to accommodate edging materials. Install landscape fabric to prevent weed growth before adding your base material, typically crushed stone or gravel. Add the base material in 2-inch layers, thoroughly compacting each layer with a plate compactor before adding the next. This methodical approach prevents future settling and shifting. The base should slope slightly away from buildings (about ¼ inch per foot) to ensure proper drainage. After the base is compacted, add a 1-inch layer of coarse sand, screed it level, and lightly dampen it before beginning the paver installation process.
Paver Laying Patterns: Creating Visual Interest
One of the most creative aspects of paver walkway installation is selecting paver laying patterns for your walkway. Different patterns create distinct visual effects and can influence how spacious or intimate a path feels. The running bond pattern, where pavers are laid in offset rows like brickwork, offers a clean, traditional look that’s straightforward to install. Herringbone patterns, with pavers set at 45-degree or 90-degree angles to each other, provide excellent interlocking strength for heavy traffic areas. Basket weave patterns create a classic, formal appearance suited to traditional landscapes, while random patterns using pavers of different sizes create casual, natural-looking pathways. When installing, work from one end of the path, setting pavers firmly into the sand bed. Use a rubber mallet to tap pavers into place, and regularly check for level and proper alignment as you progress along the path.
Walkway Edging Ideas and Finishing Touches
Proper edging is essential for maintaining the structural integrity of your paver walkway over time. Walkway edging ideas range from practical plastic or metal edging strips to decorative options like brick soldiers (bricks set vertically along the edge), natural stone borders, or concrete curbing. After installing edging, spread fine polymeric sand over the entire surface and sweep it into the joints between pavers. This sand hardens when moistened, locking pavers in place while remaining flexible enough to prevent cracking. Gently spray the surface with water according to the polymeric sand manufacturer’s instructions to activate the binding agents. For enhanced paver protection and color preservation, consider applying a quality sealer after the installation is complete and the sand has fully set. You can find professional hardscapers with expertise in advanced techniques on AskHomey if you prefer expert assistance with these finishing steps.
Understanding the Cost to Install a Paver Walkway
The typical cost to install a paver walkway varies based on several factors. Material choice significantly impacts budget, with concrete pavers generally being most economical at $5-15 per square foot installed, while natural stone can range from $15-30 per square foot. Path size and complexity also affect cost—straight paths require less cutting and labor than curved or intricate designs. Additionally, site conditions may require extra preparation work; sloped areas, poor soil drainage, or tree root removal can increase installation costs. While DIY garden path pavers can save on labor costs, which typically account for 50-60% of professional installation pricing, weigh this against the time investment and equipment rental fees for proper compaction tools. For complex or large-scale installations, professional installation ensures proper technique and often includes warranties on both materials and workmanship.
For more tips and to connect with reliable home service professionals, follow AskHomey on Facebook and Instagram.


