Many homeowners overlook their garage when thinking about home insulation, treating it as merely a storage space rather than a valuable extension of their living area. A properly insulated garage can dramatically improve comfort, reduce energy costs, and provide better protection for vehicles and stored items. This comprehensive guide explores the numerous benefits of garage insulation and provides a straightforward DIY garage insulation approach that even beginners can follow. By the end, you’ll have all the warm garage ideas you need to transform your space.
Why Insulating Your Garage Matters
An uninsulated garage acts as a significant thermal leak in your home’s envelope. During winter months, temperatures in an uninsulated garage can drop drastically, sometimes approaching outdoor conditions. Similarly, summer heat can make the space uncomfortably hot. This temperature fluctuation affects not only the garage itself but can impact adjacent living spaces as well. Following a proper insulate garage guide can help maintain a more consistent temperature, creating a buffer zone between your home and the outdoors.
Beyond comfort, garage insulation delivers substantial energy savings. Homes with attached garages often lose heating and cooling through the shared walls, especially if the garage door is frequently opened. By insulating walls, ceilings, and even the garage door, you create a thermal barrier that reduces this energy transfer. Homeowners who have implemented proper insulation report noticeable decreases in their utility bills, sometimes recovering the cost of installation within just a few years through these savings.
Another compelling benefit of garage insulation is the protection it provides for your belongings. Temperature fluctuations can damage vehicles, tools, paints, and other stored items. Extreme cold can crack fluids and batteries in vehicles, while excessive heat can warp tools and cause chemicals to deteriorate. Proper insulation creates a more stable environment that extends the life of everything you keep in your garage, representing significant long-term savings on replacement costs.
Assessing Your Garage Insulation Needs
Before beginning any DIY garage insulation project, it’s essential to evaluate your specific needs. Start by identifying all areas requiring insulation: walls, ceiling, garage door, and potentially the floor. Check for existing insulation, which might be inadequate or damaged. Examine your garage for air leaks around windows, doors, and utility penetrations, as these can undermine even the best insulation efforts.
Consider your climate when selecting insulation materials. In colder regions, you’ll want higher R-values (thermal resistance) to retain heat, while milder climates might require less. Your intended use of the garage also matters; workshops and converted living spaces demand better insulation than simple storage areas. As experts at AskHomey often recommend, matching your insulation approach to your specific usage patterns ensures you invest in solutions that provide meaningful benefits.
Also evaluate moisture concerns in your garage. Some garages experience significant humidity or water infiltration issues that must be addressed before insulation installation. Failing to manage moisture can lead to mold growth and reduced insulation effectiveness. Proper vapor barriers and ventilation may be necessary components of your insulation strategy.
Choosing the Right Insulation Materials
Several insulation options work well for garage applications, each with distinct advantages. Fiberglass batts remain popular for their affordability and DIY-friendly installation. These batts fit between wall studs and ceiling joists and provide good thermal performance when properly installed. For those seeking better performance, rigid foam boards offer higher R-values per inch of thickness and create an excellent air barrier when joints are properly sealed.
Spray foam insulation represents a premium option that delivers superior air-sealing and insulation in one application. While typically requiring professional installation, spray foam reaches into crevices and creates a seamless barrier against both heat transfer and air infiltration. For garage doors specifically, specialized insulation kits are available that attach directly to the door panels, completing your garage’s thermal envelope.
Don’t overlook the importance of weatherstripping and sealing. Even the best insulation underperforms if air freely flows around doors and windows. Quality weatherstripping around the garage door perimeter and sealing gaps around windows and utility penetrations complements your insulation efforts and enhances overall performance.
Step-by-Step DIY Garage Insulation Process
Successful garage insulation begins with thorough preparation. Clear the space as much as possible, removing items stored against walls. Clean surfaces to ensure proper adhesion of materials and check for any electrical or plumbing issues that should be addressed before walls are covered. Gather all necessary tools including a utility knife, measuring tape, staple gun, caulk gun, and appropriate safety gear.
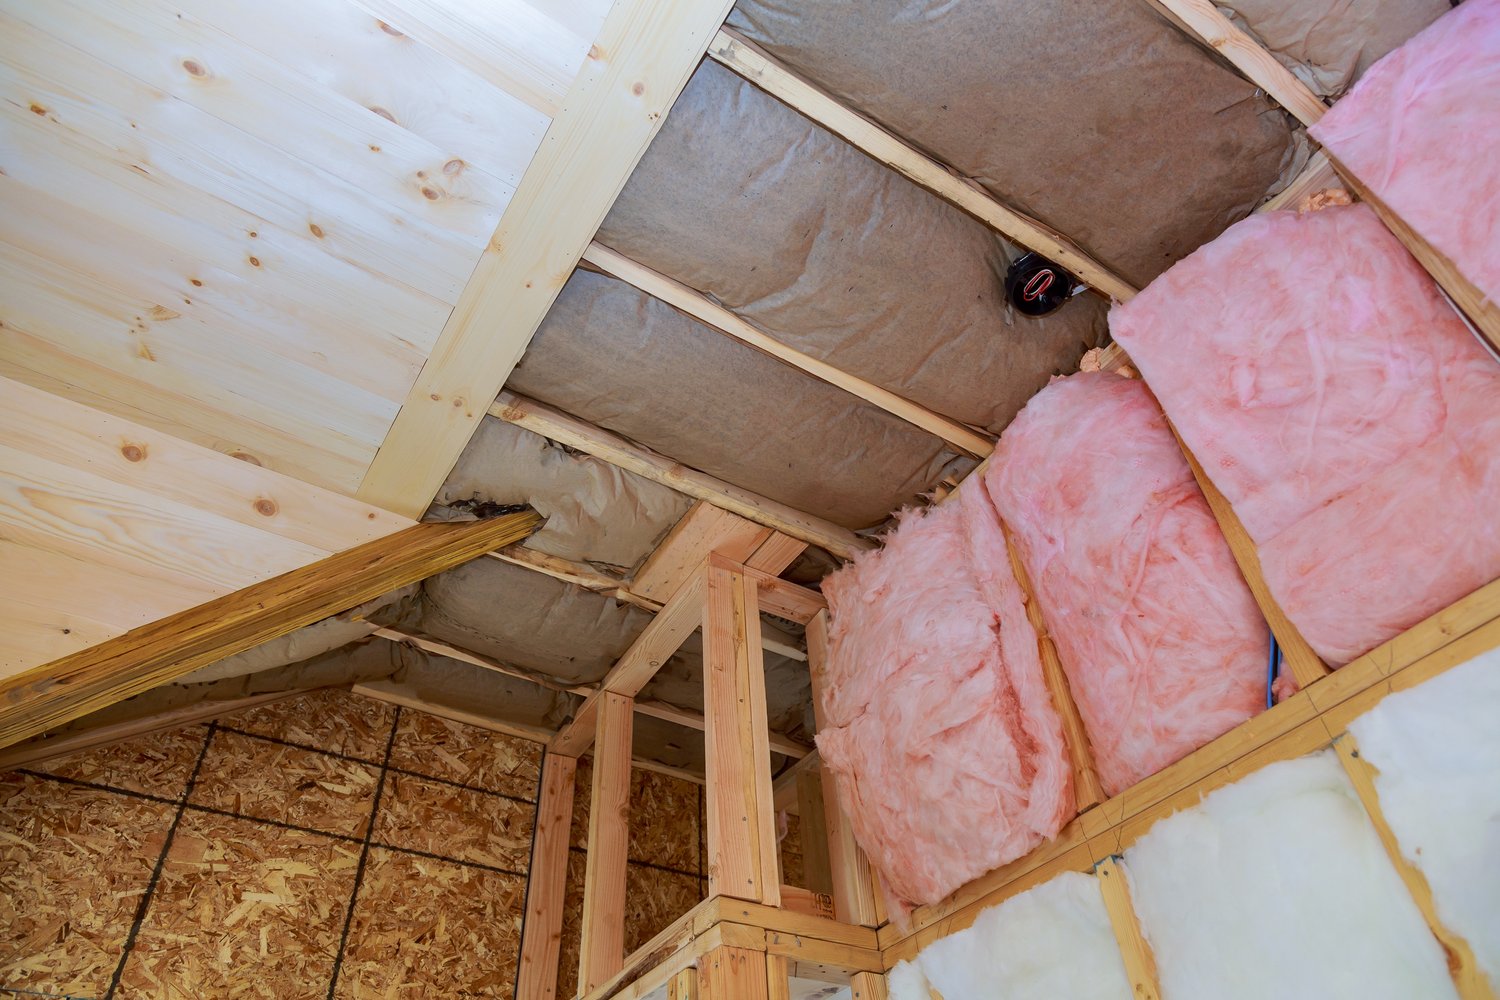
For wall insulation, measure the height of each cavity between studs and cut insulation to fit with a slight compression fit. Install vapor barriers according to your local building codes – typically facing the heated side of the structure. Secure insulation with staples through the flanges on faced insulation or with insulation supports for unfaced batts. Repeat this process for ceiling insulation, working carefully around lighting fixtures and maintaining proper clearance from heat sources.
Garage door insulation requires specialized approaches. Measure each panel and cut rigid foam or garage door insulation kits to fit precisely. Attach these panels according to manufacturer instructions, typically using adhesive or special clips. For maximum effectiveness, consider upgrading weatherstripping around the entire door perimeter to prevent drafts from undermining your insulation efforts.
After insulating, many homeowners choose to finish their garage with drywall or paneling, which not only improves appearance but also protects insulation and enhances fire safety. This finishing touch transforms the space from a basic storage area into a more functional part of your home, potentially suitable for expanded living or workshop activities that require warm garage ideas for year-round comfort.
For more tips and to connect with reliable home service professionals, follow AskHomey on Facebook and Instagram.