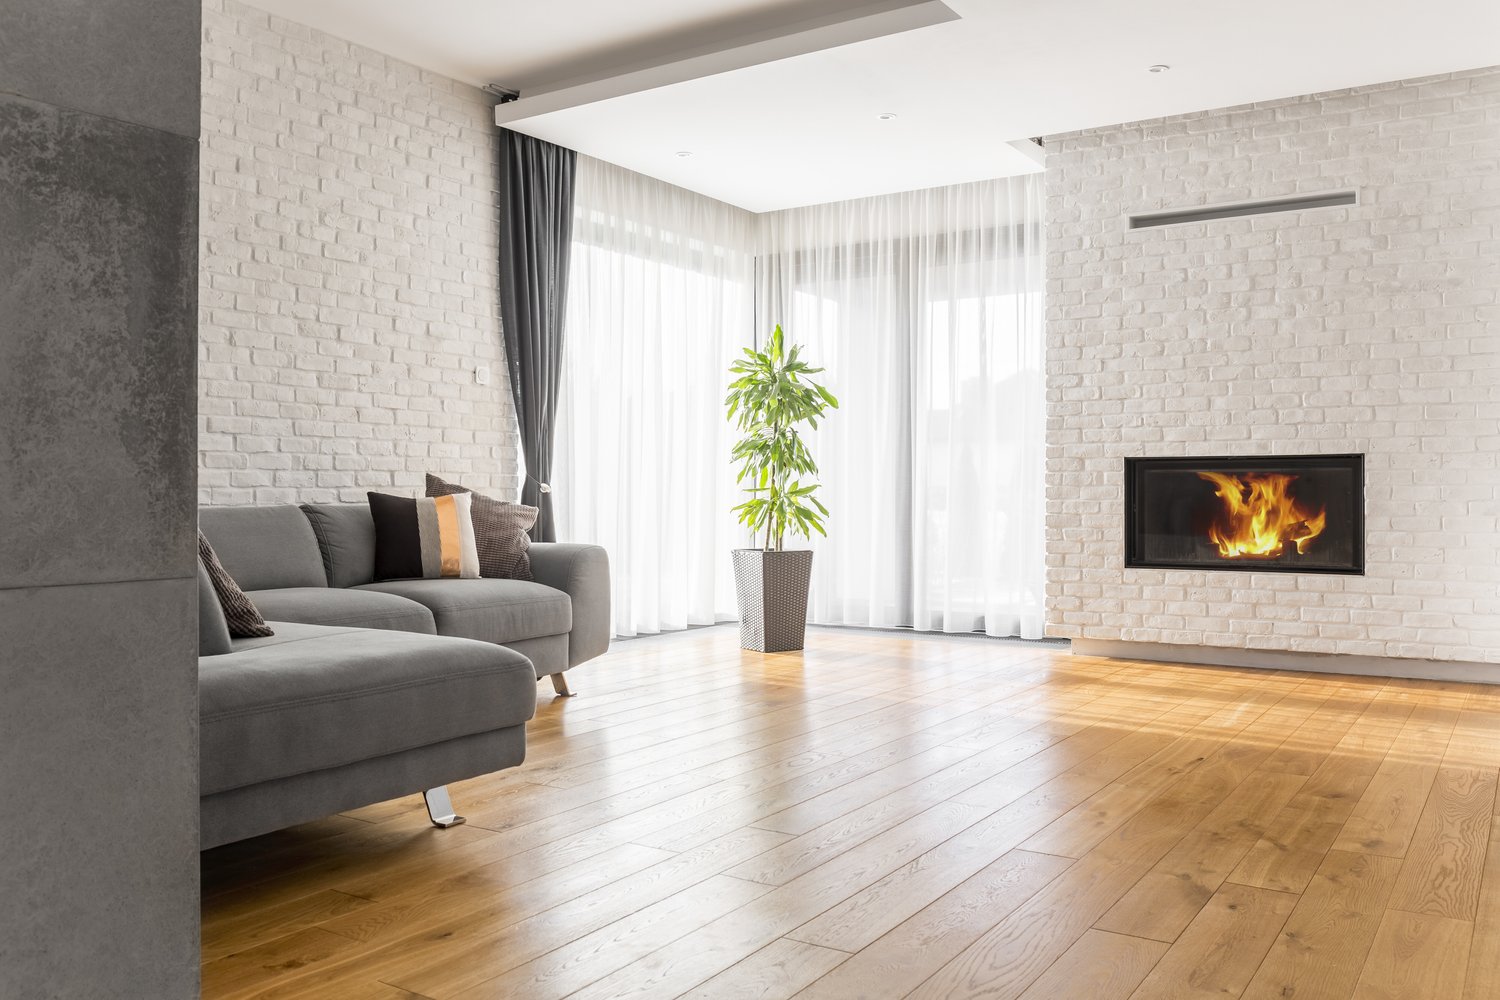
Laminate flooring has become increasingly popular among homeowners due to its durability, affordability, and ease of installation. With the right tools and preparation, installing click-lock laminate flooring can be a rewarding weekend DIY project that adds significant value to your home. This comprehensive guide will walk you through the entire process of installing a floating floor system, from preparation to finishing touches, helping even novice DIYers achieve professional-looking results without the expense of hiring contractors.
Understanding Laminate Flooring
Before you begin your install laminate flooring DIY project, it’s important to understand what you’re working with. Laminate flooring consists of multiple layers fused together under high pressure. The core layer is typically made of high-density fiberboard (HDF), topped with a photographic layer that mimics wood, stone, or tile, and sealed with a clear protective layer. Modern laminate uses a click-lock system where planks connect without glue, creating what’s known as a “floating floor install” because it isn’t attached to the subfloor. This design allows the floor to expand and contract with temperature and humidity changes, preventing buckling and warping over time.
Materials and Tools Needed
Preparing all necessary materials before beginning your click-lock laminate installation will save time and frustration. You’ll need laminate flooring (with at least 10% extra for waste and mistakes), underlayment (unless it’s pre-attached), vapor barrier (for concrete subfloors), spacers, a pull bar, tapping block, rubber mallet, measuring tape, pencil, straight edge, utility knife, jigsaw or circular saw, safety goggles, knee pads, and transition moldings for doorways or where the laminate meets other flooring types. Many home improvement stores offer click lock laminate installation tips through in-store demonstrations, and searching online for an install laminate flooring DIY guide instructions video can provide visual references for the techniques described in this article.
Preparing Your Space
Proper subfloor preparation is critical for a successful laminate installation. Begin by removing all furniture, baseboards, and existing flooring if necessary. Thoroughly clean the subfloor, addressing any squeaks by securing loose areas with screws. Ensure the subfloor is level by checking with a long straight edge; any variations greater than 3/16″ over 10 feet should be leveled using a floor leveling compound. For concrete subfloors, conduct a moisture test to determine if a vapor barrier is needed. Allow new flooring to acclimate to your home’s environment by placing unopened boxes in the installation room for 48 hours before starting your project. This acclimation period is one of the most important floating floor install tips that professionals at AskHomey consistently emphasize for preventing future warping issues.
Installation Process
The actual installation begins with laying the underlayment according to manufacturer directions, typically with seams taped to create a continuous moisture barrier. Start in a corner of the room and work left to right, maintaining a 1/4″ expansion gap around all walls using spacers. The first row requires special attention as it will guide all subsequent rows. For the first plank, remove the tongue on the side facing the wall. Connect subsequent planks by inserting the tongue of the new plank into the groove of the installed one at an angle, then lowering it into place. The click-lock system should engage securely without forcing. Stagger end joints by at least 6 inches between adjacent rows for structural stability and aesthetic appeal.
Cutting and Fitting
When reaching walls or obstacles, you’ll need to cut planks to fit. Measure carefully, accounting for the expansion gap, and mark your cutting line. For straight cuts, score with a utility knife and snap the plank along the line. For irregular cuts around door jambs or heating vents, use a jigsaw with a fine-tooth blade. To cut around pipes, drill a hole slightly larger than the pipe’s diameter and cut from the hole to the edge of the plank in a V-shape. After installation, this piece can be glued back together around the pipe and the gap concealed with pipe collars.
Finishing Touches
After all flooring is installed, remove the spacers and install baseboards or quarter-round molding to cover the expansion gaps. These should be nailed to the wall, not the floor, to allow the floating floor to move naturally. Install transition strips where the laminate meets different flooring types. Clean the finished floor according to manufacturer recommendations, typically with a slightly damp mop or laminate-specific cleaner. Avoid excessive water which can damage the fiberboard core. Consider creating an installation diary with photos of the process to help with any future repairs or renovations.
Maintenance and Care
Maintaining your newly installed laminate floor is straightforward but essential for longevity. Place felt pads under furniture legs to prevent scratches and use area rugs in high-traffic zones. Clean spills promptly to prevent moisture damage, and use a microfiber mop for regular cleaning rather than wet mops or steam cleaners. With proper care, your DIY laminate flooring installation should provide years of beautiful, durable service while having saved you considerable installation costs.
For more tips and to connect with reliable home service professionals, follow AskHomey on Facebook and Instagram.