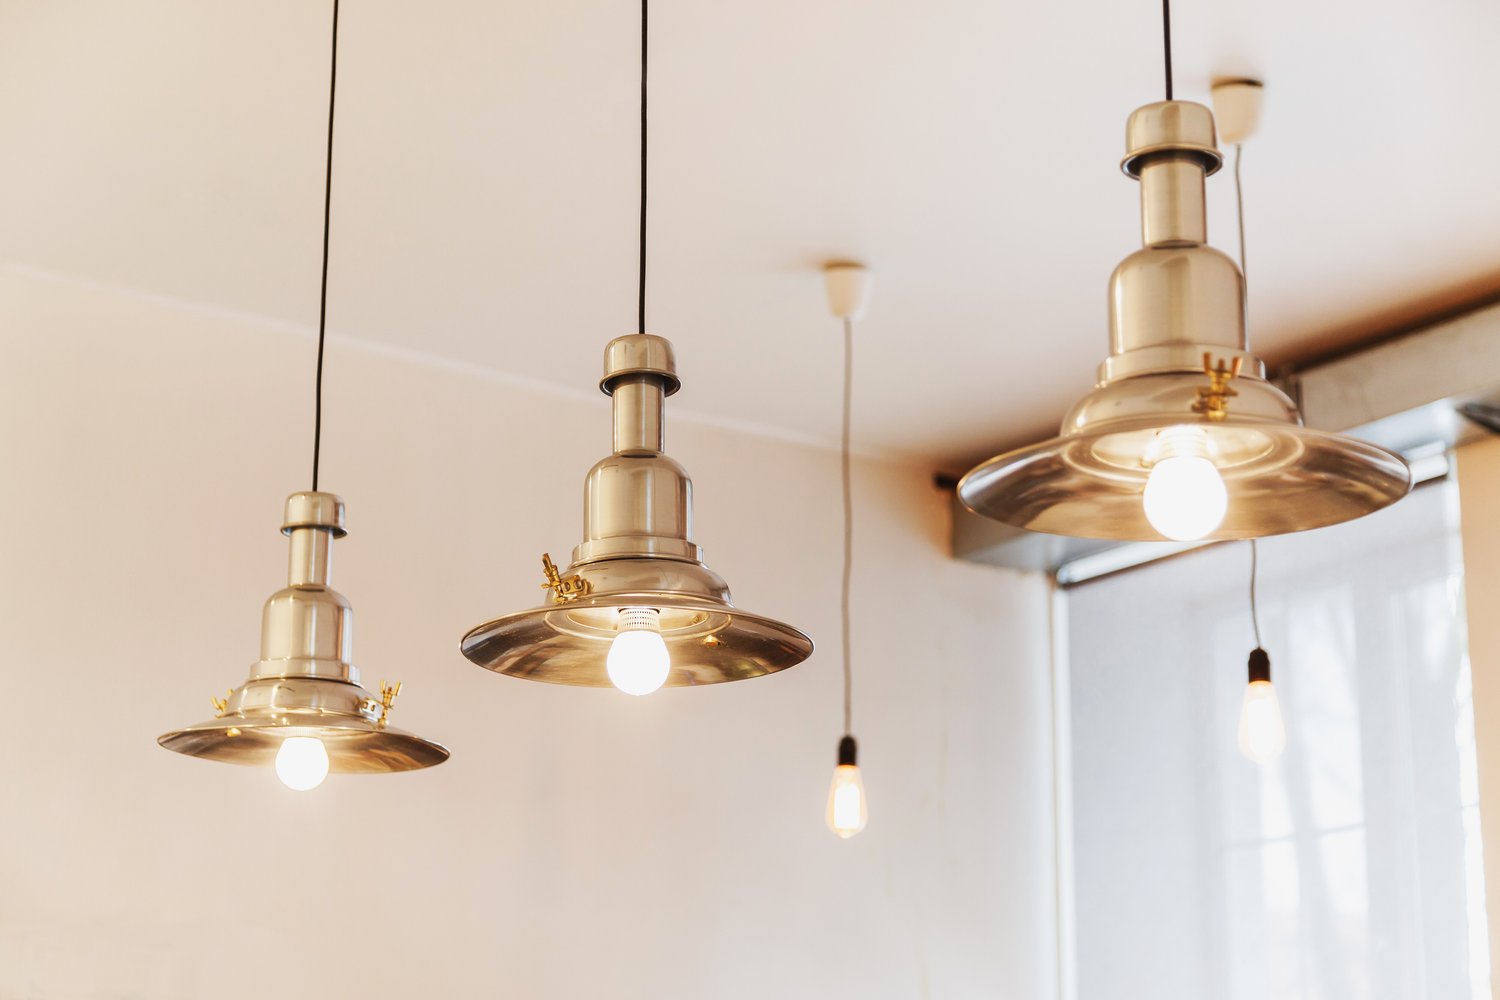
Replacing an outdated light fixture with a new one can instantly transform the ambiance of any room in your home. This DIY light fixture installation guide will walk you through the entire process from preparation to final testing. While electrical work may seem intimidating, replacing a ceiling light is a manageable task for most homeowners when proper safety precautions are followed. With the right tools and a methodical approach, you can successfully install new lighting and enjoy the results of your handiwork for years to come.
Understanding the Basics of Light Fixture Replacement
Before you begin your project to replace a ceiling light, it’s important to understand what you’re working with. Most residential light fixtures operate on standard 120-volt circuits and connect to your home’s electrical system through a ceiling junction box. The wiring typically includes three main wires: a black (hot) wire, a white (neutral) wire, and a green or bare copper (ground) wire. Your new light fixture will have corresponding wires that need to be properly matched and connected. Taking time to familiarize yourself with these components before starting your DIY light fixture installation will help ensure a smooth process and reduce the likelihood of mistakes.
Safety First: Essential Precautions
Electrical safety should always be your top priority when working with lighting. Before you begin, locate your home’s breaker box and turn off the circuit breaker that controls power to the fixture you’ll be replacing. Simply turning off the light switch is not sufficient, as the fixture’s wires may still be energized. After switching off the breaker, verify that the power is truly off by turning the light switch on and confirming the fixture doesn’t light up. For added security, use a non-contact voltage tester to check for any live current in the wires once you’ve removed the old fixture. As recommended by experts at AskHomey, never work on electrical projects when standing on wet floors or in damp conditions, and always use insulated tools when possible.
Tools and Materials Needed
Proper preparation is key to a successful install new lighting project. Gather all necessary tools and materials before beginning work to avoid leaving exposed wires while you search for something. You’ll need a screwdriver (both flathead and Phillips), wire strippers, electrical tape, wire nuts, pliers, a voltage tester, and a ladder tall enough to reach your ceiling comfortably. Additionally, have a flashlight handy in case you need to work in low light conditions after cutting power. Your new light fixture should come with mounting hardware, but check the package to ensure all components are included. Having an assistant to hold the fixture while you connect wires can be extremely helpful, especially with heavier ceiling fixtures.
Removing the Old Fixture
Once you’ve confirmed the power is off, you can begin removing the existing fixture. Start by removing any glass shades, bulbs, or decorative elements to make the fixture lighter and prevent breakage. Next, remove the mounting screws that secure the fixture base to the ceiling junction box. Carefully lower the fixture base to expose the wiring connections. You’ll see wire nuts connecting the fixture wires to your home’s electrical wires. Untwist these wire nuts and separate the connections, keeping track of which wires were connected to each other. As you fully detach the old fixture, pay attention to how it was mounted, as your new fixture will likely mount in a similar fashion.
Installing the New Fixture
Before attaching the new fixture, check the ceiling junction box to ensure it’s secure and can support the weight of your new light. If the box seems loose or damaged, this is the time to repair or replace it. Most new fixtures come with a mounting bracket that attaches to the junction box first. Install this bracket according to the manufacturer’s instructions. Next, connect the wires from your new fixture to the corresponding house wires: black to black (hot), white to white (neutral), and green or bare copper to the ground wire. Secure each connection with wire nuts, twisting clockwise until tight, then wrap each connection with electrical tape for added security. Carefully tuck all wires into the junction box, making sure none are pinched or exposed.
Securing and Testing Your New Fixture
With the wiring complete, attach the fixture base to the mounting bracket using the provided screws. Ensure the fixture is level and sits flush against the ceiling. Install any additional components like glass shades or decorative elements according to the manufacturer’s instructions. Once the fixture is fully assembled, return to your breaker box and restore power to the circuit. Test your new installation by turning on the light switch. If the light works properly, congratulations on your successful DIY light fixture installation! If the light doesn’t work, turn the power off again and check your wiring connections for errors.
Troubleshooting Common Issues
Even the most careful installations sometimes encounter problems. If your new fixture doesn’t work after installation, first check that the bulbs are functioning and properly installed. Next, verify that the wall switch is working correctly. If these basic checks don’t resolve the issue, turn off the power again and inspect your wire connections. Loose or incorrect wire connections are the most common cause of malfunctioning new fixtures. Ensure the wire nuts are tightly secured and that you’ve matched the correct wires (black to black, white to white, ground to ground). If you’ve double-checked everything and still have problems, it may be time to consult with a professional electrician.
For more tips and to connect with reliable home service professionals, follow AskHomey on Facebook and Instagram.


