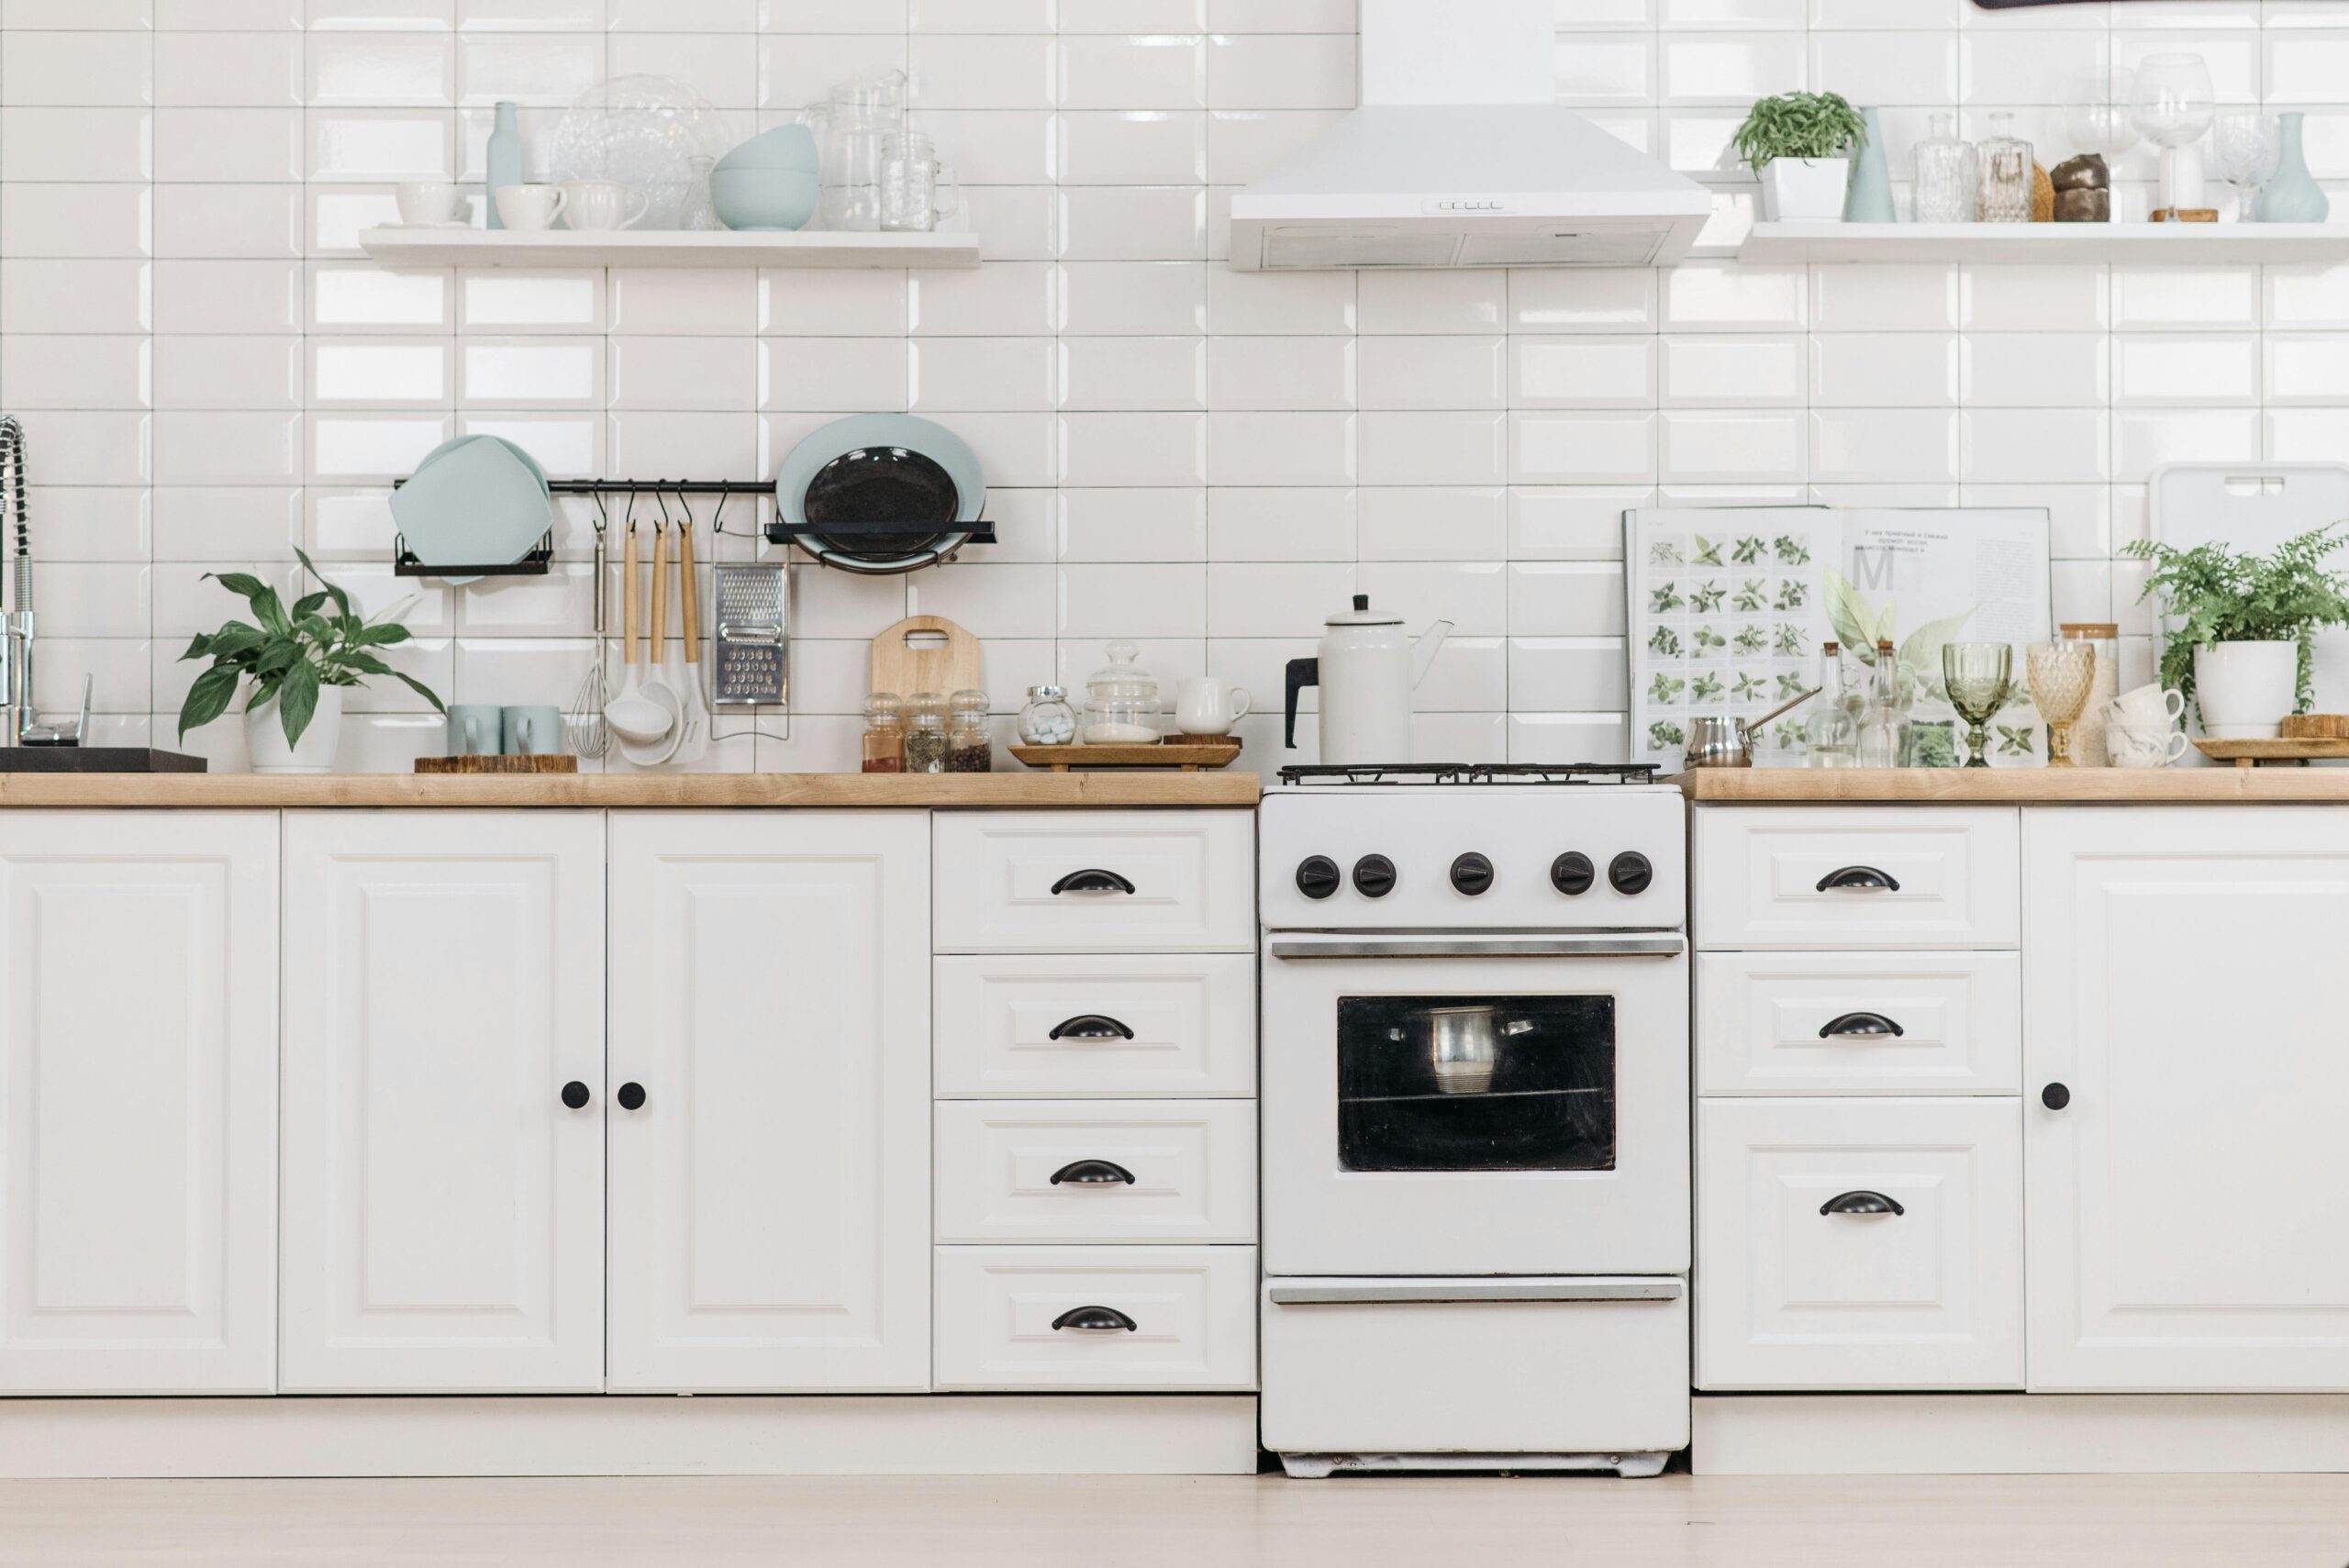
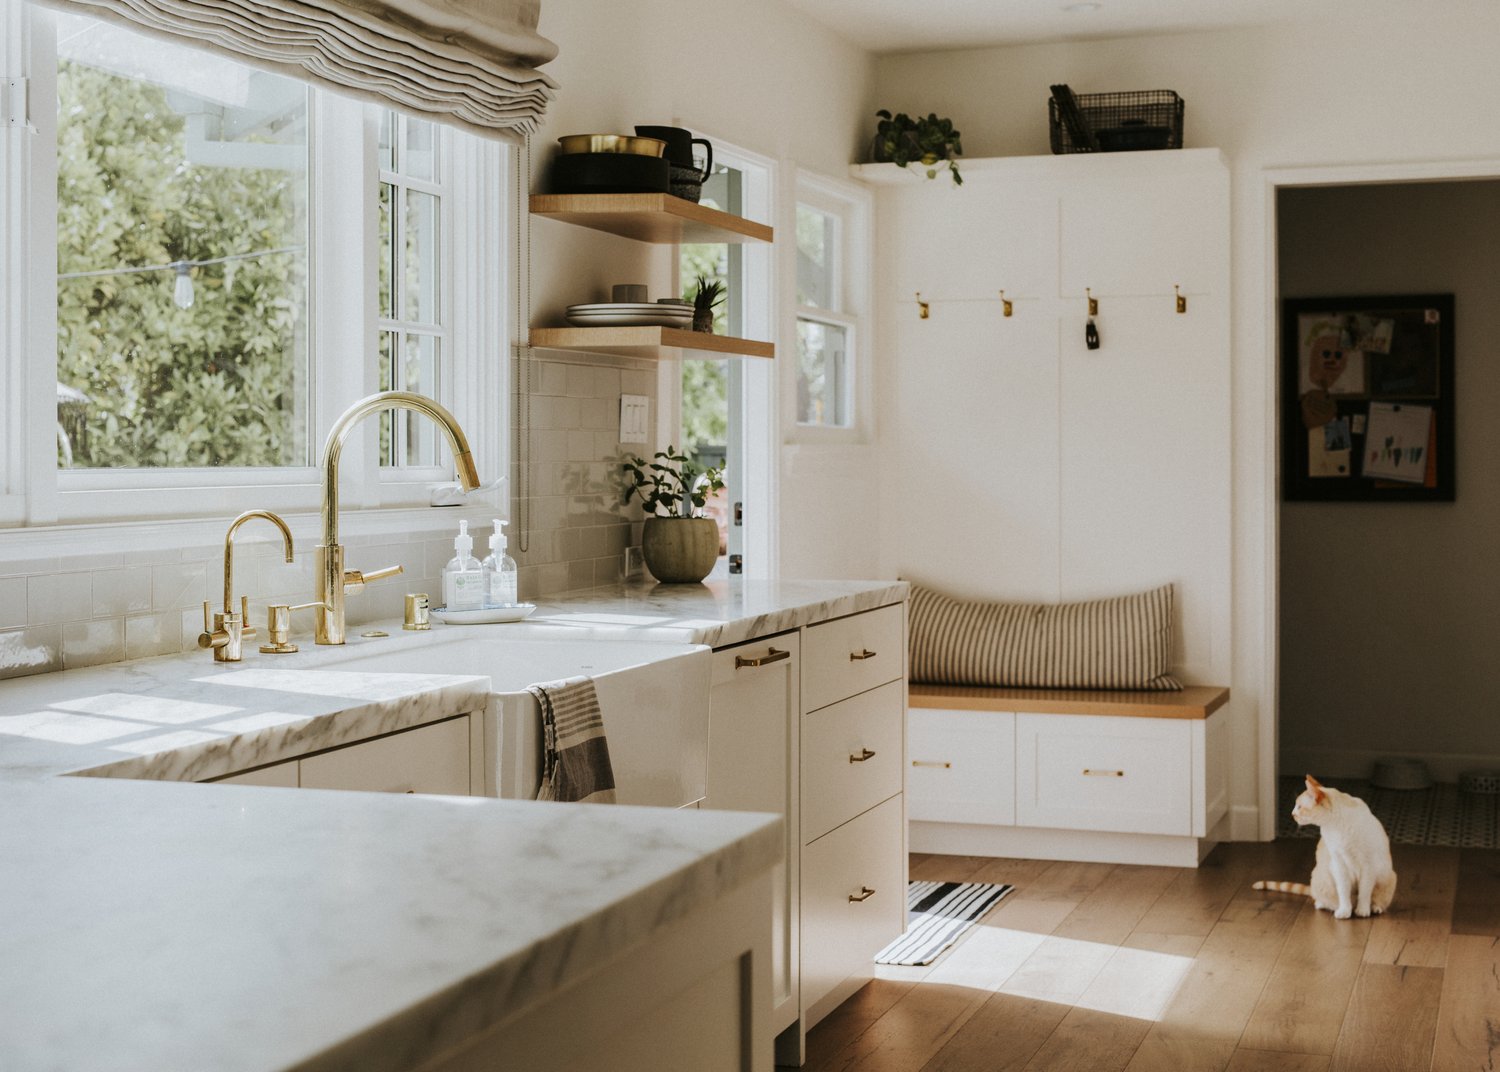
A well-designed kitchen backsplash can transform your cooking space from ordinary to extraordinary. This functional and decorative element not only protects your walls from splashes and stains but also serves as a focal point that ties your kitchen design together. While many homeowners successfully tackle this as a weekend project, others discover that installing a backsplash tile requires more skill and patience than anticipated. This guide walks you through the DIY approach while helping you recognize when professional assistance might be the wiser choice.
Understanding Backsplash Basics
Before diving into any DIY tile backsplash project, familiarize yourself with the fundamentals. A backsplash typically extends from the countertop to the bottom of the upper cabinets, covering the wall space most vulnerable to cooking splatters. Today’s market offers countless kitchen backsplash ideas, from classic subway tiles to intricate mosaics, glass tiles, natural stone, and even peel-and-stick options. Your choice should balance aesthetic appeal with practicality, considering factors like ease of cleaning, durability, and how well it complements your countertops and cabinetry. Remember that porous materials will require sealing, while non-porous options like ceramic offer easier maintenance.
Tools and Materials You’ll Need
Proper preparation is crucial when you decide to install backsplash tile yourself. You’ll need tile adhesive (either pre-mixed mastic for standard applications or thinset mortar for areas with moisture exposure), grout appropriate for your tile type and joint width, a notched trowel, tile spacers, a tile cutter or wet saw, measuring tape, level, sponges, and grout float. You may also need a tile nipper for cutting around outlets and fixtures. Don’t forget safety equipment like gloves and eye protection. Quality tools make a significant difference in the finished product, so resist the temptation to cut corners here. As the experts at AskHomey often advise, investing in proper tools upfront can save considerable frustration throughout the project.
Preparation Steps
Successful installation begins with thorough preparation. Turn off power to any outlets or switches in the work area and remove cover plates. Ensure your wall surface is clean, dry, and structurally sound. Any existing wallpaper should be removed, and glossy paint should be lightly sanded to improve adhesion. Fill and sand any holes or imperfections in the drywall. Apply painter’s tape to protect countertops and cabinets. Next, establish your layout by measuring the area and determining tile placement. Most professionals recommend a dry layout on the countertop first, arranging tiles to visualize the pattern and determine where cut tiles will fall. Aim to position cut tiles in less noticeable areas, with full tiles commanding the most visible sections.
Installation Process
When you’re ready to install backsplash tile, begin by applying adhesive to a small section of wall (about 2-3 square feet) using the notched trowel at a 45-degree angle. Press tiles firmly into the adhesive, using spacers to maintain even grout lines. Work in manageable sections, checking frequently with a level to ensure straight lines. For complicated cuts around outlets or pipes, measure carefully and use appropriate cutting tools. Allow the adhesive to cure according to manufacturer instructions before grouting, typically 24 hours. When applying grout, use a rubber float to press it firmly into joints at a 45-degree angle, then wipe away excess with a damp sponge after about 15-20 minutes. After the grout has cured (usually 24-48 hours), apply sealer if needed and caulk where the backsplash meets the countertop or cabinets.
Common DIY Challenges
Even with careful planning, how to install backsplash tile can present unexpected difficulties. Uneven walls may require adjustments to prevent lippage (where tile edges aren’t flush). Cutting tile accurately, especially around outlets and fixtures, demands precision and patience. Maintaining consistent grout lines and properly mixing and applying grout to achieve a professional finish can be particularly challenging for beginners. Many DIYers also underestimate the physical demands of the project, which requires extended periods of awkward positioning and detailed work. Time management presents another challenge—what professionals complete in a day might take an inexperienced homeowner an entire weekend or longer.
When to Consider Hiring a Professional Tile Installer
There are several scenarios where hiring a tile installer makes sense, even for dedicated DIY enthusiasts. Complex designs with intricate patterns, herringbone layouts, or mosaic details demand exceptional precision that professionals develop through years of experience. Kitchens with numerous angles, cutouts, or uneven surfaces present technical challenges best handled by experts. If you’re working with expensive or delicate materials like marble or hand-painted tiles, the cost of mistakes can quickly exceed a professional’s fee. Additionally, if your timeline is tight or the project scope includes multiple areas, a professional team can complete the work efficiently while maintaining quality. Finally, consider your own comfort level—if you find yourself anxious about specific techniques or worried about the outcome, professional installation might provide valuable peace of mind.
Making the Decision: DIY or Pro?
The choice between a DIY tile backsplash and professional installation ultimately depends on your skills, time, and budget. For straightforward projects with standard materials in smaller spaces, a well-prepared homeowner can achieve excellent results. However, more complex designs, premium materials, or challenging spaces often benefit from professional expertise. Consider getting estimates from reputable tile installers to compare with your projected DIY costs, factoring in tools you may need to purchase. Remember that professional installation typically includes not just labor but also expertise in material selection, problem-solving, and warranty protection.
For more tips and to connect with reliable home service professionals, follow AskHomey on Facebook and Instagram.


