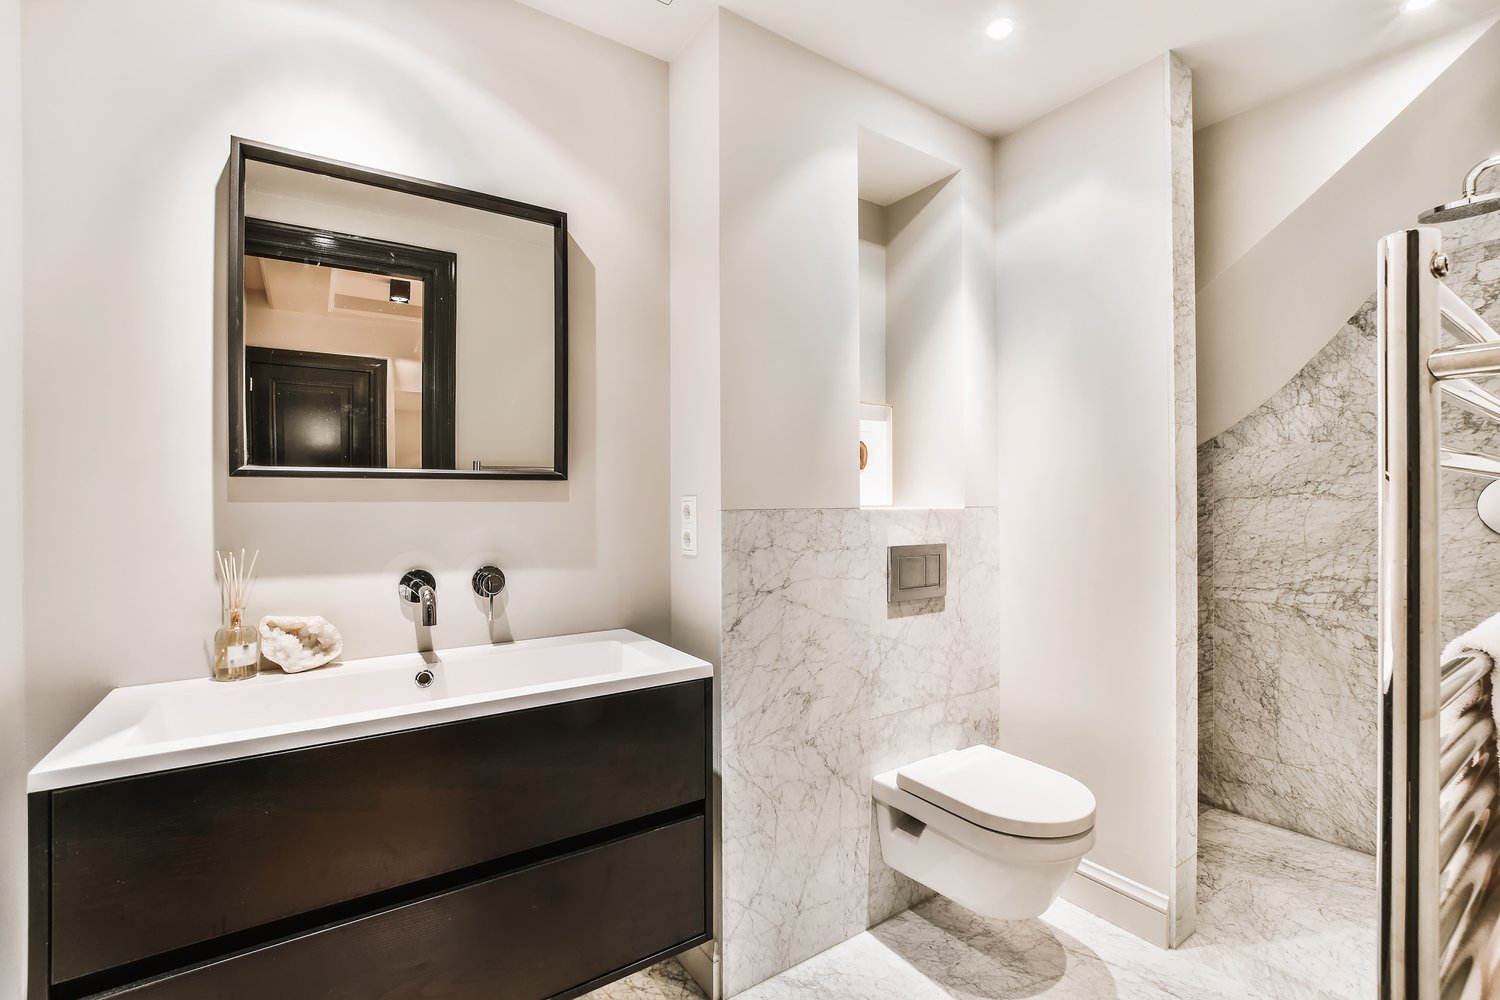
A properly functioning bathroom exhaust fan is essential for maintaining good air quality and preventing moisture-related problems in your home. Without adequate ventilation, bathrooms can quickly become breeding grounds for mold, mildew, and structural damage. This article will guide you through the process of selecting the right bathroom exhaust fan based on important factors like CFM ratings and noise levels, and provide a straightforward approach to installation or replacement of your existing unit.
Why Bathroom Ventilation Matters
Bathrooms generate significant moisture through showers, baths, and even sink usage. Without proper ventilation, this moisture becomes trapped, leading to peeling paint, warped woodwork, and potentially serious mold problems that can affect your health and home. A quality bathroom exhaust fan removes excess humidity, eliminates odors, and improves overall air quality. Many homeowners don’t realize that bathroom fans should run for at least 20 minutes after shower use to adequately remove moisture—making the selection of the right fan even more important for effective performance without creating a nuisance.
Understanding CFM Rating for Bathroom Fans
When you begin to choose a bathroom exhaust fan, the most critical specification to understand is the CFM rating. CFM stands for Cubic Feet per Minute, which measures how much air the fan can move. The higher the CFM, the more powerful the ventilation. As a general rule, you’ll need 1 CFM per square foot of bathroom space. For example, a 50-square-foot bathroom requires a minimum 50 CFM fan. However, if your bathroom has high ceilings or features like a jetted tub or separate shower enclosure, you’ll want to increase the CFM accordingly. For bathrooms larger than 100 square feet, calculate based on fixtures: add 50 CFM for each toilet, shower, and bathtub, and 100 CFM for a jetted tub.
Noise Considerations: Finding a Quiet Bathroom Fan
Nobody wants a bathroom fan that sounds like a helicopter taking off. Fan noise is measured in sones, and this is a crucial factor when you want to choose a quiet bathroom fan. For reference, one sone is roughly equivalent to the sound of a quiet refrigerator. Most standard bathroom fans operate at 4 sones or more, which can be quite disruptive. For a peaceful bathroom experience, look for fans rated at 1.5 sones or less. Ultra-quiet models (0.3 to 1.0 sones) are available but typically cost more. Remember that cheaper fans often sacrifice noise reduction for price, making them noisy and potentially discouraging family members from using them consistently.
Additional Features to Consider
Modern bathroom exhaust fans offer more than just basic ventilation. Many units include built-in lighting, which can be a convenient feature when installing in smaller bathrooms or replacing an existing fan-light combination. Some models include nightlights, heaters, or humidity sensors that automatically activate the fan when moisture levels rise. As explained by experts at AskHomey, smart-enabled fans that connect to home automation systems are becoming increasingly popular for their convenience and energy efficiency. While these features add to the initial cost, they can improve functionality and user satisfaction in the long run.
Preparing to Install or Replace a Bath Fan
Before you begin to install a bath fan or replace an existing unit, gather all necessary tools and materials. You’ll need basic tools like screwdrivers, a drill, a utility knife, and electrical testers. For new installations, you’ll require ductwork (typically 4-inch diameter), a vent hood for the exterior, roof or wall flashing, and electrical supplies. When planning a bath fan replace project, measure your existing unit carefully and look for a replacement with similar dimensions to minimize ceiling modifications. Always turn off electricity at the breaker panel before beginning any electrical work.
Installation Steps and Best Practices
Installing a bathroom exhaust fan involves both electrical work and ventilation considerations. If you’re uncomfortable with either aspect, consider hiring a professional. For DIYers, begin by following the manufacturer’s instructions carefully. Install the fan housing first, securing it properly to ceiling joists. Next, connect the ductwork, ensuring it runs with minimal bends to an exterior vent (never to an attic or other interior space). For efficient operation, keep duct runs as short and straight as possible, with gentle slopes toward the exterior to prevent condensation from flowing back into the fan.
Electrical Connections and Safety
The electrical aspects of fan installation require careful attention to safety. Most bathroom fans require a dedicated 15-amp circuit. If replacing an existing unit, you can usually connect to the same wiring, but verify that the circuit is appropriate for the new fan’s requirements. Modern fans often have simple push-in wire connectors that make electrical connections straightforward. For fans with lights or heaters, you may need multiple switches or special controllers. Always follow local electrical codes and consider consulting with an electrician if you’re unsure about any aspect of the wiring.
For more tips and to connect with reliable home service professionals, follow AskHomey on Facebook and Instagram.


