A properly insulated garage can transform an otherwise uncomfortable space into a functional extension of your home while potentially reducing energy costs. Whether your garage is attached or detached, adding insulation to the walls, ceiling, and door creates a more temperature-stable environment that protects your belongings and can serve as a workshop year-round. This guide explores the benefits of garage insulation, examines the various insulation types available, and provides straightforward instructions for a successful DIY installation project.
Why Insulate Your Garage?
Insulating your garage walls, ceiling, and door delivers multiple advantages that extend beyond mere temperature control. If your garage is attached to your home, proper insulation creates a thermal barrier that prevents energy transfer between your conditioned living space and the garage. This reduction in thermal bridging can significantly lower your energy bills, particularly in extreme weather conditions. Homeowners typically notice decreased heating and cooling costs after completing a garage insulation project, with the potential savings often offsetting the initial installation expenses within a few years.
Beyond energy efficiency, insulated garage spaces protect vehicles and stored items from temperature extremes. This protection is particularly important for temperature-sensitive belongings such as paints, electronics, and garden supplies. Additionally, insulation provides sound dampening benefits, reducing noise transfer between the garage and adjacent living spaces or neighboring properties. This acoustic advantage proves especially valuable if you use power tools or equipment in your garage or if the space overlooks a busy street.
Best Garage Insulation Types
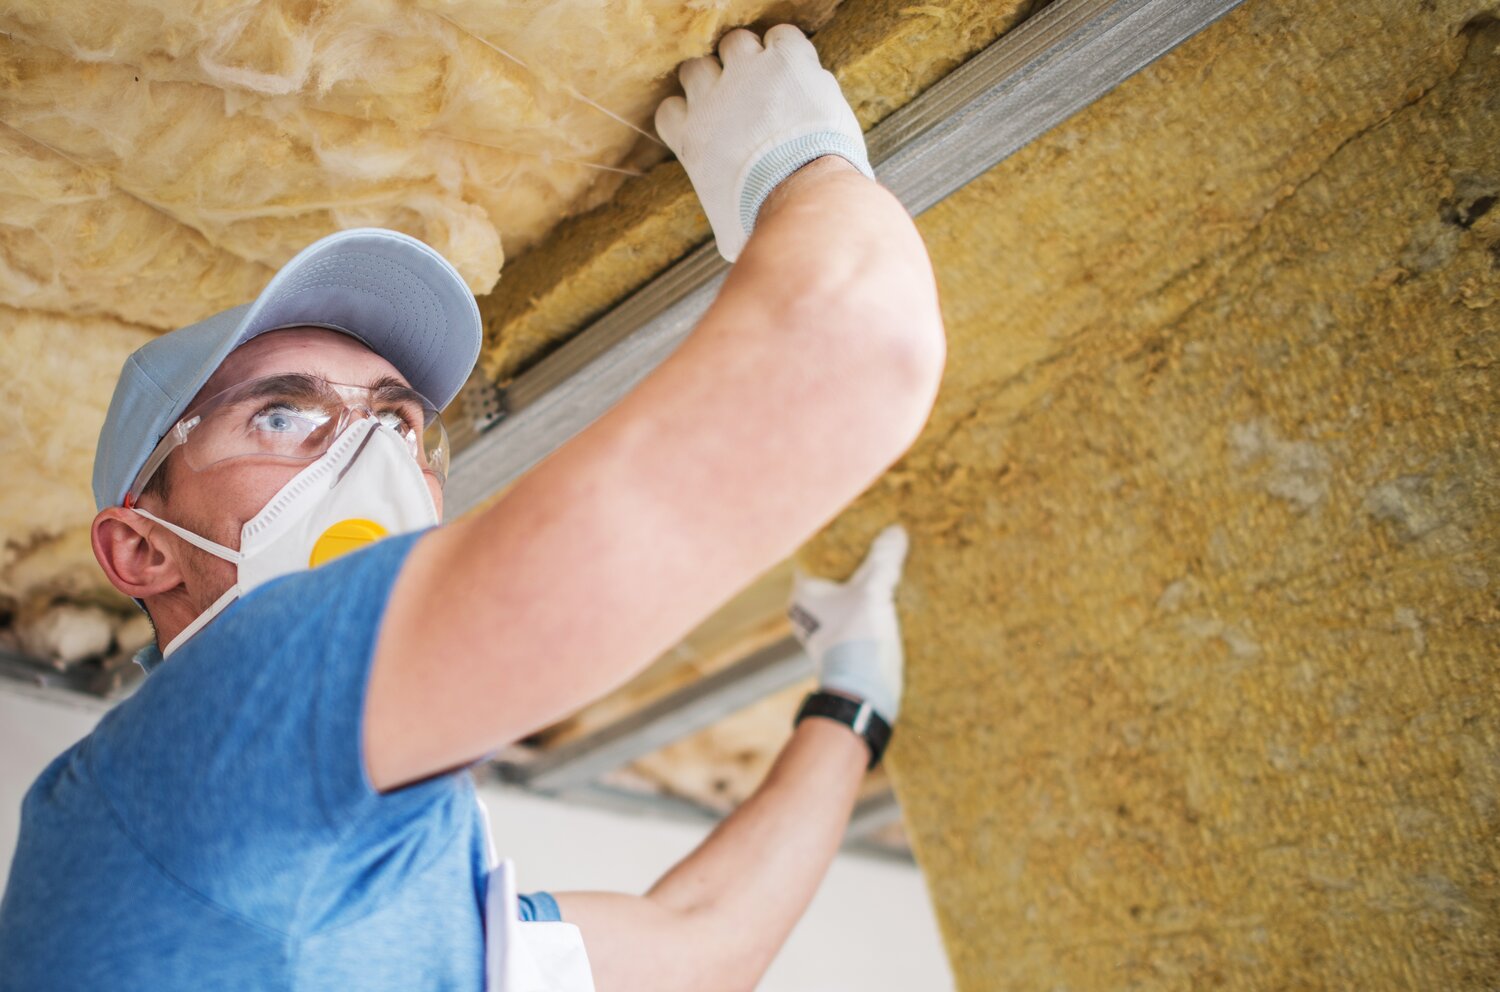
Selecting the best garage insulation type depends on your specific situation, climate, and budget considerations. Fiberglass batts remain the most popular and cost-effective option for garage wall insulation. These pre-cut panels fit between standard wall studs and provide R-values typically ranging from R-13 to R-23. Fiberglass installation requires protective clothing and careful handling but remains accessible for most DIY enthusiasts.
Rigid foam boards offer another excellent option for insulating garage walls and ceilings. These panels provide higher R-values per inch compared to fiberglass and create a continuous insulation barrier that minimizes thermal bridging. Though more expensive than fiberglass, rigid foam’s superior performance and moisture resistance make it worth considering, especially in humid climates.
For garage ceilings, blown-in cellulose insulation presents an effective solution, particularly for finished spaces with limited access. This recycled paper product fills irregular cavities effectively and offers good sound absorption properties. However, installation requires specialized equipment that can often be rented from home improvement stores.
When addressing how to insulate garage doors, purpose-designed insulation kits provide the simplest approach. These kits typically contain pre-cut rigid foam panels or reflective barriers that attach directly to the interior surface of sectional doors. According to data gathered by AskHomey, properly insulating a garage door can improve the overall thermal performance of your garage by up to 30% when combined with wall and ceiling insulation.
How to Insulate Garage Walls: DIY Guide
Insulating garage walls represents the most impactful part of a complete garage insulation project. Begin by inspecting the wall framing and addressing any moisture issues before installation. Measure the cavities between studs to determine the appropriate insulation width, typically 16 or 24 inches on center. Purchase slightly oversized batts to ensure a snug fit that prevents air gaps.
Before installation, gather necessary supplies including a utility knife, straight edge, staple gun, and appropriate personal protective equipment. Wear long sleeves, gloves, eye protection, and a dust mask when handling fiberglass insulation to prevent skin irritation and inhalation of particles.
Start the installation process by cutting insulation batts to the appropriate length, allowing them to extend from the top plate to the bottom plate of the wall. Position the insulation with the paper or foil vapor barrier facing the interior of the garage (the warm side) and secure it by stapling the flanges to the face of the studs. Take care to avoid compressing the insulation, as this reduces its effectiveness by decreasing trapped air pockets.
For outlets and junction boxes, carefully cut the insulation to fit around these obstacles rather than behind them. This prevents potential fire hazards while maintaining continuous coverage. After installing all insulation, inspect for gaps or compressed areas and make necessary adjustments before moving to the ceiling.
Ceiling and Door Insulation Techniques
Insulating a garage ceiling follows similar principles to wall insulation but presents unique challenges due to gravity. When working overhead, consider using insulation supports or wire mesh to prevent batts from sagging over time. For garages with living spaces above, prioritize ceiling insulation to prevent energy loss between floors.
Garage door insulation completes your thermal envelope and prevents a major source of heat transfer. Pre-made garage door insulation kits simplify this process with materials specifically designed for metal doors. These kits typically include adhesive or mechanical attachment methods and can be installed in a few hours. For wooden garage doors, consider attaching rigid foam panels using construction adhesive for a custom approach.
After completing all insulation work, seal gaps around windows, doors, and utility penetrations with appropriate caulking or expanding foam. This step prevents air leakage that could otherwise undermine your insulation efforts. Consider adding weatherstripping to the bottom of the garage door to create a tight seal against the floor.
For more tips and to connect with reliable home service professionals, follow AskHomey on Facebook and Instagram.