A beautiful paver patio or walkway can dramatically enhance your outdoor living space, but over time, these surfaces often develop annoying dips, rises, or uneven areas. Sunken or shifted pavers not only create tripping hazards but also collect water, encourage weed growth, and diminish your home’s curb appeal. The good news is that you don’t need to demolish and rebuild your entire paver installation to restore its appearance and functionality. This comprehensive guide will walk you through the process of identifying problem areas, removing affected pavers, re-establishing a proper base, and resetting paving stones for a level, attractive surface once again.
Understanding Why Pavers Sink and Shift
Before diving into repair techniques, it’s helpful to understand why pavers become uneven in the first place. The most common culprit is an inadequate base preparation during the initial installation. When the crushed stone or sand base beneath pavers isn’t properly compacted or is insufficient in depth, settlement occurs gradually with use and weather exposure. Other factors include erosion from improper drainage, freeze-thaw cycles that cause ground heaving, heavy vehicle traffic on surfaces not designed for such loads, and invasive tree roots. By identifying the underlying cause of your sunken pavers, you can address the root issue during your repair to prevent future problems.
Tools and Materials You’ll Need
Successfully completing a paver repair project requires having the right tools and materials on hand. For tools, you’ll need a rubber mallet, pry bars of different sizes, a level (preferably 4-foot), a push broom, a garden hose with spray nozzle, and a tamper (hand or mechanical). As for materials, gather polymeric sand, additional paver base material (crushed stone), coarse sand for leveling, and possibly replacement pavers if any are damaged beyond repair. Having landscape fabric on hand is also wise if drainage issues contributed to the original problem. Planning ahead with all necessary supplies will make your project to repair uneven pavers much more efficient.
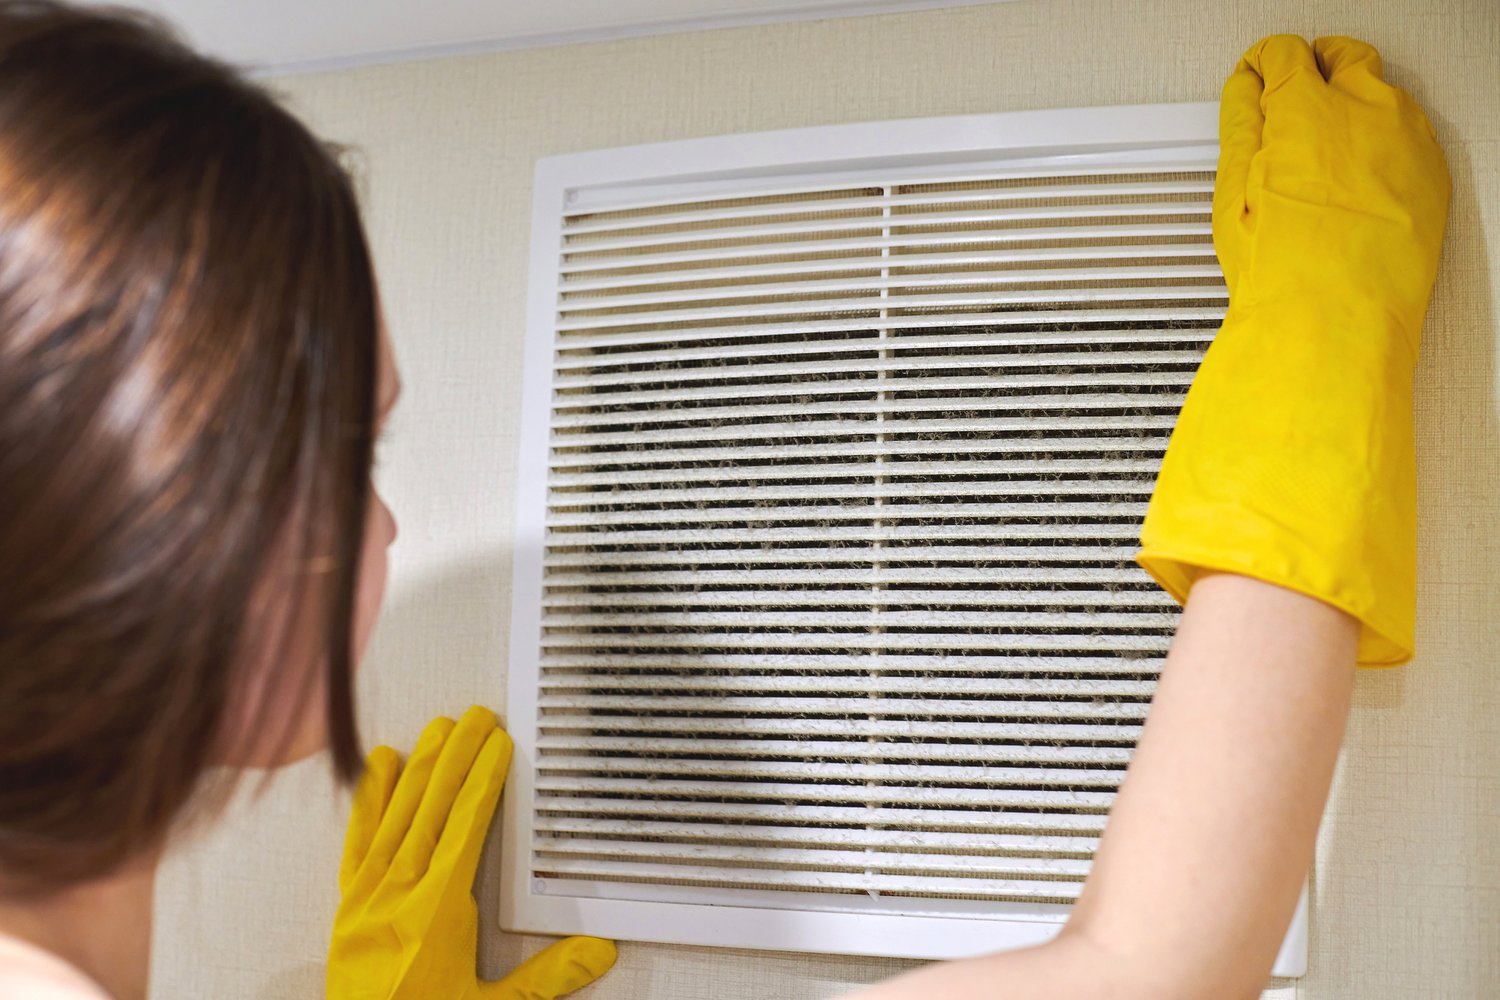
Removing and Preparing the Problem Area
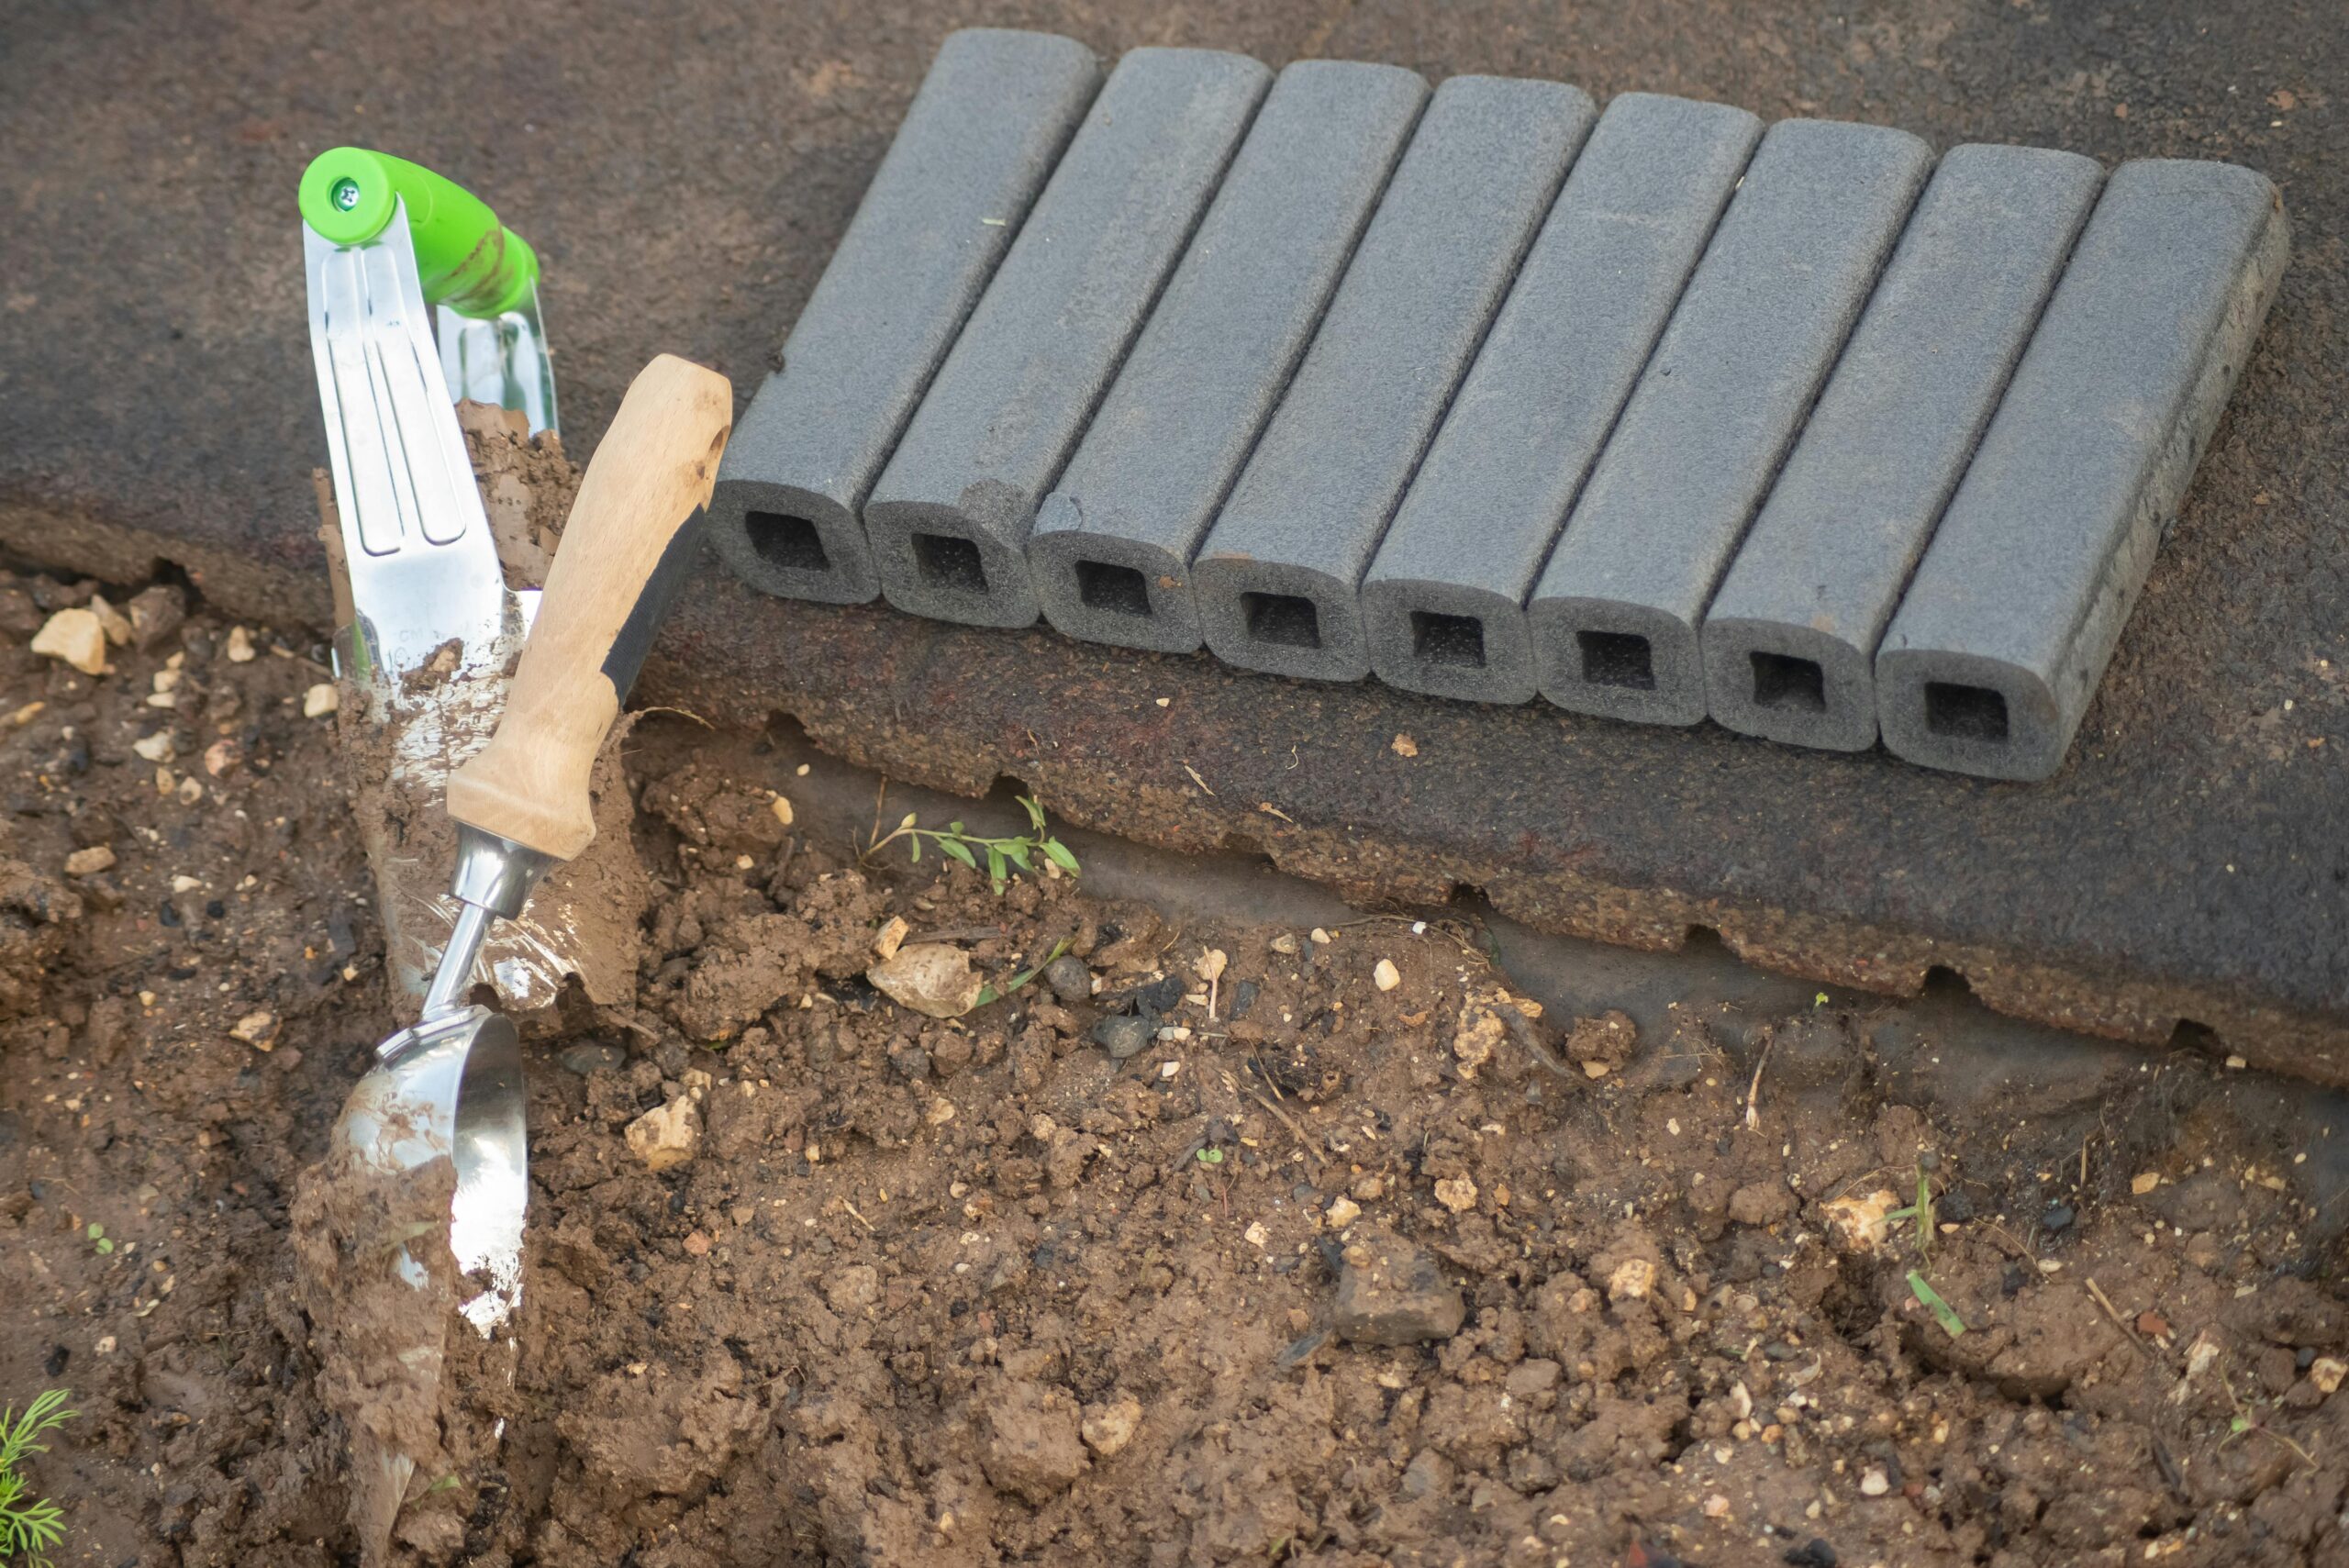
The first step in any project to fix sunken pavers is carefully removing the affected stones without damaging them or disturbing surrounding areas. Begin by identifying the full extent of the problem area, which typically extends beyond just the visibly sunken pavers. Insert a pry bar or flat screwdriver into the joint beside a paver and gently lift. Once the first paver is removed, the others will be easier to extract. Place the pavers in the same orientation as you remove them to simplify replacement later. After removing all affected paving stones, inspect the base materials. If you find wet, muddy conditions, poor drainage may be your culprit. If the base material appears sparse or uneven, insufficient foundation was likely the problem. Remove any deteriorated base material and dig down until you reach stable ground, typically 6-8 inches below your desired final paver height.
Rebuilding a Proper Base
Creating a stable foundation is the most critical aspect when you level paver patio walkway areas. Begin by addressing any drainage issues, which might involve adding landscape fabric to prevent soil mixing with your base materials. Next, add 4-6 inches of crushed stone base material in 2-inch layers, thoroughly compacting each layer with your tamper before adding the next. Proper compaction is essential—inadequate tamping is a common DIY mistake that leads to future settlement. As explained by AskHomey, the base should be firm enough that walking on it barely leaves footprints. After establishing your compacted base, add a 1-inch layer of coarse sand, leveled but not compacted. This sand layer allows for fine adjustments and helps lock pavers in place. Use your level frequently during this process to ensure the base slopes slightly away from structures for proper drainage (about 1 inch drop per 4 feet).
Resetting and Securing Your Pavers
With your base properly prepared, you’re ready to reset paving stones. Begin at one edge of the repair area, preferably against a fixed border or existing pavers. Place each paver in its original position, tapping it gently with a rubber mallet to set it at the appropriate height. Check frequently with your level to ensure proper alignment with surrounding pavers. As you reset each stone, maintain consistent joint spacing matching the rest of your patio or walkway. Once all pavers are in place, sweep polymeric sand into the joints between pavers, ensuring the sand fills joints completely. This specialized sand hardens when moistened, locking pavers in place and preventing weed growth. Follow package directions carefully when activating the polymeric sand with water, as overspray can cause staining on paver surfaces.
Maintenance Tips to Prevent Future Sinking
After completing your project to repair uneven pavers, implementing a regular maintenance routine will help extend the life of your newly leveled surface. Inspect your patio or walkway seasonally for early signs of settlement, addressing minor issues before they worsen. Periodically reapply polymeric sand to joints that show signs of erosion. Clean your paver surface regularly to prevent organic debris from decomposing and creating depressions. In regions with freezing temperatures, avoid using de-icing chemicals which can damage both pavers and joint materials. Instead, use sand for traction on icy surfaces. Finally, consider applying a quality paver sealer every 2-3 years to protect against staining and to stabilize joint sand.
For more tips and to connect with reliable home service professionals, follow AskHomey on Facebook and Instagram.