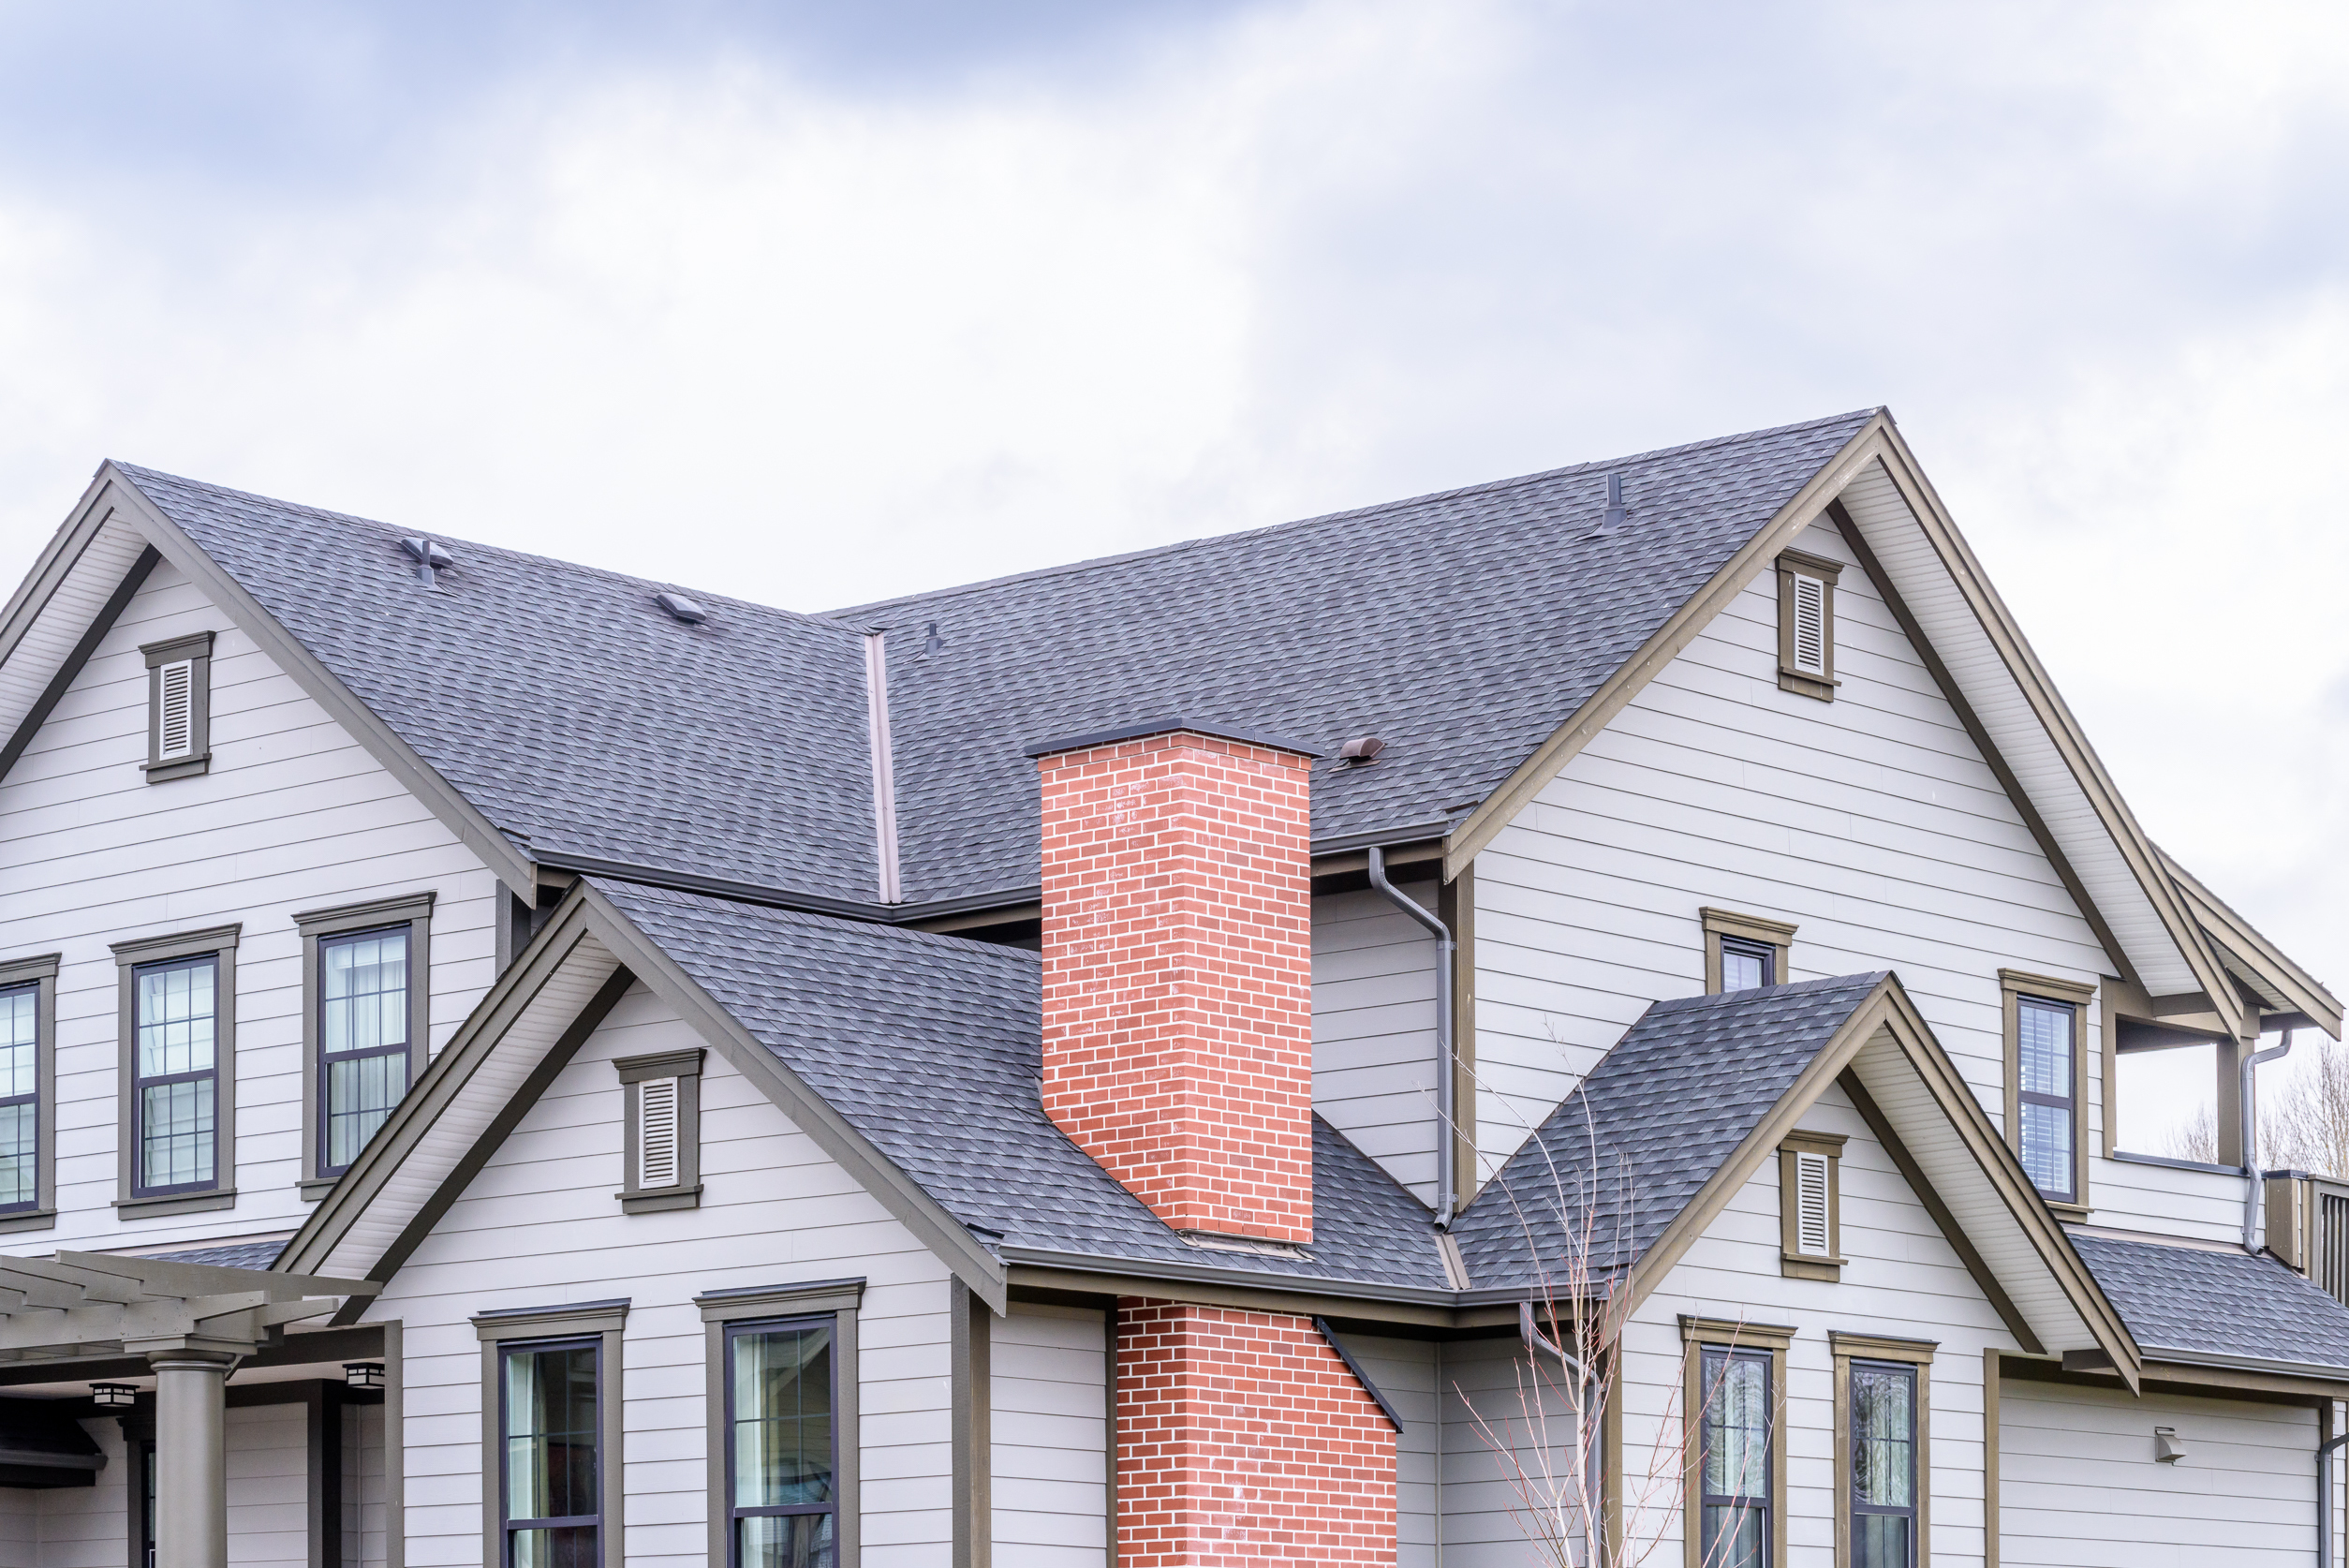
When severe weather strikes or unexpected damage occurs, a compromised roof can quickly become a household emergency. Water intrusion through a damaged roof can lead to extensive interior damage, affecting everything from insulation to drywall, furniture, and electrical systems. Emergency roof tarping provides a crucial temporary solution to protect your home from further water damage until permanent repairs can be completed. This article will guide you through safely and effectively installing a temporary tarp to cover hole roof damage and prevent leaks during emergencies.
Understanding When Emergency Tarping Is Necessary
Emergency roof tarping becomes necessary when your roof sustains significant damage that exposes your home to the elements. This could result from fallen trees, severe wind that tears off shingles, hail damage, or aging materials that finally give way during a storm. If you notice water actively entering your home through the ceiling, stains spreading across your ceiling, or visible holes in your roof structure, immediate action is required. The temporary roof leak fix tarp solution isn’t meant to be permanent—professional repairs should follow as soon as possible—but it can prevent thousands of dollars in additional damage while you arrange for proper repairs. Home restoration experts say even a small roof leak can cause significant structural damage if left unaddressed for just 24-48 hours.
Gathering Necessary Materials
Before climbing onto your roof, ensure you have all the required materials for effective emergency roof tarping. You’ll need a heavy-duty polyethylene tarp that extends at least 4 feet beyond the damaged area on all sides. The thickness should be at least 6 mil for durability. Additionally, gather 2×4 lumber pieces (around 8-10 feet long), 3-inch deck screws, a screw gun or drill, a utility knife, safety rope, and a hammer. Personal safety equipment is equally important: wear non-slip shoes, work gloves, safety goggles, and consider using a safety harness if you have one available. Planning ahead by consulting resources on AskHomey can help you prepare properly for these emergency situations.
Safety Precautions Before Installation
Safety must be your primary concern when attempting emergency roof tarping instructions. Never attempt to tarp a roof during active storms, high winds, or when lightning is present. Avoid working on steeply pitched roofs without proper safety equipment and experience. If possible, work with a partner who can stabilize your ladder and assist from the ground. Ensure your ladder extends at least three feet beyond the roof edge and is secured on level ground. Be mindful of power lines near your work area and stay hydrated, especially in hot weather. If the damage is extensive or the roof seems structurally compromised, it’s best to call professionals rather than risking personal injury.
Step-by-Step Installation Process
The installation process begins with a thorough assessment of the damaged area from inside your attic, if accessible, to identify the full extent of the problem. Next, carefully position your ladder and bring your materials to the roof. Unroll the tarp and position it to completely cover the damaged section, ensuring it extends beyond the damaged area on all sides and over the ridge of the roof when possible. To secure the tarp, place a 2×4 along one edge, roll the tarp around it once or twice, and screw the wood directly into the roof sheathing (not into rafters). This technique, sometimes called “sandbagging,” creates a secure anchor that won’t easily tear through the tarp. Repeat this process on the opposite edge, pulling the tarp tight. Then secure the remaining sides in the same manner, working from top to bottom to ensure proper water runoff. Verify that all edges are secured and that the tarp has no wrinkles that might collect water.
Maintenance Until Permanent Repairs
After completing your temporary roof leak fix tarp installation, regular monitoring is essential. Check the tarp after windy conditions or heavy rainfall to ensure it remains secure. Look for any signs of new leaks or water accumulation on the tarp. If you notice the tarp loosening or new leaks developing, additional securing may be necessary. Most emergency tarps will last between 90 days and 6 months, depending on weather conditions and installation quality. However, arranging for permanent repairs should be a priority, as UV exposure will eventually degrade even the most durable tarps. Document the damage thoroughly for insurance purposes by taking clear photos of both the damage and your temporary solution.
When to Call Professionals
While emergency roof tarping instructions can help in many situations, some circumstances require immediate professional assistance. These include extensive structural damage, when the roof is too steep for safe DIY work, if you lack the physical ability to perform the work safely, or when multiple large areas are affected. Many roofing companies offer emergency services specifically for these situations and can install more secure temporary solutions while preparing for permanent repairs. The investment in professional emergency tarping is typically far less than the potential cost of interior water damage from an inadequately covered roof.
For more tips and to connect with reliable home service professionals, follow AskHomey on Facebook and Instagram.