Maintaining your home’s heating and cooling system doesn’t always require professional help. One of the simplest yet most effective DIY maintenance tasks is replacing your furnace filter regularly. This straightforward process can significantly improve your HVAC efficiency, enhance indoor air quality, and extend the life of your system. In this guide, we’ll walk through the complete process of locating and replacing your furnace filter, help you understand MERV ratings for selecting the right filter, and explain why this simple task is crucial for your system’s health and your home’s air quality.
Why Clean Furnace Filters Matter
The importance of a clean furnace filter cannot be overstated when it comes to maintaining an efficient HVAC system. A clogged or dirty filter forces your furnace to work harder, consuming more energy and potentially leading to premature system failure. By performing regular DIY furnace filter replacement, you can reduce energy costs by up to 15% according to the Department of Energy. Clean filters also play a vital role in maintaining healthy indoor air by trapping dust, pollen, pet dander, and other airborne particles that would otherwise circulate throughout your home. This is especially important for households with allergy sufferers, asthma patients, or young children. Additionally, a clean filter prevents dust buildup on critical components inside your furnace, extending the system’s lifespan and reducing the likelihood of costly repairs.
Locating Your Furnace Filter
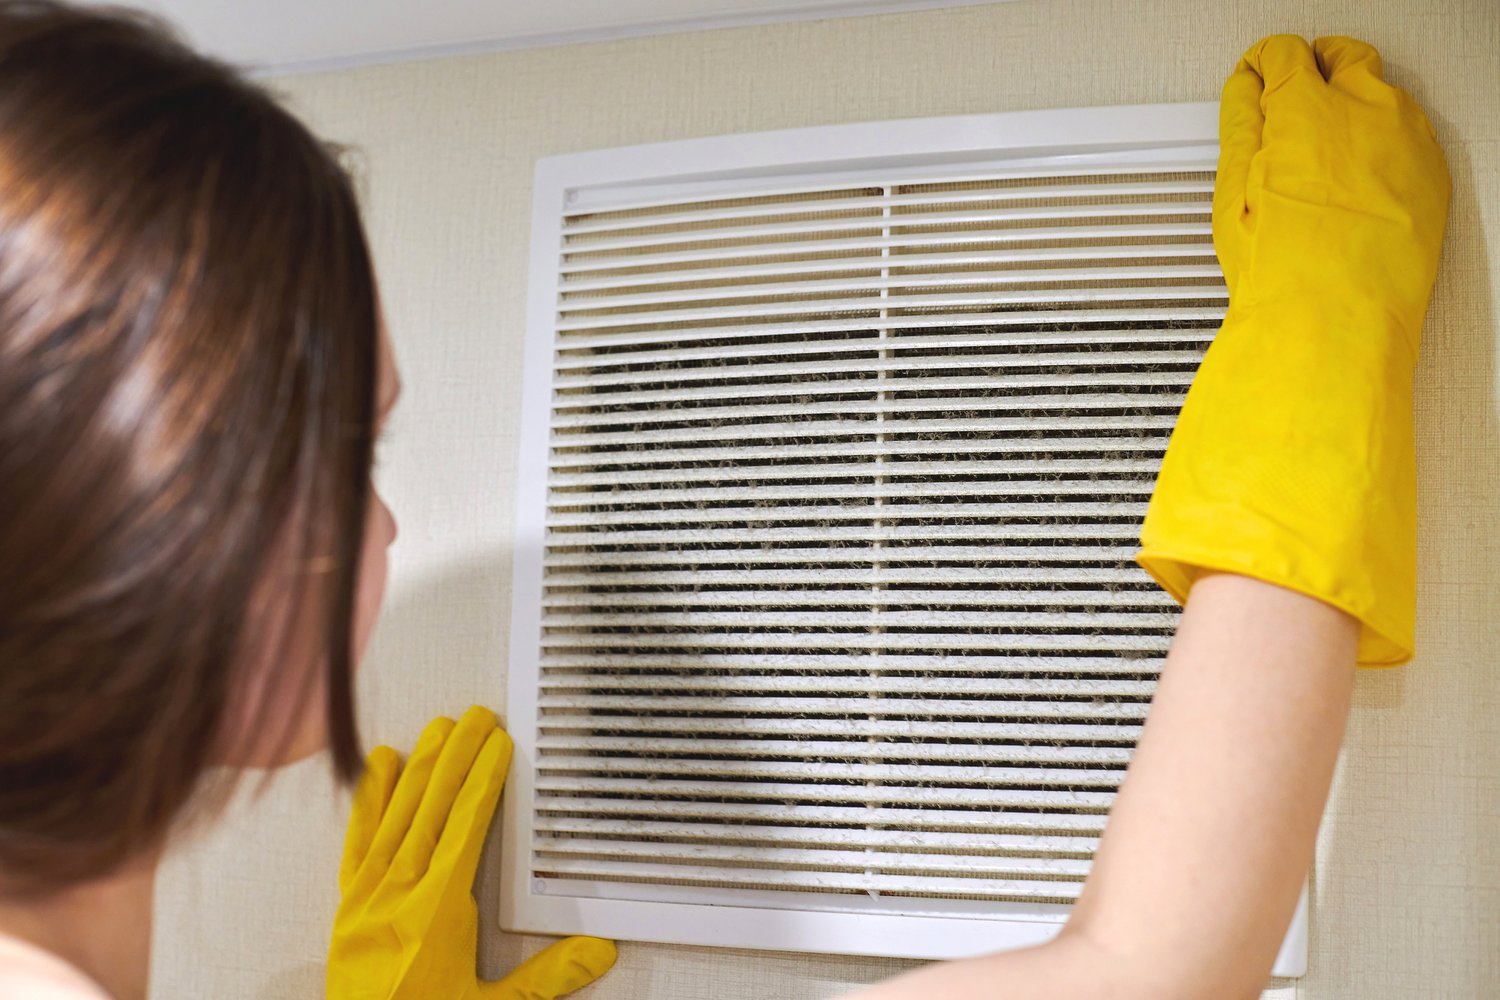
Before you can change your air filter, you need to find it. Most furnace filters are located in one of three places: in the furnace itself (usually in a slot near the air handler), in the return air duct, or behind a return air grille on your wall or ceiling. If you’re having trouble locating your filter, consult your furnace’s manual or search for your model online at AskHomey, where homeowners share practical advice on common household maintenance tasks. Once you’ve found the filter, take note of how it’s positioned—there’s usually an arrow on the filter frame indicating the proper airflow direction, which will be important when installing the new one.
Understanding MERV Ratings for Filter Selection
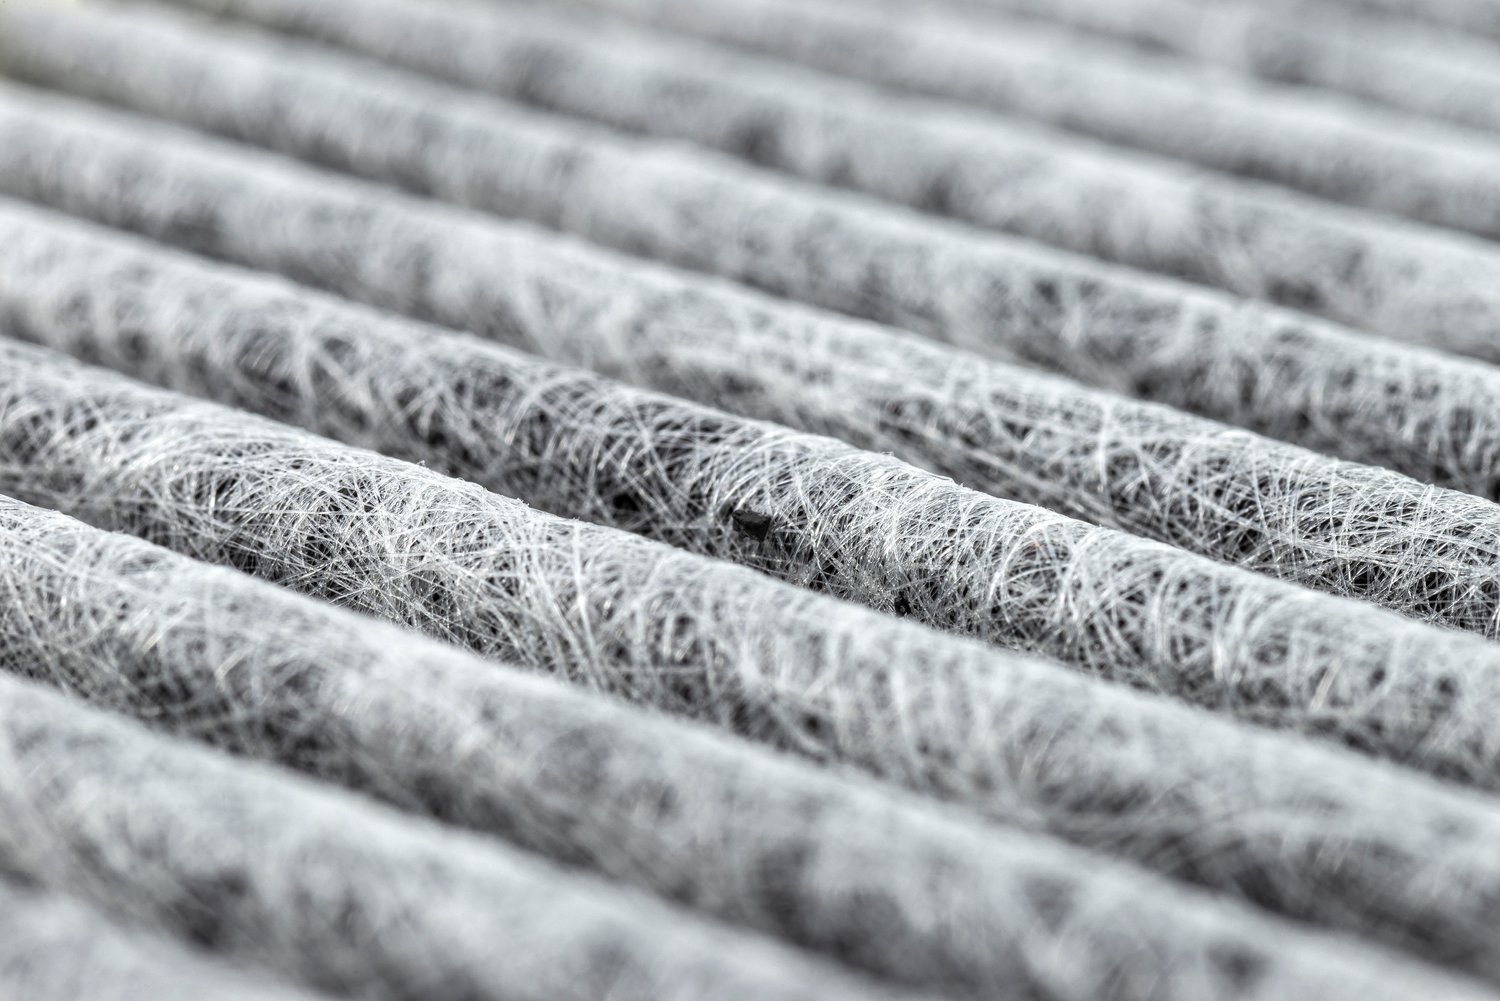
When shopping for a replacement filter, you’ll encounter MERV ratings, which stands for Minimum Efficiency Reporting Value. Understanding MERV ratings is essential for selecting the right filter for your system. These ratings range from 1 to 20, with higher numbers indicating greater filtration efficiency. For most residential applications, filters with MERV ratings between 8 and 13 provide an excellent balance between air quality and system efficiency. Filters rated MERV 1-4 capture only large particles and offer minimal protection, while those rated 14-20 are typically used in hospitals and clean rooms. Be cautious about installing filters with very high MERV ratings in standard residential systems, as they can restrict airflow too much and strain your system. Always check your furnace manufacturer’s recommendations for compatible MERV ratings.
Step-by-Step Guide to Changing Your Furnace Filter
The actual process of how to change an air filter in your furnace is straightforward. First, turn off your furnace for safety. Then, remove the filter access panel or slide out the existing filter from its slot. Take note of the filter size (typically printed on the frame) and the direction of airflow indicated by arrows. Purchase a new filter of the same dimensions and MERV rating appropriate for your system. When installing the new filter, make sure the airflow arrows point toward the furnace, not away from it—this is a common mistake that can reduce efficiency. Secure the filter in place and replace any access panels. Finally, turn your furnace back on. The entire DIY furnace filter replacement process typically takes less than five minutes but delivers significant benefits to your home’s air quality and system performance.
Establishing a Regular Replacement Schedule
To maximize the benefits and improve HVAC efficiency, filters need replacement on a regular schedule. Standard 1-inch filters typically need changing every 30-90 days, depending on several factors. Households with pets, smokers, or allergy sufferers should change filters more frequently, as should homes in areas with high pollen counts or construction. Consider setting calendar reminders or noting the installation date on the filter frame with a marker. Some smart thermostats can even track filter life and send replacement notifications. During high-usage seasons like summer and winter, check your filter monthly regardless of your regular schedule. A quick visual inspection can tell you if it’s time for a replacement—if the filter appears gray or dust-covered instead of its original color, it’s time for a change.
Cost Savings and Environmental Benefits
Regular filter replacement is not just about comfort and health—it’s also economically and environmentally sensible. When your HVAC system operates with a clean filter, it consumes less energy, reducing both your utility bills and carbon footprint. The modest cost of replacement filters (typically $5-$20 each) is far outweighed by the potential savings on energy costs and avoided repairs. Additionally, a properly filtered system releases fewer particulates into the outdoor environment through exhaust. This simple maintenance task represents one of the highest returns on investment for any home maintenance activity, making DIY furnace filter replacement a smart choice for budget-conscious and environmentally aware homeowners.
For more tips and to connect with reliable home service professionals, follow AskHomey on Facebook and Instagram.