Transforming your home with new flooring can dramatically change the look and feel of your space while potentially increasing your property value. While hiring professionals ensures expert results, DIY flooring installation can save substantial money—often 50% or more of your project budget. This guide will help you understand which flooring types are beginner-friendly, which require moderate skills, and when it’s best to invest in professional installation services instead of tackling the project yourself.
Assessing Your DIY Skill Level
Before diving into any flooring project, honestly evaluate your skill level, available tools, and time commitment. DIY flooring installation requires patience, attention to detail, and some basic tools. For beginners, start by considering your previous experience with home improvement projects. Have you used power tools before? Can you measure accurately and make precise cuts? Do you have the time to complete the project without rushing? Remember that even “easy” flooring installations can take twice as long for first-timers compared to professionals. The learning curve can be steep, but many homeowners find the satisfaction and cost savings worth the effort.
Beginner-Friendly Flooring Options
If you’re new to DIY projects, certain flooring types offer forgiving installation methods ideal for beginners. Peel-and-stick vinyl tiles rank among the easiest options—simply remove the backing and press into place on a clean, level subfloor. These tiles can be cut with scissors or a utility knife and require minimal specialized tools. Another excellent option for novices is floating laminate flooring with click-lock systems. When you install laminate flooring yourself, you’ll appreciate how pieces snap together without glue, creating a unified surface that “floats” over the subfloor. Laminate planks typically require a saw for cutting but follow a straightforward installation pattern. Both these options allow for mistakes to be corrected relatively easily during installation, making them perfect starting points for DIY enthusiasts.
Moderate DIY Flooring Projects
With some basic home improvement experience, you can tackle more complex flooring installations. Luxury vinyl plank (LVP) flooring with click-lock systems offers water resistance and durability while installing similarly to laminate. Engineered hardwood with floating installation methods also falls into this category, though it requires more careful handling and precise cutting than laminate. Cork flooring tiles with adhesive backing or click-together systems represent another moderate-difficulty option. These projects typically require more specialized tools like a circular saw or jigsaw, kneepads, and tapping blocks. The key difference in this category is the need for greater precision and the higher cost of materials, which raises the stakes if mistakes occur.
When to Hire a Pro vs DIY Floors
Even experienced DIYers should recognize when a project warrants professional installation. Solid hardwood flooring installation involves specialized tools, precise cutting, and proper acclimation of materials—processes that significantly impact the floor’s longevity. Natural stone tile installation requires extensive subfloor preparation, precise measuring, specialized cutting equipment, and expertise with mortar and grout. Complex patterns like herringbone or layouts involving irregular room shapes also benefit from professional expertise. According to resources from AskHomey, when to hire floor installer professionals depends on the complexity, scale, and specific requirements of your project. Generally, if your project involves floor leveling, removal of existing flooring containing asbestos, or installation in high-moisture areas like bathrooms, professional installation becomes more critical.
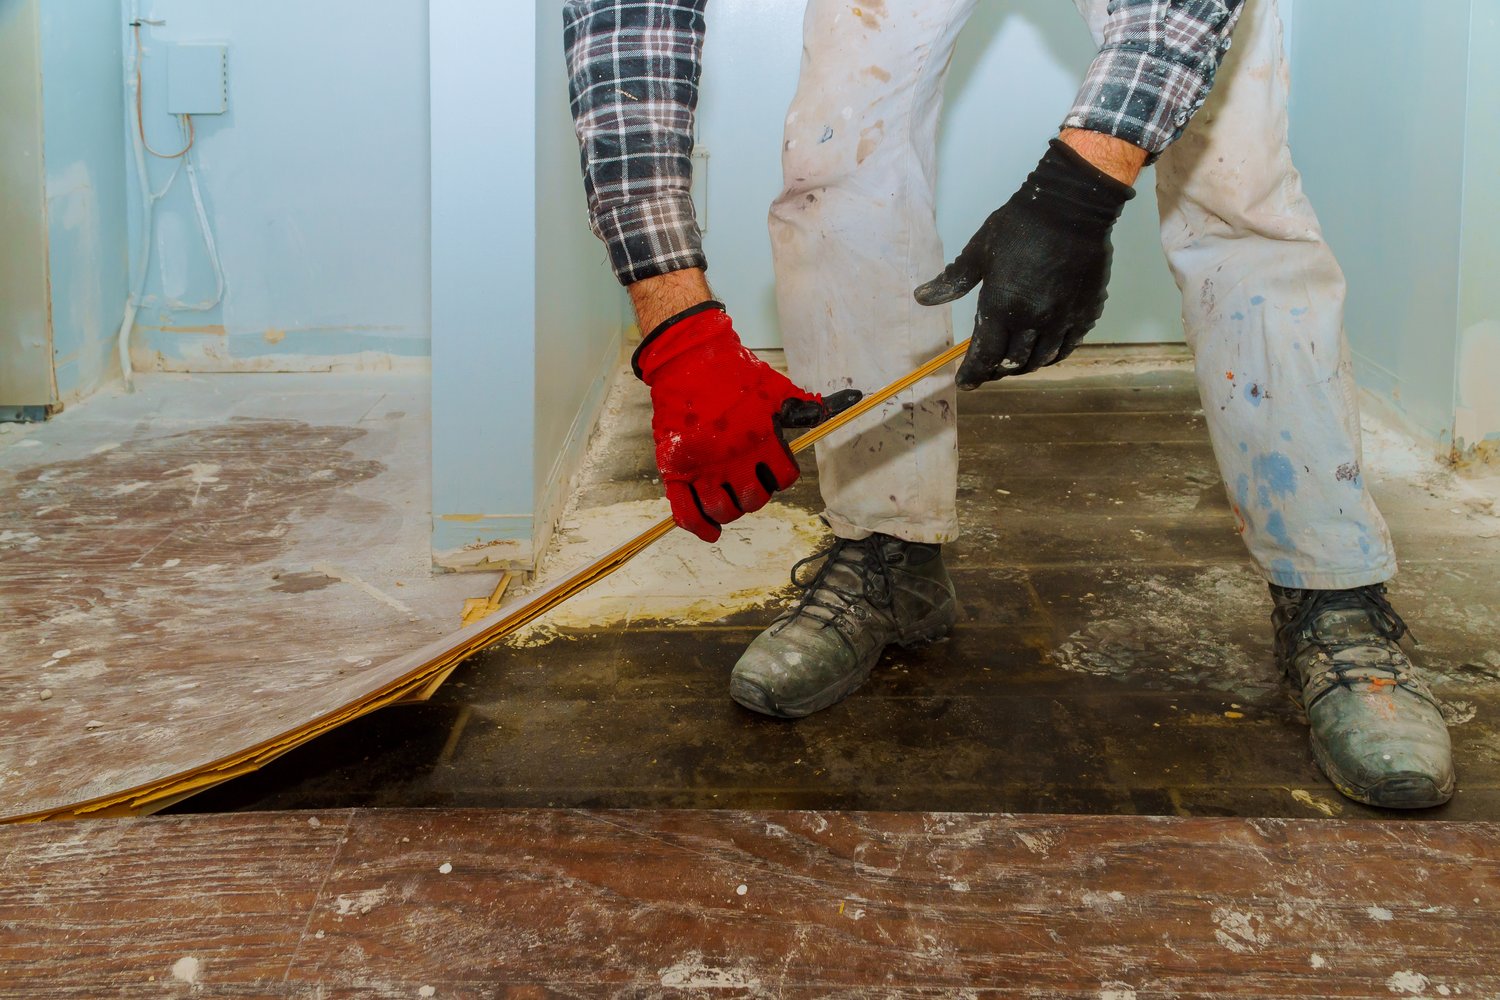
Preparation: The Key to Successful DIY Installation
Regardless of which flooring type you choose, proper preparation determines the quality of your results. Always start by removing existing flooring and preparing a clean, level subfloor. Purchase about 10% more material than your measured area to account for cuts and waste. Acclimate your flooring materials according to manufacturer instructions—typically 24-72 hours in the installation space. Gather all necessary tools before beginning, including safety equipment like knee pads, gloves, and eye protection. Read installation instructions completely before starting, and consider watching video tutorials specific to your flooring type. Taking time for thorough preparation can prevent costly mistakes and ensure a more professional-looking finish.
Realistic Expectations for DIY Flooring Projects
Set realistic expectations for your DIY flooring installation. Your first project will likely take longer than anticipated—possibly an entire weekend for a moderate-sized room. The learning curve might include some mistakes and do-overs, so maintain patience throughout the process. While professional installations often include warranties on both materials and labor, DIY installations typically only retain manufacturer warranties on materials, and even those may be voided if installation guidelines aren’t followed precisely. Consider starting with a smaller, less visible room to gain experience before tackling main living areas.
For more tips and to connect with reliable home service professionals, follow AskHomey on Facebook and Instagram.