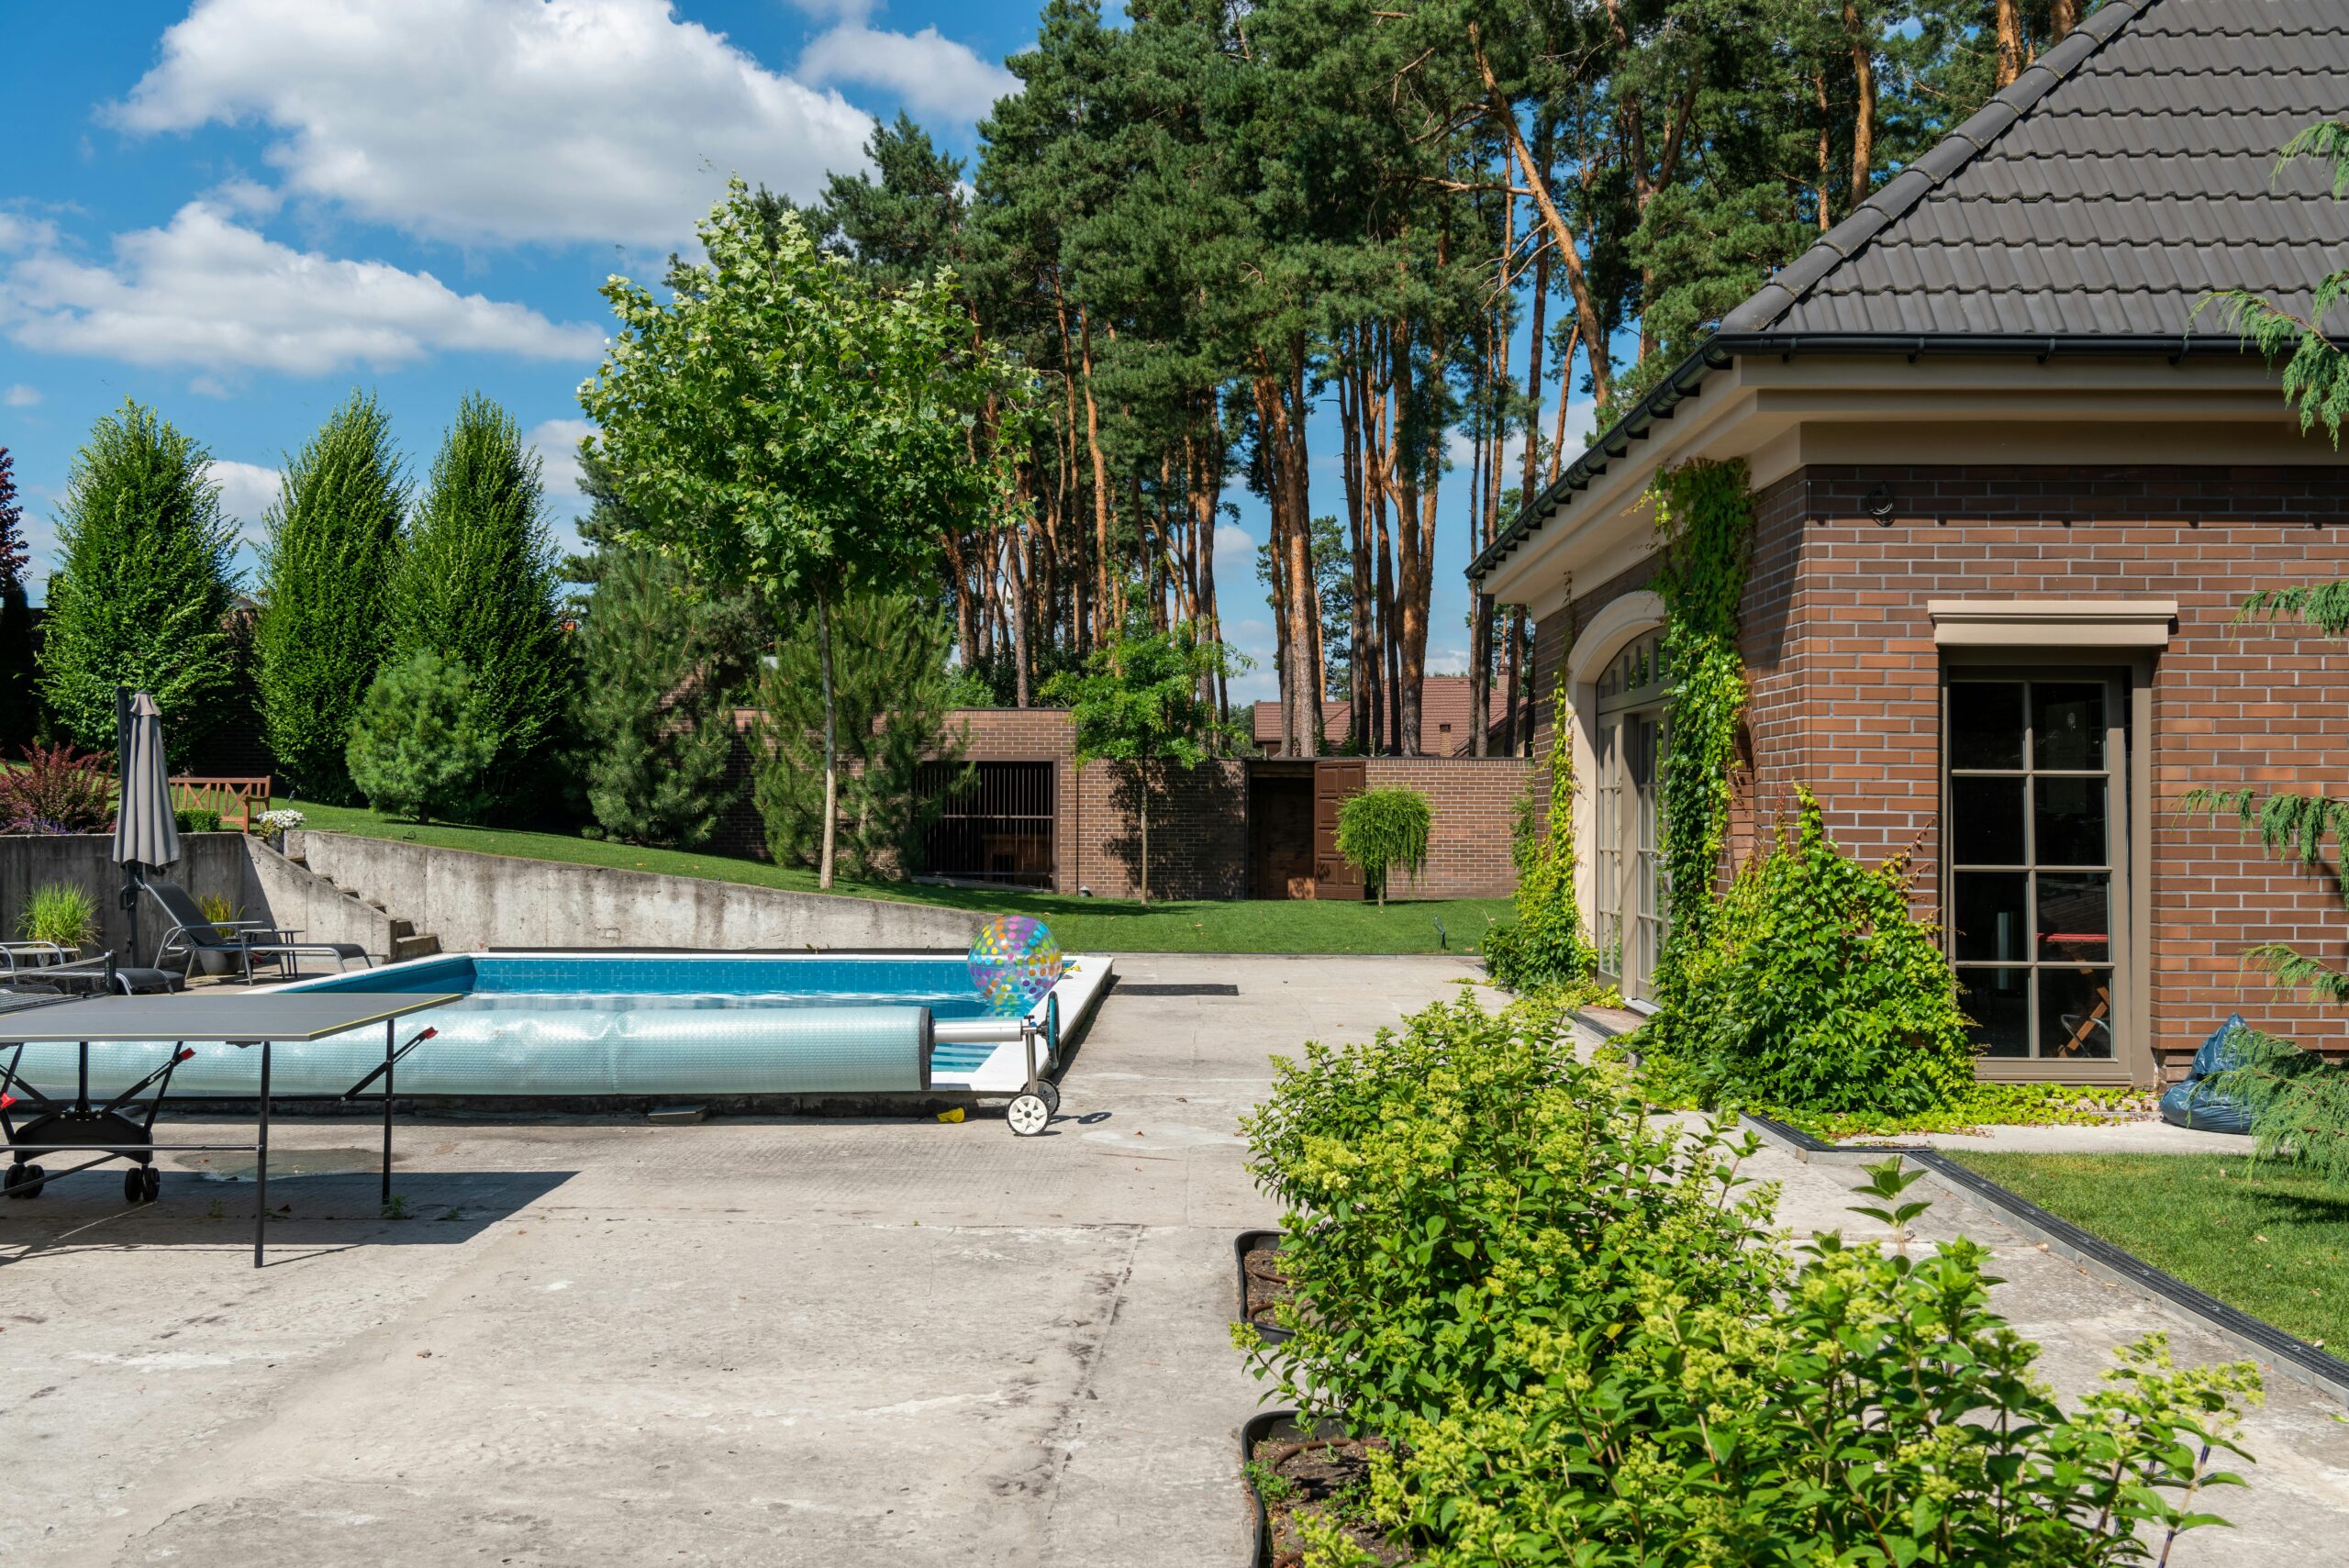
Adding a concrete patio to your outdoor space can dramatically enhance your home’s functionality and appeal. While large concrete projects are best left to professionals, experienced DIYers can successfully tackle a small concrete patio installation. This comprehensive DIY concrete patio guide walks you through the entire process from initial planning to the finishing touches. You’ll learn essential techniques for site preparation, forming, mixing, pouring, and finishing concrete to create a durable and attractive outdoor living area.
Planning Your Patio Project
Before diving into your concrete patio installation steps, proper planning is essential. Start by determining the size, shape, and location of your patio. A small concrete slab of around 8×10 feet is manageable for most DIYers. Consider how the patio will connect to your house, its intended use, and local building codes. Many municipalities require permits for permanent structures, even for a DIY project. Check with your local building department about requirements and restrictions. Also factor in drainage—your patio should slope approximately 1/4 inch per foot away from your house to prevent water pooling against your foundation.
Gathering Tools and Materials
For pouring a small concrete slab, you’ll need specific tools and materials. Essential tools include a shovel, rake, tape measure, level, hammer, saw, wheelbarrow, concrete mixing tools, bull float, edger, trowel, and broom. For materials, calculate the concrete volume needed (length × width × depth), typically measured in cubic yards. For a small patio, you might opt for pre-mixed concrete bags rather than ready-mix delivery. Additionally, purchase lumber for forms (2×4s are standard), rebar or wire mesh for reinforcement, stakes, and concrete sealer. Having everything ready before you begin will make the process much smoother.
Site Preparation
Proper site preparation is critical to a successful concrete patio installation. Begin by marking your patio’s outline using stakes and string. Remove all vegetation, including roots, and excavate to a depth of about 6-8 inches—this accommodates 4 inches for a gravel base and 4 inches for your concrete. Once excavated, compact the soil thoroughly using a hand tamper or plate compactor. Next, add a 4-inch layer of gravel and compact it as well. This base provides essential drainage and helps prevent cracking from ground movement. Take your time with this step—inadequate preparation often leads to premature patio failure.
Building the Forms
Forming a concrete patio correctly ensures straight edges and proper concrete containment. Use straight lumber (typically 2×4s) cut to the dimensions of your patio. Secure the boards with stakes driven into the ground every 2-3 feet. The top of your forms should represent the final height of your patio, remembering to maintain that slight slope away from your house. Use a level to check that your forms are level from side to side. For larger patios, you may need to add intermediate forms that will be removed after pouring. These dividers create manageable sections and help control cracking. For projects beyond a simple small patio, you might want to consult with AskHomey professionals who can handle more complex forming requirements.
Reinforcing Your Concrete
Even a small concrete slab benefits from reinforcement to prevent cracking and extend its lifespan. For most residential patios, wire mesh or rebar works well. If using wire mesh, lay it across your gravel base, cutting it slightly smaller than your forms. For rebar, create a grid pattern with bars spaced about 2 feet apart in both directions, and use wire to secure intersections. Whichever method you choose, ensure your reinforcement sits in the middle of your concrete thickness, not at the bottom or top. Use small stones or specialized “chairs” to elevate the reinforcement about 2 inches above the gravel base.
Mixing and Pouring Concrete
If you’ve opted for bagged concrete, follow the manufacturer’s instructions precisely for mixing. Consistency is crucial—too wet and your concrete will be weak; too dry and it won’t pour properly. For pouring a small concrete slab, work in sections, starting from one corner and moving systematically across the area. Pour the concrete slightly higher than your forms, as it will settle during finishing. Use a screed board (a straight 2×4) pulled across the top of your forms to level the surface in a sawing motion. Work quickly but methodically, especially in hot weather when concrete sets faster.
Finishing Techniques
Finishing concrete transforms the rough-poured surface into an attractive, durable patio. After screeding, wait until the water sheen disappears from the surface before beginning finishing work. Start with a bull float to smooth and level the surface. Once the concrete has stiffened slightly, use an edger to create rounded edges and prevent chipping. For a non-slip surface, wait until the concrete can support your weight (leaving only slight footprints), then use a broom to create a textured finish by pulling it gently across the surface. Finally, apply a concrete curing compound according to the manufacturer’s instructions to ensure proper hardening.
Curing and Sealing
Proper curing is essential for concrete strength development. Keep your newly finished concrete patio moist for at least seven days by misting it with water or covering it with plastic sheeting. Avoid walking on the patio for at least 24 hours and keep heavy furniture off for at least a week. After the concrete has cured for about 30 days, apply a quality concrete sealer to protect it from stains, water damage, and freeze-thaw cycles. Reapply sealer every 2-3 years to maintain protection and extend your patio’s lifespan.
For more tips and to connect with reliable home service professionals, follow AskHomey on Facebook and Instagram.


