Transforming everyday kitchen waste into nutrient-rich garden compost is one of the most rewarding practices for any homeowner or gardening enthusiast. Not only does composting reduce the amount of waste sent to landfills, but it also creates a valuable soil amendment that can dramatically improve plant health and growth. In this guide, we’ll walk through everything you need to know about how to compost effectively, from setting up your first compost bin to harvesting and using your finished garden gold. Whether you have a sprawling yard or just a small balcony, composting is an accessible practice that benefits both your garden and the planet.
Understanding the Basics of Composting
Composting is nature’s way of recycling organic materials into a dark, crumbly substance that gardeners often call “black gold.” At its core, composting 101 begins with understanding that the process relies on microorganisms breaking down organic matter in the presence of oxygen. These microorganisms require a proper balance of carbon-rich materials (browns), nitrogen-rich materials (greens), moisture, and air to efficiently transform waste into usable garden compost. The decomposition process generates heat, which speeds up the breakdown and helps kill weed seeds and pathogens. A successful compost pile will reach internal temperatures between 120-160°F during active phases before cooling as decomposition completes.
Choosing the Right Compost Bin
Selecting an appropriate compost bin is a crucial first step for beginners learning how to compost. You have several options, from store-bought containers to DIY solutions. Enclosed plastic bins work well for small spaces and urban settings, preventing odors and deterring pests. Tumbling composters make turning the pile easier but typically hold less material. For larger yards, open wooden bins or simple wire enclosures allow for bigger batches. If space permits, a three-bin system enables continuous composting with different stages happening simultaneously. When selecting your compost bin, consider your available space, the amount of waste you generate, and how much finished compost you hope to produce. As noted by garden experts at AskHomey, even apartment dwellers can participate in composting with specialized indoor systems designed for small spaces.
What to Put in Your Compost
Creating balanced compost requires understanding what materials benefit your pile. Green materials rich in nitrogen include fresh grass clippings, vegetable scraps, coffee grounds, and fresh plant trimmings. These ingredients fuel microbial activity and heat generation. Brown materials high in carbon include fallen leaves, straw, shredded paper, cardboard, and wood chips. These provide structure and energy for decomposition. A good rule of thumb is to maintain a ratio of approximately three parts brown materials to one part green materials by volume. This balance promotes efficient decomposition while minimizing odors.
What to Keep Out of Your Compost
While many organic materials can go into your compost, certain items should always be avoided. Meat, fish, dairy products, and oils can attract pests and create unpleasant odors. Diseased plants might introduce pathogens to your garden when you use the compost as a soil amendment. Pet waste from carnivorous animals contains harmful bacteria and should never be included. Large branches decompose too slowly for most home composting systems. Glossy or colored paper may contain toxins that can leach into your soil. Keeping these materials out of your compost ensures a healthier end product and a more pleasant composting experience.
Maintaining Your Compost Pile
Proper maintenance ensures your compost develops efficiently. Regular turning with a garden fork or compost aerator introduces oxygen that accelerates decomposition and prevents unpleasant anaerobic conditions. The pile should remain as moist as a wrung-out sponge—add water during dry periods and cover during excessive rainfall. Smaller particles break down faster, so consider chopping larger materials before adding them. During cold months, decomposition slows but doesn’t stop completely. Adding fresh green materials can help rejuvenate a sluggish pile. With consistent care, your compost can be ready in as little as two to six months in warm conditions, though complete decomposition may take up to a year in cooler climates.
Harvesting and Using Your Compost
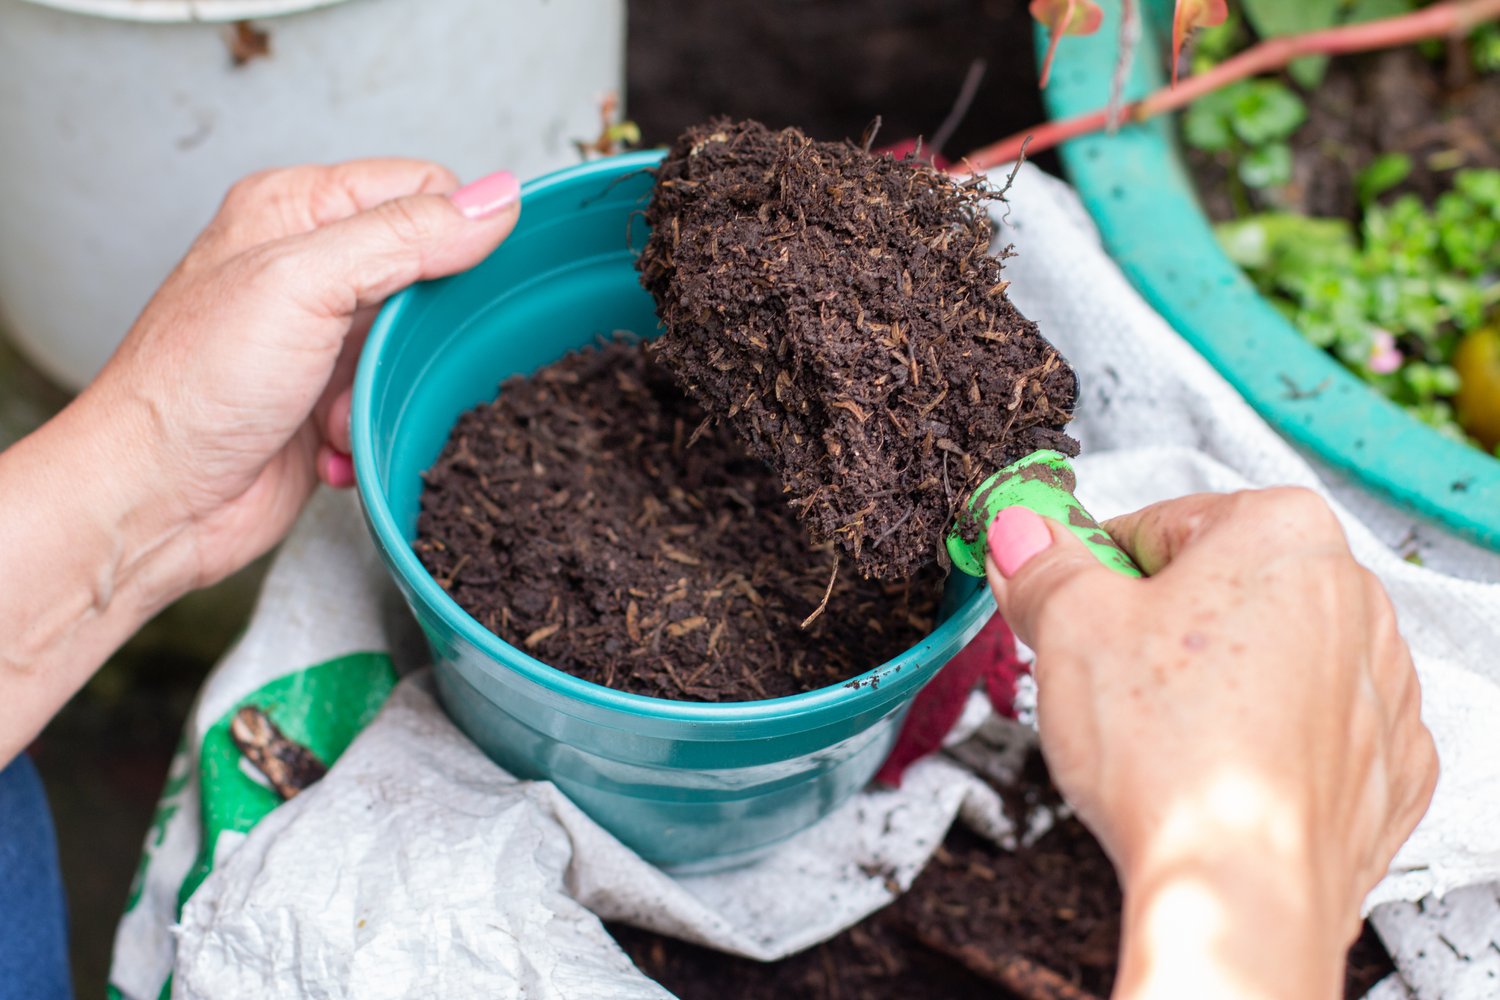
When your compost transforms into a dark, crumbly material with an earthy smell, it’s ready to use. Finished compost typically shows no recognizable food scraps and has a uniform texture similar to rich soil. To harvest, screen out any larger undecomposed pieces using a simple mesh screen, returning these to the active pile to continue breaking down. The finished garden compost can be used in numerous ways: mix it into garden beds as a soil amendment before planting, spread a thin layer as mulch around established plants, brew compost tea as a liquid fertilizer, or blend it with potting soil for container gardens. About a half-inch layer worked into the top six inches of soil provides excellent nutrition for most garden plants.
Troubleshooting Common Compost Problems
Even experienced composters encounter occasional challenges. A smelly pile usually indicates too many green materials or poor aeration—add more browns and turn the pile more frequently. A dry, inactive compost needs moisture and green materials to kickstart microbial activity. Pests can be discouraged by burying food scraps in the center of the pile and avoiding problematic materials. If your compost isn’t heating up, try adding more green materials and ensuring the pile is large enough to generate heat. With minor adjustments, most composting issues resolve quickly, allowing you to continue producing this valuable soil amendment.
For more tips and to connect with reliable home service professionals, follow AskHomey on Facebook and Instagram.