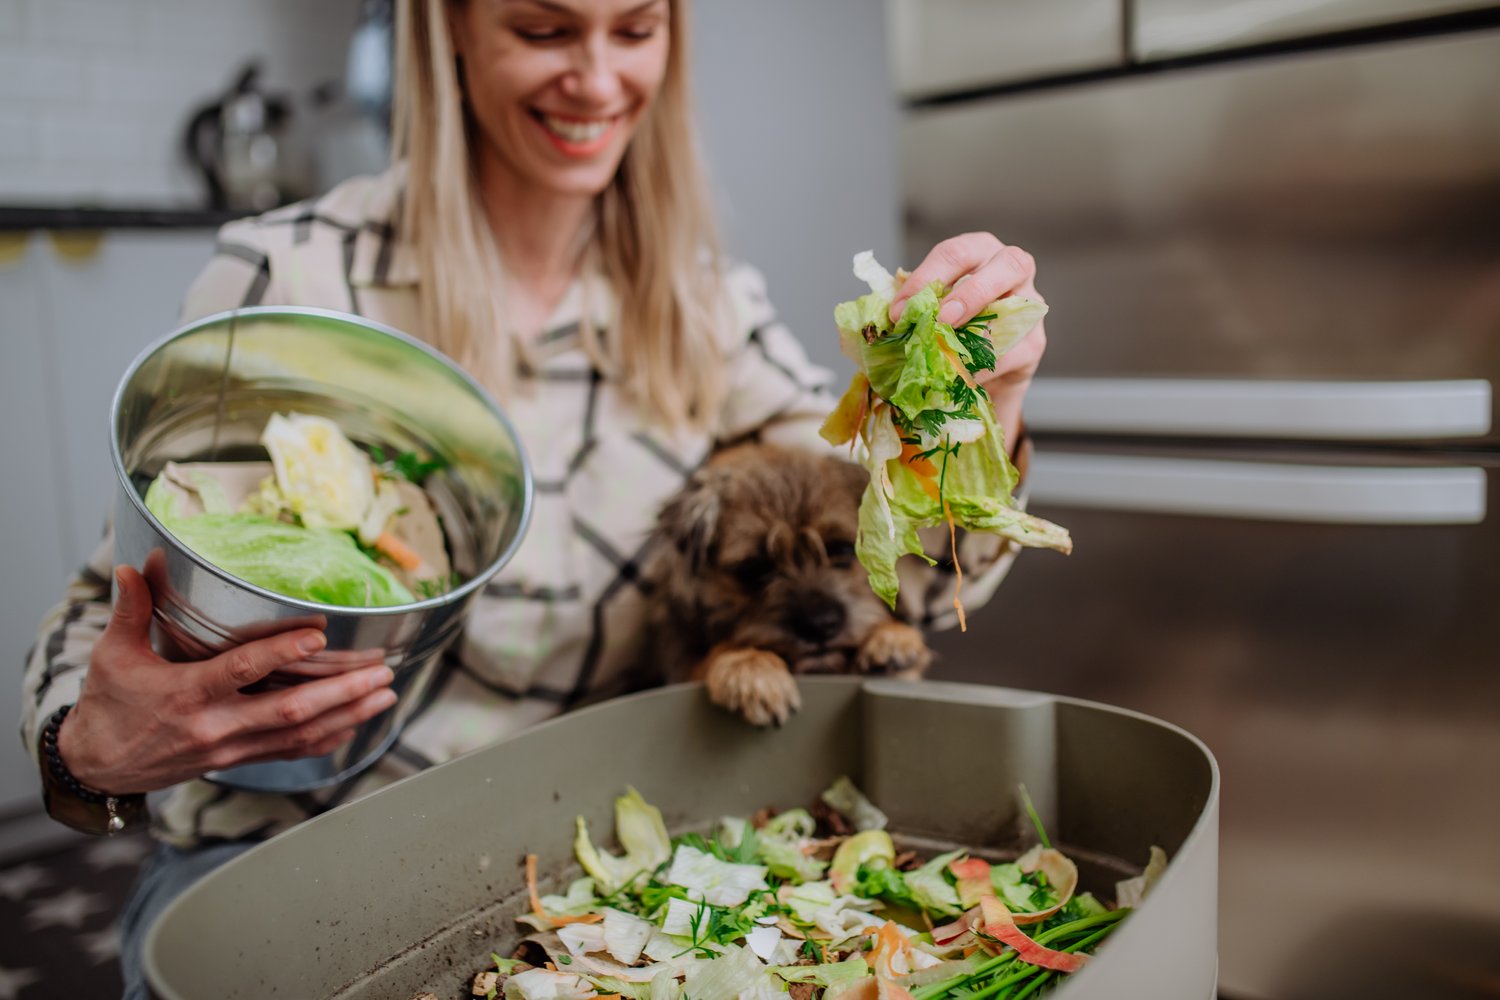
Transforming everyday kitchen waste into nutrient-rich garden gold is one of the most rewarding practices for any home gardener. This home composting guide will walk you through the simple process of creating your own DIY garden compost using materials you already have on hand. You’ll learn how to start a compost bin, what kitchen scraps are ideal for composting, and how to maintain your compost to produce a valuable soil amendment that your plants will love. By following these straightforward steps, you’ll reduce household waste while creating a free, organic fertilizer that improves soil structure and plant health.
Why Start Composting?
Composting at home offers multiple benefits that extend beyond your garden. When you start a compost bin, you’re diverting waste from landfills where organic materials decompose anaerobically, producing methane, a potent greenhouse gas. The average household can redirect up to 30% of its waste through kitchen scraps composting. Beyond the environmental advantages, compost improves soil structure, increases water retention, and introduces beneficial microorganisms. This DIY garden compost also reduces the need for chemical fertilizers, saving you money while producing healthier plants with improved resistance to pests and diseases. As noted by sustainability experts at AskHomey, home composting is one of the most impactful ways to reduce your carbon footprint while enhancing your garden’s productivity.
Choosing Your Composting Method
Before diving into kitchen scraps composting, consider which method best suits your living situation. For those with ample outdoor space, an open pile or three-bin system allows for efficient composting of larger volumes of material. Urban dwellers might prefer enclosed tumblers that accelerate decomposition while controlling odors and deterring pests. If space is extremely limited, consider worm composting (vermicomposting), which can be done indoors in compact containers. Each method has its advantages, but all follow the same basic principles of balancing green and brown materials while providing adequate moisture and aeration to support the decomposition process.
Setting Up Your First Compost Bin
Starting a compost bin doesn’t require expensive equipment. You can purchase ready-made bins or create your own using simple materials. For an outdoor bin, use wood pallets, chicken wire, or concrete blocks to create a three-sided structure measuring approximately three feet in each dimension. For enclosed bins, repurpose a plastic storage container by drilling air holes throughout. Place your bin in a partially shaded area with good drainage, ideally with easy access from your kitchen. Beginners often wonder about placement, but the ideal location balances convenience with aesthetics. Position your bin where it’s easy to access year-round but not prominently visible from main outdoor living spaces.
What to Compost: Greens and Browns
Successful composting requires a balance between nitrogen-rich “greens” and carbon-rich “browns.” Kitchen scraps composting primarily provides the green materials, including fruit and vegetable peels, coffee grounds, tea bags, and eggshells. These materials contribute nitrogen that feeds microorganisms responsible for decomposition. Brown materials include dried leaves, shredded newspaper, cardboard, and small twigs, which provide carbon and create air pockets necessary for aerobic decomposition. Aim for a ratio of roughly three parts browns to one part greens. This balance prevents your compost from becoming too wet and smelly or too dry and slow to decompose.
Maintaining Your Compost
Once you’ve established your DIY garden compost system, maintenance is straightforward. Add materials regularly, alternating layers of greens and browns when possible. Keep your compost moist like a wrung-out sponge, adding water during dry periods or dry browns if it becomes too wet. Turn or mix your compost every few weeks to aerate it and speed decomposition. Temperature is a key indicator of compost health—a working pile should feel warm to the touch as microorganisms break down materials. In colder months, decomposition slows but will resume when temperatures rise. Most home compost bins produce usable compost in three to twelve months, depending on conditions and maintenance.
Troubleshooting Common Compost Problems
Even experienced composters occasionally encounter issues. A foul odor typically indicates too many greens and not enough browns, or inadequate aeration. Add more browns and turn the pile more frequently to resolve this. If your compost isn’t heating up, it may need more greens or water. Pests can be deterred by burying kitchen scraps in the center of the pile and avoiding meat, dairy, and oils in your compost. If your pile seems too wet, add more browns and ensure adequate drainage. With these simple adjustments, most composting challenges can be easily resolved, allowing you to maintain a healthy, productive compost system.
Using Your Finished Compost
Patience rewards the home composter with dark, crumbly material that smells earthy and sweet. This finished compost can be used in numerous ways throughout your garden. Mix it into garden beds before planting, use it as a top dressing for lawns, blend it with potting soil for containers, or brew it into compost tea for a liquid fertilizer. Apply a layer around trees and shrubs as a nutrient-rich mulch that suppresses weeds and retains moisture. The benefits of this garden gold are countless, from improved soil structure to enhanced plant immunity and increased biological activity in your soil ecosystem.
For more tips and to connect with reliable home service professionals, follow AskHomey on Facebook and Instagram.


